Resident Evil 2 (PlayStation)/Unused Backgrounds
This is a sub-page of Resident Evil 2 (PlayStation).
Unused Backgrounds
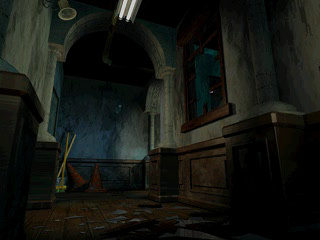
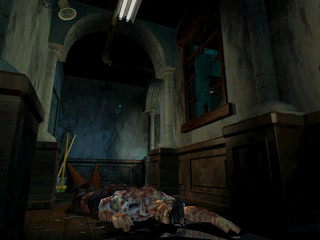
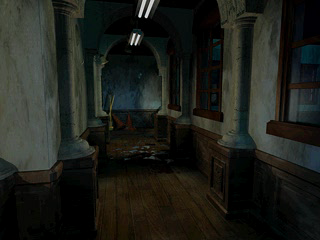
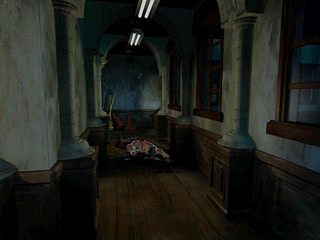
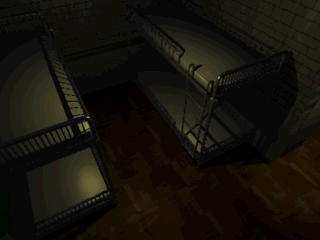
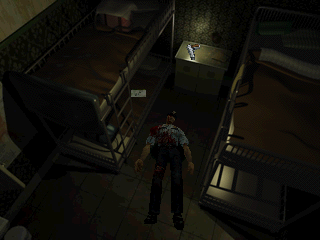
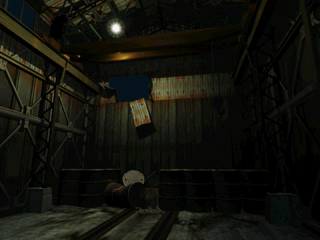
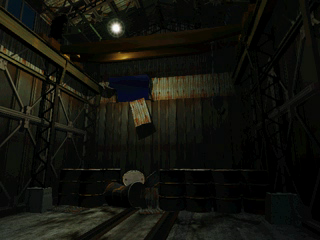
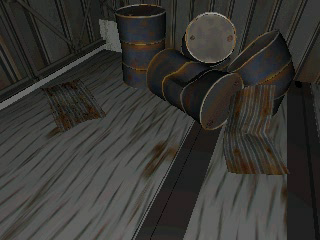
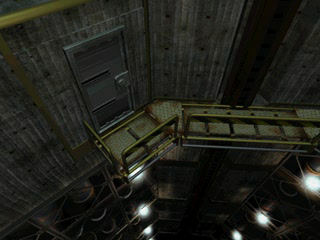
The following backgrounds are located in the rooms' data but never used in-game.
A few more unused backgrounds are present in the Windows and Nintendo 64 version of the game.
Original North American/Japanese Versions
| Unused | Used |
|---|---|
 |
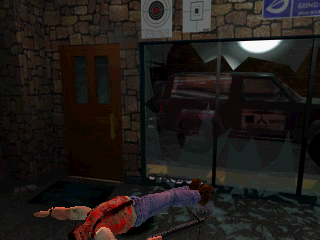 |
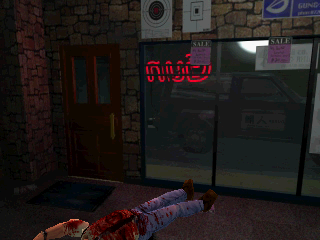
A variant of this camera angle exists with non broken glass, but is never used. The glass breaks before this angle is used.
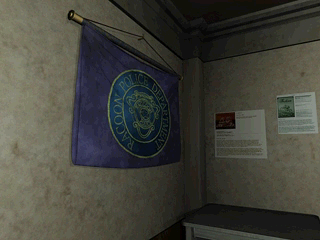
A zoom-in on the flag in the waiting room of the police station, the first room with an item box. Presumably it was planned to be used when the player checks the flag.
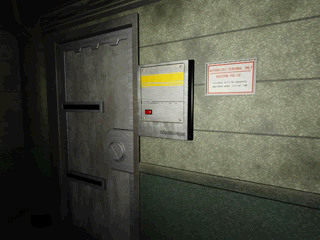
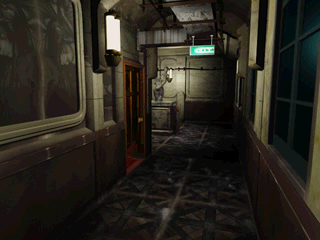
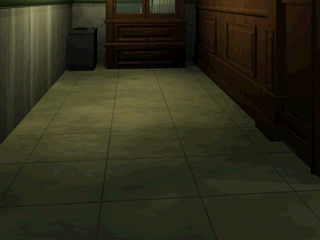
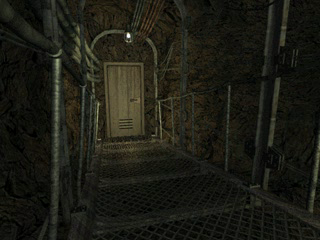
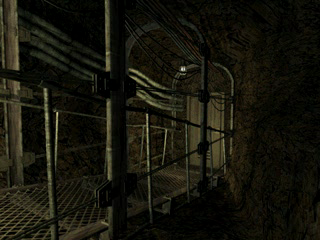
A zoom-in on the door at the back of the west 1F corridor, door which leads to the evidence room. It is a left-over from an earlier state in development. In the Trial Edition this door bears this design: a tech looking slide door, while it is a metallic swing door in the final version. More of this version of the door can be seen in the demo version of the game, in which the door is usable with the help of cheat codes.
Fun fact: in Resident Evil 3: Nemesis, on the new camera angle used when Nemesis bursts through the window, the metallic part next to the door from this earlier version can be seen in the back, although the camera angle is only seen for a very brief period of time. Also, in the Windows and Dreamcast ports of Resident Evil 3: Nemesis, this door design is used in this corridor.
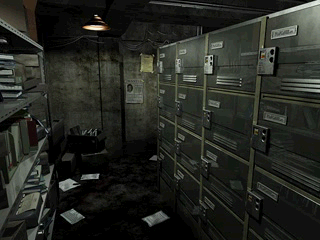
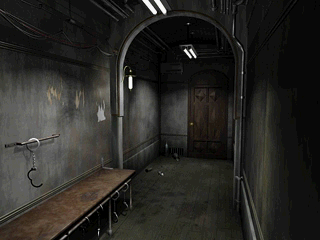
An unused camera angle for the evidence room. The camera angle that is used is facing the other way.
| Unused | Used |
|---|---|
An early version of this camera angle from the archives room.
An unused camera angle for the office where Marvin lays, though a similar camera angle is used.
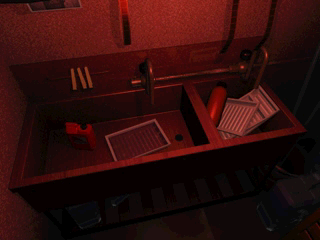
A zoom-in on the photo lab.
| Unused | Used |
|---|---|
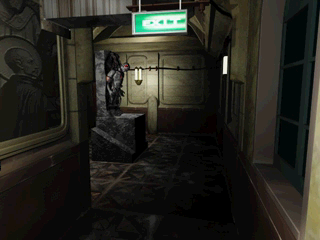
An earlier version of a camera angle for the corridor with the puzzle with the moveable statues. Note that the grey statue in the middle, which holds a Red Jewel (it can be seen shining even when forcing the game to use the unused background) looks completely different from the final's. In the unused version there is a window on the left of the screen which was replaced by a door in the final version, although a small part of the window remains. The windows on the right side also differ. Looking at the data of the Japanese Trial Edition reveals that the missing door used to be located further down the room.
| Unused | Used |
|---|---|
An unused variant: the grate of the vent is still set. In the version that is used, the grate is on the floor, with a few extra debris also. Note that while a close-up on the door exists with the grate on the floor, there is no equivalent with the grate still set.
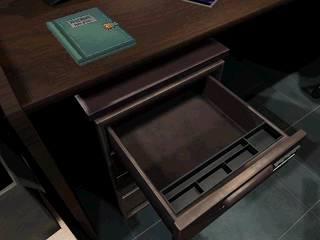
The drawer of Chris' desk. It can not be opened in the final version of the game. This background is also present in the demo version, though unused also. Text data for a "Desk Key" can also be found in that version.
Though unused in the final version, this particular background is used in the demo version. When the demo ends the camera pans upward revealing Ada Wong.
| Unused | Used |
|---|---|
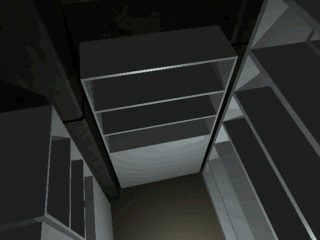
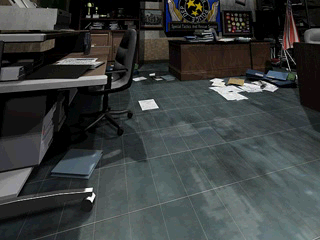
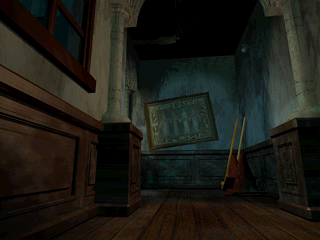
A left-over of the early version of the back of the 1F east office of the police station. No real equivalent of this angle exists among the used ones so a wide shot of the area was used here for comparison. The odd camera angle suggests either that the player would be able to check or pick-up something on the ground, or that the angle would be used for a cutscene, possibly panning upwards like in the cutscene in which Leon meets Ada. In the final version, there is a door leading to the outdoor staircase next to where the trashcan is located, but it is missing in the early version of the room. More of this version of the room can be found in the demo version.
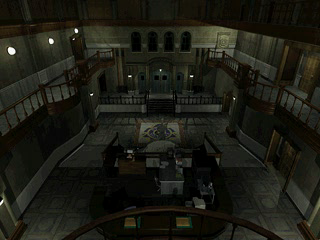
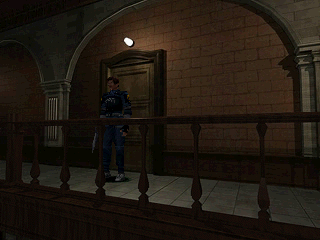
An unused wide shot of the 2F mezzanine of the police station's main hall. A very similar shot, with slight differences, can also be found in the demo version.
| Unused | Used |
|---|---|
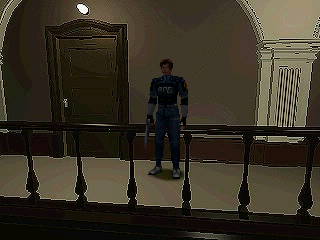
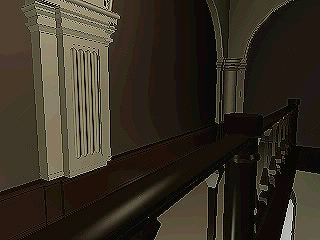
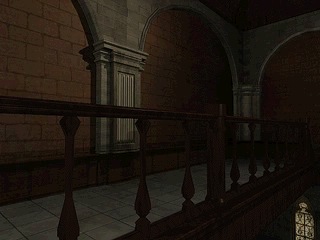
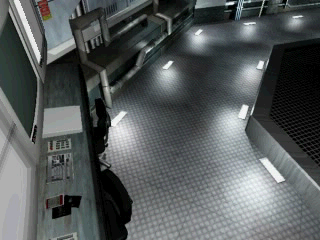
A very early version of the 3F main hall mezzanine. The X-Y-Z position coordinates of the protagonist are the same between the two screenshots. An even earlier version of the room can be found in the demo version.
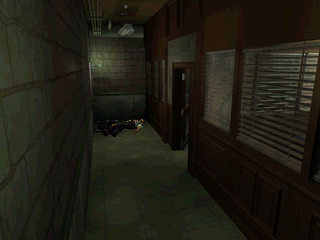
The 2F corridor in which crows burst through the windows. A similar camera angle is used, a close up on the ground and on the corpse of a zombie police officer, but it is located in another part of the room.
| Unused | Used |
|---|---|
From that same corridor, unused variants without the corpse.
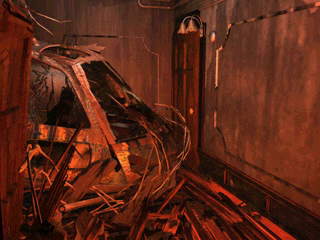
A close-up of the crashed helicopter in the 2F east corridor. Another close-up with a different camera angle is used. Note that this is the version of the room which is still in flames, and that there is no equivalent for the non-burning version.
| Unused | Used |
|---|---|
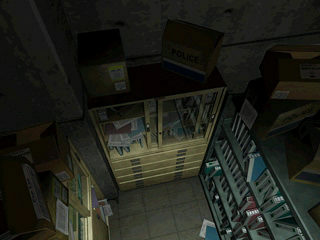
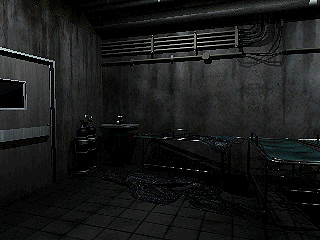
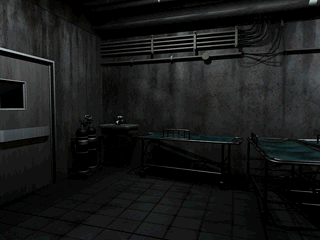
A version of the morgue with empty body bags. There is no body bags in the version that is used. Other variants of this room exist in the demo version, in which the body bags appear to be full. Presumably it was planned for zombies to come out of the bags.
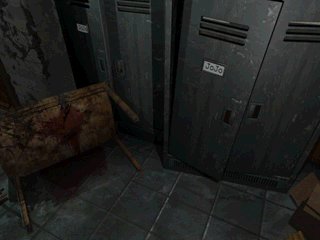
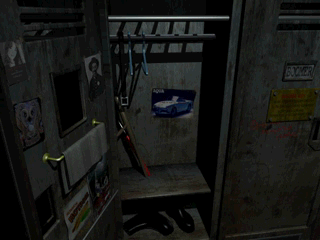
A second locker in the basement store room, different from the one which contains the S.Machine Gun and the Side Pack. This second locker can be opened in the October 31, 1997 prototype.
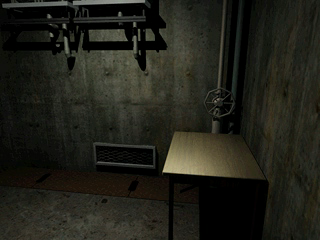
A close-up on the small table in the basement generator room. An earlier version of this same shot can also be found in the demo version.
| Unused | Used |
|---|---|
An early version of the room where the Magnum is found.
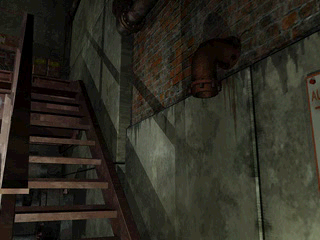
A close-up on the stairs in the sewers. Similar close-ups are used in the cutscene involving Leon and Ada.
| Unused | Used |
|---|---|
An earlier version of the room.
| Unused | Used |
|---|---|
The position of the mortar differs.
| Unused | Used |
|---|---|
|
|
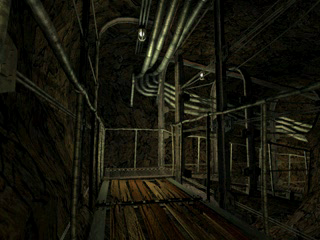
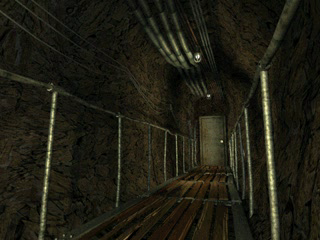
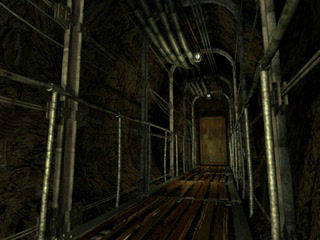
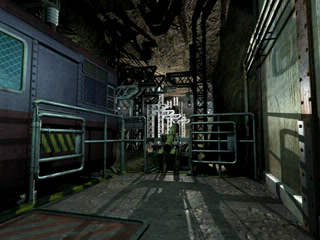
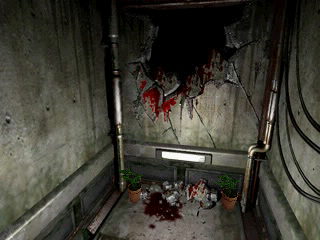
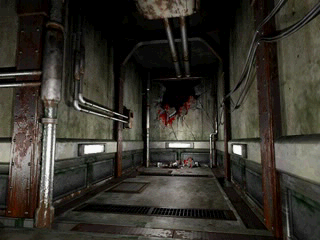
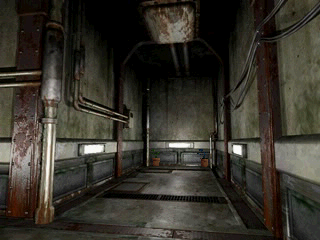
There are two variants of the two corridors leading to the train platform, one without blood stains on the floor used in Claire A, and one with blood stains used in all three other scenarios (although there is a mistake on one of the angles used: blood can be seen in the middle of the corridor, but on the next camera angle it is missing on the same spot). The trail of blood leads to the hole in the wall, which is unused in all scenarios. No variant of the close-up shot of the wall exists. Also note that while 3D models are programmed to appear in the final shot, they are not in the penultimate one. The versions of the backgrounds with the hole in the wall are used in the October 31, 1997 prototype.
| Unused | Used |
|---|---|
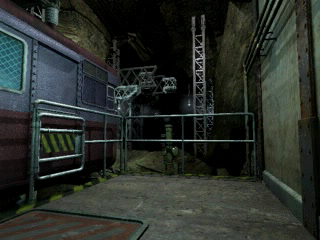
A very early render of the save room before the turn-table.
| Unused | Used |
|---|---|
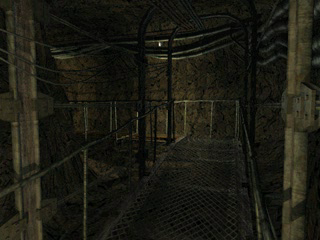
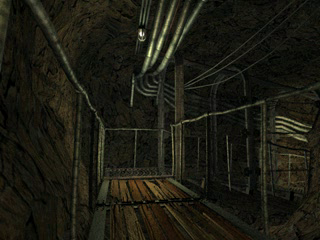
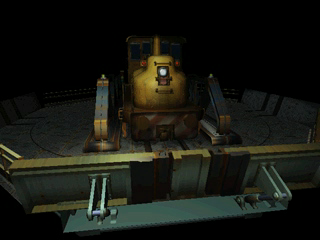
An early version of the back of the train turn-table room. Some detailing differ.
An early render of the same area as the above.
| Unused | Used |
|---|---|
Presumably the door used to be a metallic swing door, rather than the tech looking slide door from the final.
Another unused background from the same room, this one seems to be directly taken from the FMV cutscene.
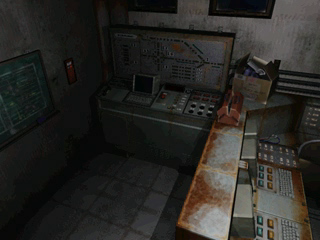
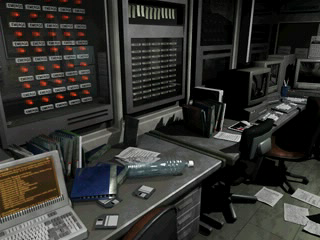
A close-up on the desk in the surveillance room at the start of the laboratory. In-game ammunition is on the desk.
| Unused | Used |
|---|---|
 |
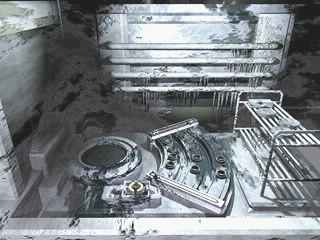 |
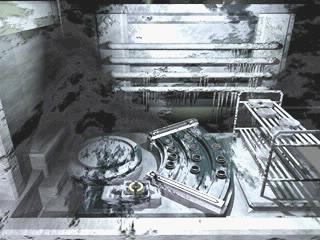
A variant of the close-up on the machinery in the Laboratory. It is very close to the used version though some minor detailing and shading differ.
An unused angle for the Laboratory room with monitors.
| Unused | Used |
|---|---|
 |
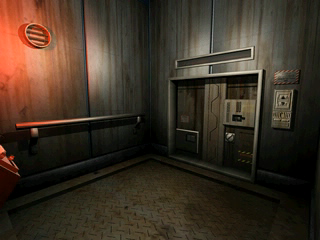 |
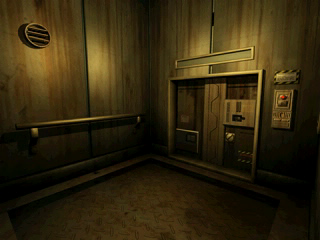
Some details differ in the unused version, most notably the switch and the sign above it. The control panel on the left can not be seen, due to it being different in the early version. More of this early elevator room can be seen in the October 31, 1997 prototype.
| Unused | Used |
|---|---|
 |
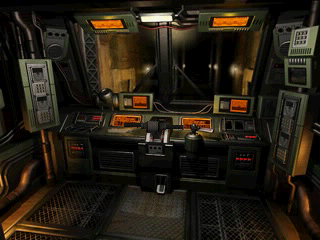 |
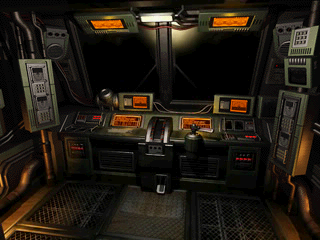
Some minor details differ, in some parts the unused version looks more detailed.
| Unused | Used |
|---|---|
 |
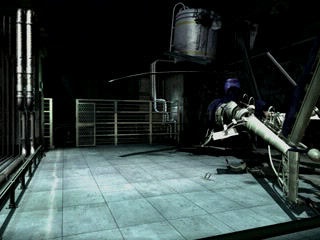 |
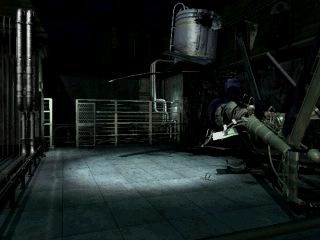
The version of the heliport used at the end of The 4th Survivor and The To-Fu Survivor.
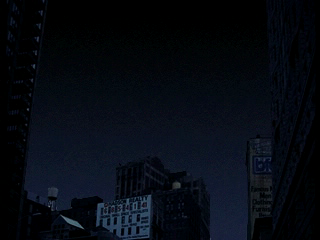
Another unused background found in the version of the heliport used by the mini-games. Presumably it is an early version of the city screen used to display the helicopter flying away, although it looks completely different from the used one.
European Versions
The European versions have backgrounds for 3 extra rooms which are all early versions of other rooms. There is Room 705 and Room 706 as seen in the demo versions of the game, as well as a room unseen in any other version: Room 707, another early version of the train wagon.
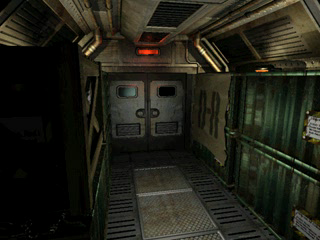
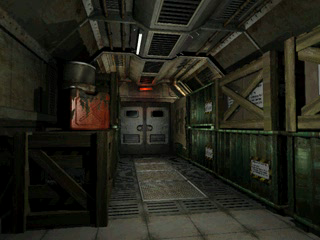
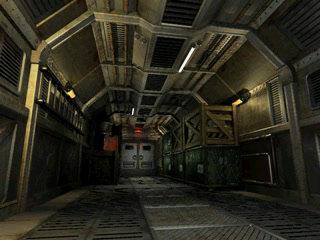
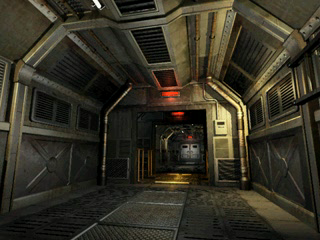
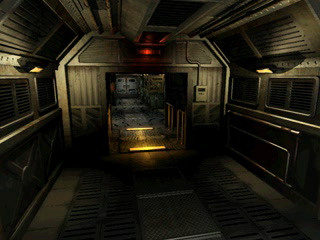
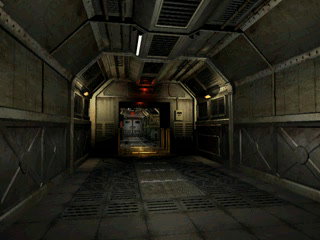
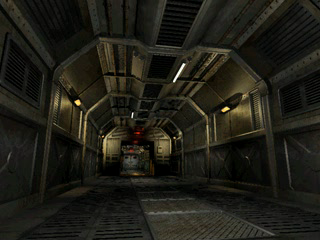
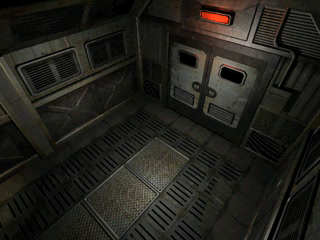
This version looks closer to final than the one present in the demo versions. As you can see on the first shot, there is an extra door not present in final, so at this point the train was still planned to have two wagons, like in the demo versions.
