Kirby & the Amazing Mirror/Unused Objects
This is a sub-page of Kirby & the Amazing Mirror/Unused Objects.
This game features a good amount of unused objects. They can trigger all sorts of things, ranging from game resets, unused cut-scenes and even unused enemies. They all have their own unique hex IDs which are documented below.
Contents
Unused Objects
Objects 9A and F0
Two objects with the IDs 9A and F0 lie unused within the last batch of objects from the game's object list. When spawned, they immediately trigger a game reset.
The 2003 Demo used a similar effect as a security mechanism. If the player attempts to load any enemy/object they aren't supposed to see, the game resets when it spawns it.
Object 8E
Object ID 8E hosts the cut-scenes that play when encountering and defeating Dark Mind inside the Dimension Mirror. It also hosts two early versions of the aforementioned cut-scenes.
The first cut-scene plays similarly to the final version, but Kirby displays an unused question mark graphic above his head when he encounters Dark Meta Knight.
The second cutscene is a quite different from the final version. This also uses the unused question mark graphic, but the Kirbys are now visibly shocked when Dark Meta Knight shatters and when the portal to Dark Mind opens. They also use another unused graphic when shocked.
Unused Enemies
Stoppy
There's a single unused enemy in the game. Its health bar name calls it "ストッピー" ("Stoppy/Stoppie"). The enemy's ID is 2C, and it can be seen in-game by entering 02000146:2C as a cheat code, though it loads Golem's sprites as a placeholder when inserted into the game. Its data, located at 00351A68 in the US version, is comprised of the following bytes: 00 00 CC 00 02 00 00 00 00 00 00 00 09 00 00 00 9D FE 09 08 74 56 35 08, and its health bar name is located in 002F0B34 in the Japanese version. Its behavior is simple; It only walks around and occasionally jumps. It is also capable of climbing walls.
This enemy is unrelated to Tokkōn, another unused enemy from the 2003 Demo.
Unused Boss and Mid-Boss Data
The enemy IDs 40 to 44 include unused data for two unused Bosses and two unused Mid-Bosses. They all use Golem's sprites as placeholders.
The unused Bosses just reuse Stoppy's data. The Mid-Bosses, however, use the bytes 03 03 DC 05 02 00 00 00 00 00 00 00 38 00 00 00 05 64 0C 08 74 56 35 08, which makes them stand motionless, with the added ability to turn around to look at Kirby. Additionally, they provide Kirby with the Stone Copy Ability when inhaled. These traits resemble Golem's behavior when inactive.
Removed Object Spots
Various spots can be found in the ROM that could host objects, but are dummied out or have partially removed data. Below is a long list with every object of this kind with its effects and ID.
| ID | Effect |
|---|---|
| 73 | Does nothing. |
| 74 | Does nothing. |
| 75 | Crashes the game. |
| 76 | Does nothing. |
| 77 | Does nothing. |
| 78 | Does nothing. |
| 79 | Does nothing. |
| 7A | Does nothing. |
| 7F | Does nothing. |
| 82 | Crashes the game. |
| 87 | Crashes the game. |
| 91 | Crashes the game. |
| DB | Crashes the game. |
| DC | Crashes the game. |
| DD | Crashes the game. |
| DE | Crashes the game. |
| DF | Crashes the game. |
| E0 | Crashes the game. |
| E1 | Crashes the game. |
| E2 | Crashes the game. |
| E3 | Crashes the game. |
| E4 | Crashes the game. |
| E5 | Crashes the game. |
| E6 | Crashes the game. |
| E7 | Crashes the game. |
| E8 | Crashes the game. |
| E9 | Crashes the game. |
| EA | Crashes the game. |
| EB | Crashes the game. |
| EC | Crashes the game. |
| ED | Crashes the game. |
| EE | Crashes the game. |
| EF | Crashes the game. |
| F1 | Crashes the game. |
| F2 | Crashes the game. |
| F3 | Crashes the game. |
| F4 | Crashes the game. |
| F5 | Crashes the game. |
| F6 | Crashes the game. |
| F7 | Crashes the game. |
| F8 | Crashes the game. |
| F9 | Crashes the game. |
| FA | Crashes the game. |
| FB | Crashes the game. |
| FC | Crashes the game. |
| FD | Crashes the game. |
| FE | Crashes the game. |
| FF | Crashes the game. |
Obscured Objects
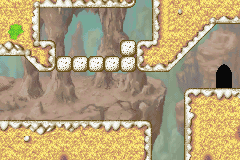
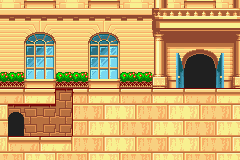
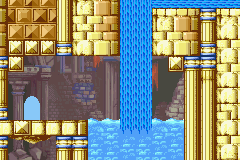
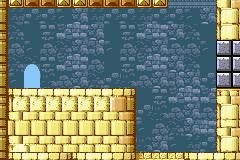
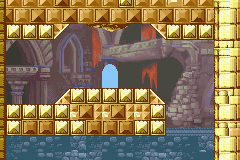
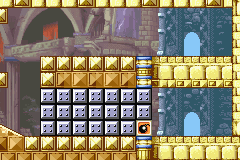
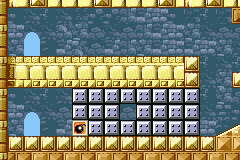
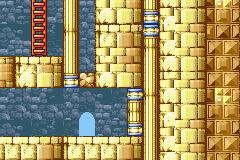
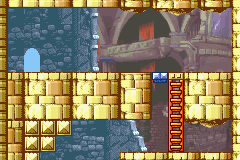
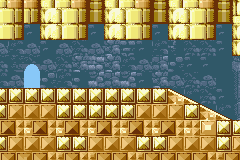
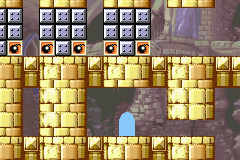
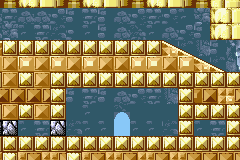
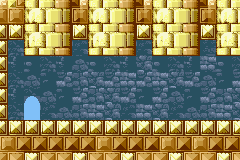
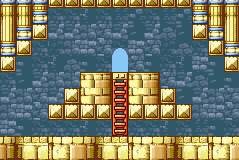
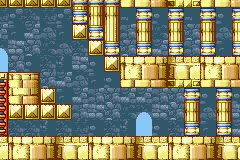
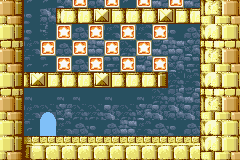
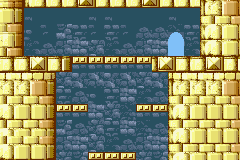
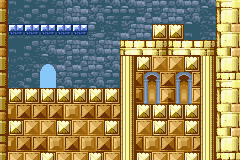
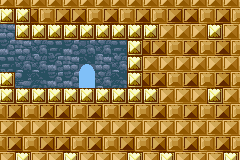
For some reason, lots of regular doors hide behind other mirror doors in Rainbow Route, Carrot Castle, and Radish Ruins, with the latter area having the most doors. They can be seen by disabling the 5th graphic layer. It's unknown why they're there, but it's possible that these were used as placeholders during development, and the team simply forgot to remove them.
The obscured doors may vary in appearance depending on the area they're located. In Rainbow Route, the door is black with a pointy arch, while in Carrot Castle, the door is gray and it has a regular arch. The ones in Radish ruins are the same as the ones in Carrot Castle, but colored Cyan.
