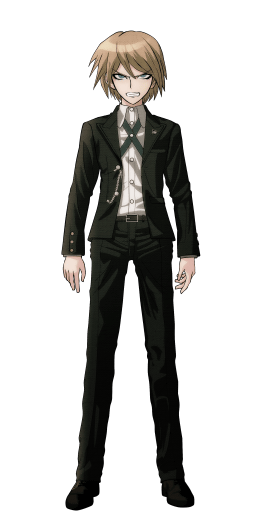
Danganronpa: Kibou no Gakuen to Zetsubou no Koukousei (PlayStation Portable)
| Danganronpa: Kibou no Gakuen to Zetsubou no Koukousei |
|---|
|
Developer: Spike
|
To do:
|
Danganronpa: Academy of Hope and High School Students of Despair (also known as Danganronpa: Trigger Happy Havoc) is a visual novel game for the PlayStation Portable. You take control of Makoto, a normal student who was invited to join Hope's Peak Academy via lottery, a high school to develop and research the talents of exceptional high school-age teenagers known as Ultimates. However, things go wrong once he wakes up and finds himself locked in Hope's Peak Academy with 14 other students, forced to participate in a Killing Game by a very strange two-faced remote-controlled bear known as Monokuma. It's up to him and several other students to solve the mystery of the school, find out who's controlling Monokuma, and find out who's the killer at Class Trials, or they'll face horrific executions.
The game is also known for having a very interesting development history, originally being much darker and more gruesome than what the final product offers.
Contents
- 1 Sub-Page
- 2 Debug Mode (Demo)
- 3 Unused Graphics
- 3.1 Strange Graphics
- 3.2 Unused M.T.B. Graphics
- 3.3 Unused Class Trial Portraits
- 3.4 Various Objects
- 3.5 Unused Test Graphics
- 3.6 Scrapped Murder Case
- 3.7 Chapter 3 Early Designs
- 3.8 Movie Thumbnails
- 3.9 Placeholders
- 3.10 Map Icons
- 3.11 Miscellaneous
- 3.12 Full-Length Sprites
- 3.13 Makoto Unused Sprite
- 3.14 Byakuya without Glasses
- 3.15 Early Designs
- 4 Unused Text
- 5 Revisional Differences
Sub-Page
| Prerelease Info |
| Bugs |
Debug Mode (Demo)
| Please elaborate. Having more detail is always a good thing. |
There is a Debug Mode that was partially removed from the Demo and final version, and it is possible to activate it using this code:
JP code:
_S NPJH-90164
_G Danganronpa Demo
_C0 Debug Mode 1
_L 0x004A52EC 0x00000001
_C0 Debug Mode 2
_L 0x004A52EC 0x00000002
_C1 Debug Mode 3
_L 0x004A52EC 0x00000003
_C0 Debug Mode 4
_L 0x004A52EC 0x00000004
_C0 Debug Mode 5
_L 0x004A52EC 0x00000005
Most do not affect the game much, except for Debug 3 and Debug 5.
Unused Graphics
Strange Graphics
The first unused graphic here shows Leon and Sayaka fighting side-by-side holding a shotgun and a pistol in what seems to be either a gym or outside given the lights and iron fences. This is unused concept art to overall test 2D characters in a near 3D-like environment as shown with their designs being identical to the concept art seen in the CEDEC 2011 Conference .
Two unused graphics for early logos for the game logo.
| Reworked Box Art | One Of The Pitched Box Arts |
|---|---|
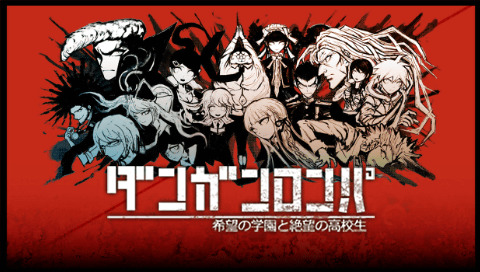 |
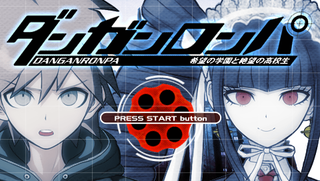
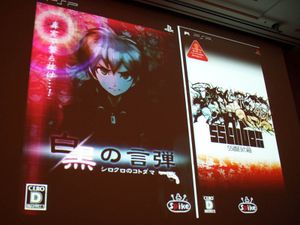
This graphic is a reworked version of one of the early pitched box art designs seen at CEDEC 2011 Conference. All characters except for Sakura have been redrawn to resemble more if their final designs more when compared to the box art on the right. The second small image is actually based on the original box art rather than the reworked version. The subtitle reads 希望学園と絶望高校生 (Hope Academy and Despair Students). Based on the file names (title_image and test_icon), these were used as placeholders as the title screen and save data icon during development.
An early design for the PRESS START button graphic, found among various unused graphics.
| Early | Final |
|---|---|
 |
 |
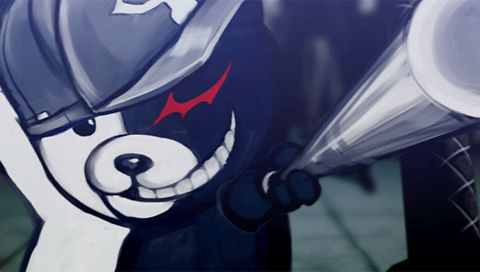
A file labelled test_title_bg_monokuma. This is a screenshot from the test execution seen at CEDEC 2011 Conference and later on bonus discs. The image on the right is taken from the final cutscene for comparison.
This is a actual remnant of the test execution video, where Monokuma is dragging Leon away for execution.
Unused M.T.B. Graphics
Several characters have a enemy M.T.B. icon despite never being involved in a M.T.B. minigame due to story reasons.
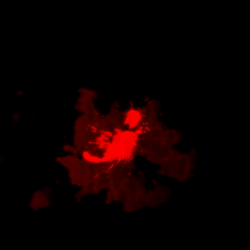
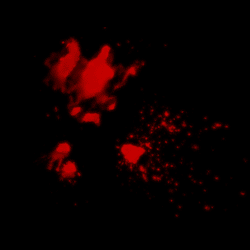
Also inside the M.T.B. files are these red blood textures. It seems instead of explosions when destroying your opponent's claims, it would have been blood splatters. It's very likely that this was changed due to the game going for a more psychopop tone with the blood being pink than red.
Unused Class Trial Portraits
Due to dying before the first Class Trial, Sayaka and Mukuro's Class Trial portraits go unused. They are used in the demo version, however.
Alter Ego also has a Class Trial portrait despite never appearing in one. It's possible that they were originally supposed to appear in Chapter 4's Class Trial.
Various Objects
| Early | Final |
|---|---|
 |
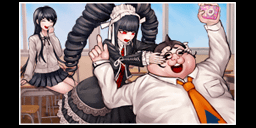 |
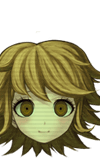
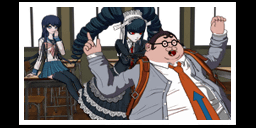
A early version of the photo that reveals that all the CG artwork of characters are actually traced over 3D models than being fully hand drawn!
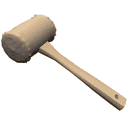
A early placeholder image for the wooden hammer seen in chapter 3.
A early version of the guidance paper Makoto finds when he wakes up in the prologue.
A early placeholder for the trash can.
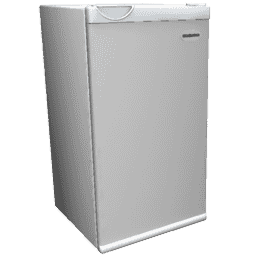
A early placeholder for the mini-fridge seen in chapter 3.
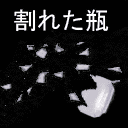
A early placeholder for the broken glass seen in chapter 4, where the protein drinks are located.
Strangely, a unused version the 11037 message in red blood instead of pink. According to other oddities within the final game, they were testing red blood for chapter one before going with pink blood.
Unused Test Graphics
Unused graphics that were used for testing out visual effects.
Scrapped Murder Case
These are graphics for an unused Climax Inference where Mukuro is murdered by Leon. This can be seen in the official livestream for the Danganronpa 10th anniversary, where they show early footage of a Class Trial.
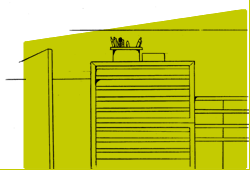
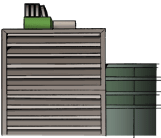
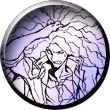
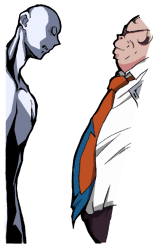
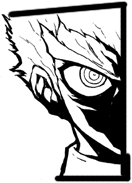
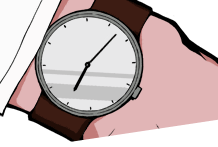
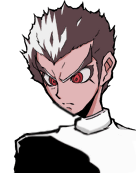
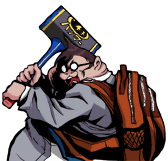
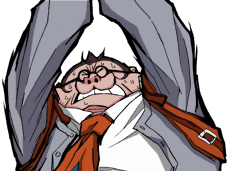
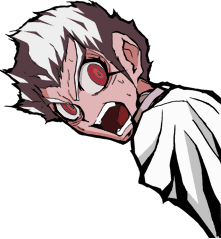
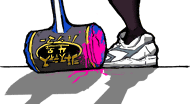
Chapter 3 Early Designs
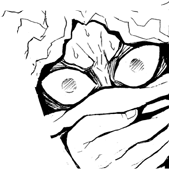
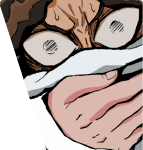
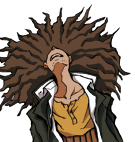
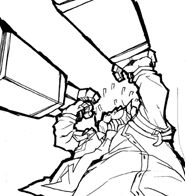
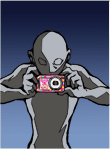
There are early designs for a fraction of the Chapter 3 murder artwork. The majority of these designs are slightly rough, uncolored versions. Act 1's early font shape was used for Act 2 in the final game.
| Early | Final | Early | Final | |
|---|---|---|---|---|

|
||||
|
|

|

| |

|

|
|
| |

|
|
|

| |
|
|

|

| |

|

|

|

| |
|

|

|

| |

|
|

|
| |

|

|

|
| |

|
|

|
| |

|

|

|

| |

|
|

|

| |

|

|
|
| |

|
|

|

| |
|

|

|
| |

|

|

|
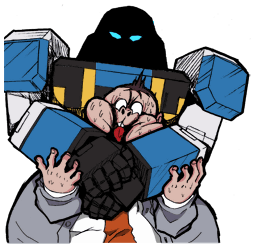
|
Movie Thumbnails
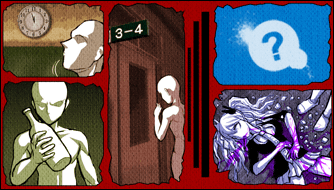
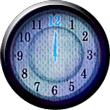
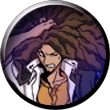
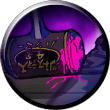
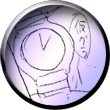
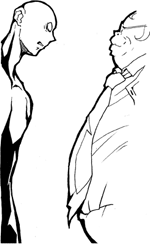
These execution movie thumbnails seem to be from work-in-progress renders – in particular, the executions of Mondo Owada, Celestia Ludenberg, and Jin Kirigiri.
The following thumbnails are from the test execution video, used to demonstrate the general gameplay and theme. The video was included on a bonus disc with the PSP The Best re-release of the game.
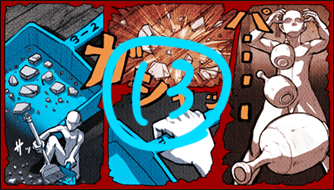
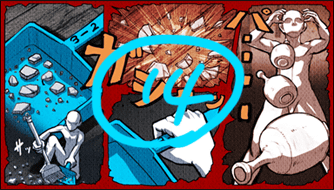
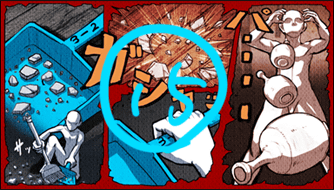
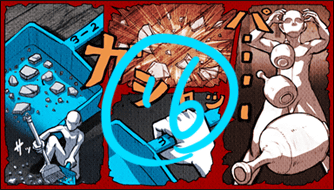
The first thumbnail here is of a piece of bonus art. The full image can be unlocked in the Extras section of the game. The second thumbnail is one of several images from the scrapped Climax Inference. The third thumbnail appears to be SMPTE color bars. The fourth thumbnail is the intro of the early Class Trial seen in the 10th anniversary livestream of the early class trial.
Placeholders
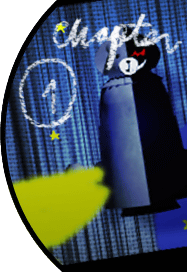
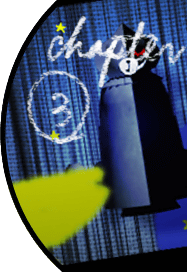
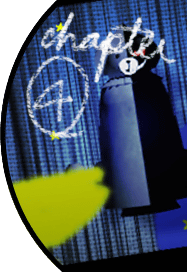
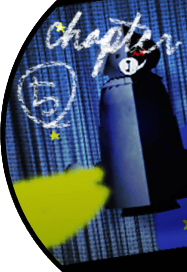
Chapter Labels
These placeholders use an early render image from Jin Kirigiri's execution, and feature handwritten labels.
Dithering Test
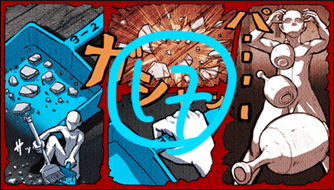
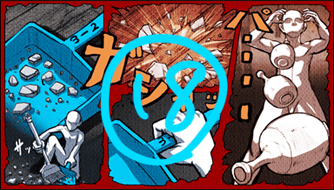
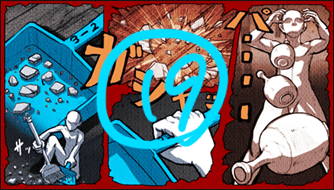
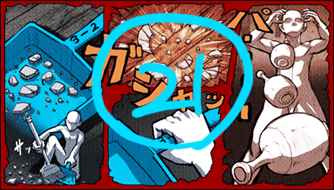
Twenty-one placeholder images for both case overviews and evidence. These were also used to test different dithering techniques (which is why they're numbered). The various levels of dithering are more prominent in the evidence images.
Miscellaneous
A generic placeholder for cutscene images. This image appears fourteen times in the game's files.
Map Icons
Makoto has a map icon that goes unused, as it's impossible for him to have one when you're playing as him.
Monokuma never appears outside of scripted events, so his map icon is never used. Perhaps originally Monokuma would roam around the school, being available to talk to?
A placeholder for map icons.
Miscellaneous
There are Japanese and English graphics for a Short Story mode. It's very likely that this is a remnant of Danganronpa: Another End, given it was scrapped mid-development. There's also a graphic of a scrapped Ad-Hoc mode. Which according to early concept art, would have allowed players to trade items, side stories, and special events.
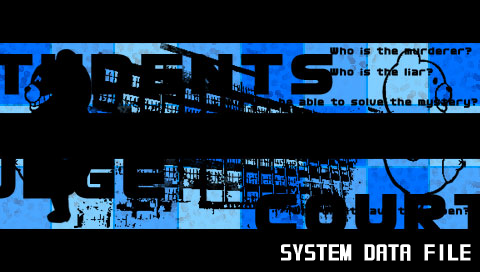
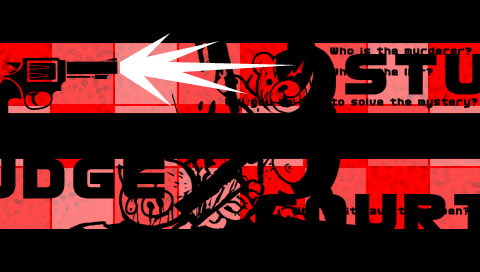
Unused System Data File images, one featuring two Monokumas looking at opposite sides infront of a realistic school and one where Monokuma is brutally dismembering a pig with axe. Text can been seen seemly saying:
Who is the murderer?
Who is the liar?
Will you be solve the mystery?
Text can also be seen on the bottom, although it's hard to fully make out.
A transparent Monokuma holding a knife and axe, similar to the image above. This image closely resembles Monokuma in an early concept image, which was revamped and used as the splash page for Spike's logo in the final game. The file name load_anime2 suggests it was meant for a loading screen.
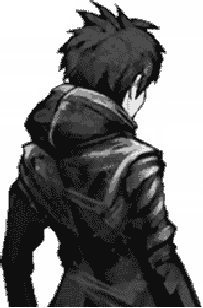
| Unused Graphic | Where this graphic would have been used at |
|---|---|
 |
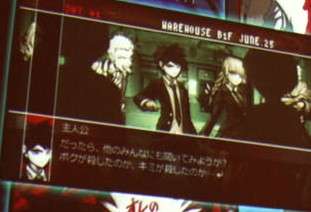 |
An early back image of Makoto. This was used back when characters would stand in warehouse to discuss the murder before the concept of a class trial was a thing.
An early Class Trial discussion mugshot for Junko Enoshima.
A sprite animation of Leon walking. It seems that originally characters would move around the school rather than being static in a certain location.
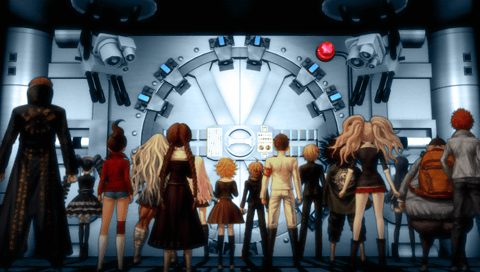
An unused event where everyone is about to leave Hope's Peak Academy. This isn't the hidden cutscene, as the lighting is different, so it's likely that this is another remnant of Danganronpa: Another End.
A early save icon featuring Monokuma.
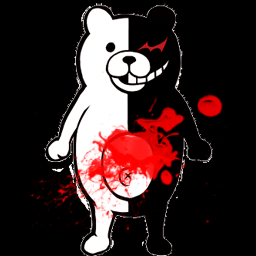
A unused graphic of Monokuma... being covered with blood for chapter 5.
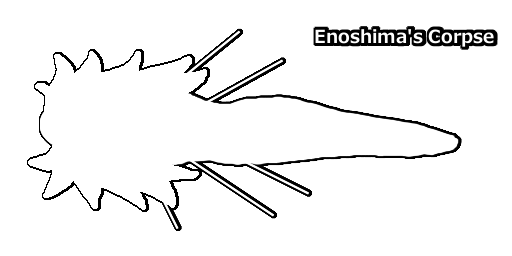
A early placeholder for Mukuro's corpse in Chapter 1.
A placeholder for the bomb in Chapter 5.
A unused gold bar graphic.
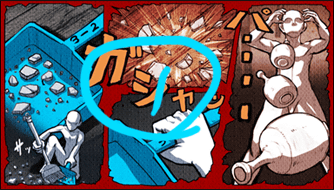
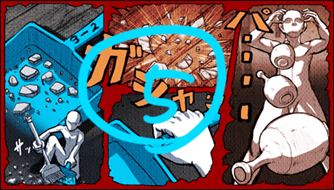
A simple placeholder graphic when attempting to pick which Chapter to visit.
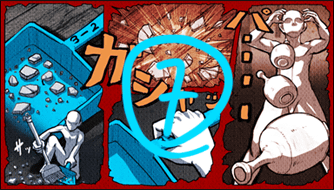
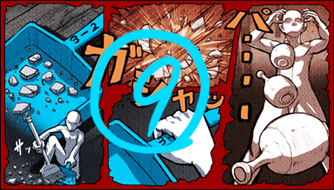
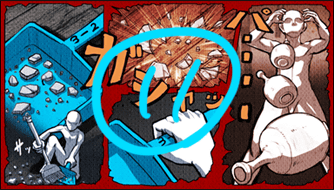
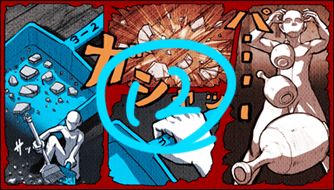
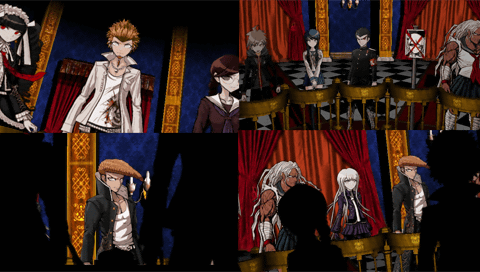
A unused event image, presumably as a placeholder. What makes this interesting is that the four images are from the early Class Trial footage, as mentioned above.
| Early (EVENT_FLA_070.png) | Final (fla_770_pak_001.png) |
|---|---|
 |
 |
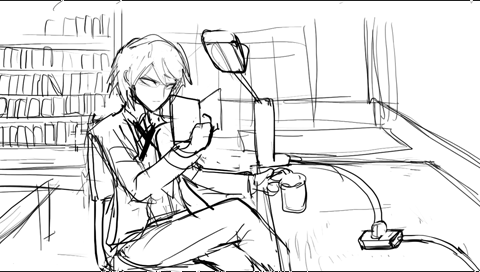
A sketched-out version of a cutscene where Makoto and Toko ineffectively spy on Byakuya. The purpose of this cutscene is to emphasize the extension cable, so the camera angle was adjusted accordingly in the final version.
Full-Length Sprites
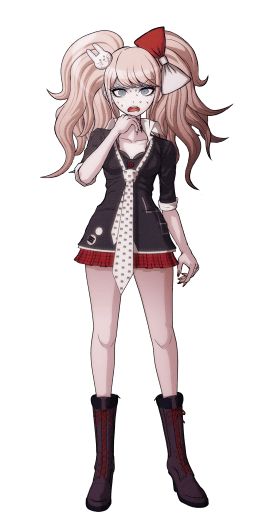
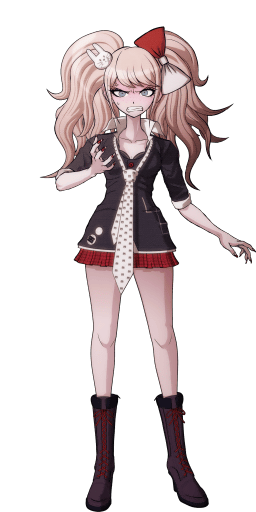
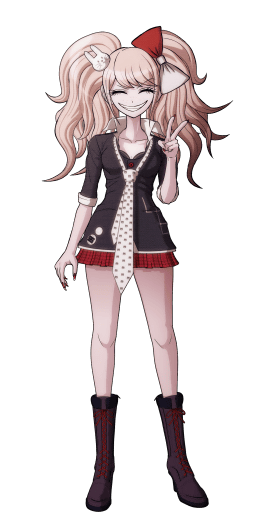
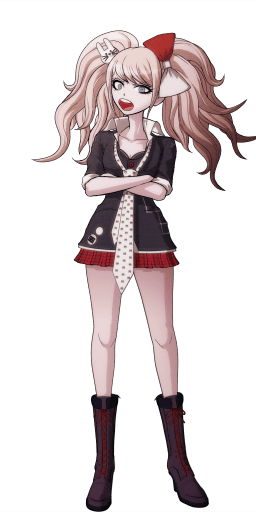
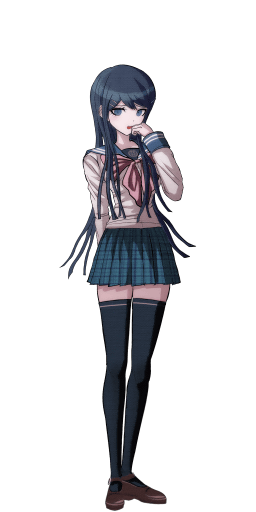
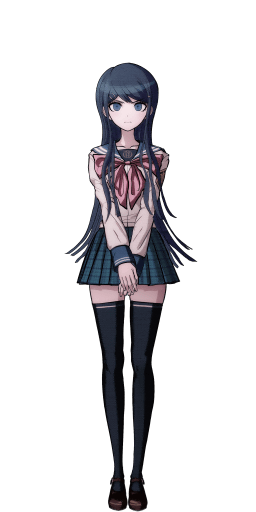
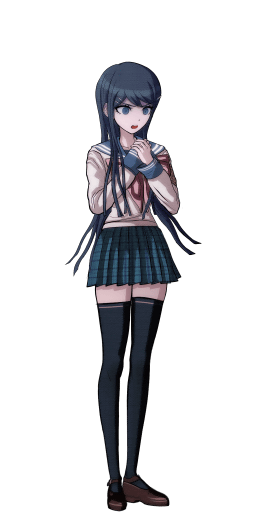
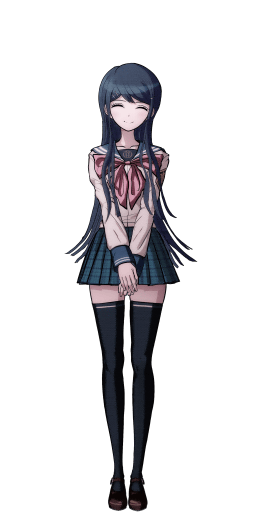
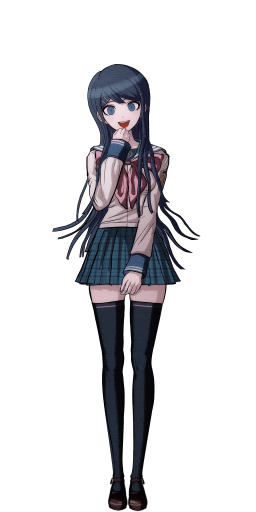
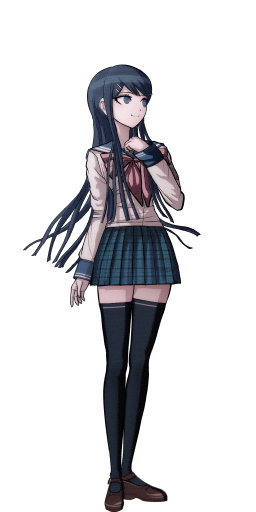
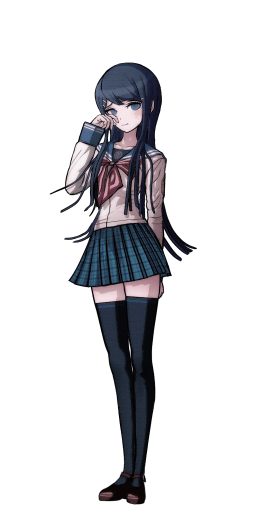
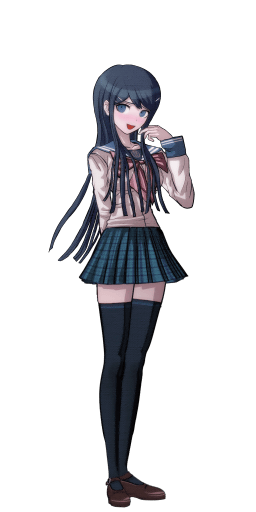
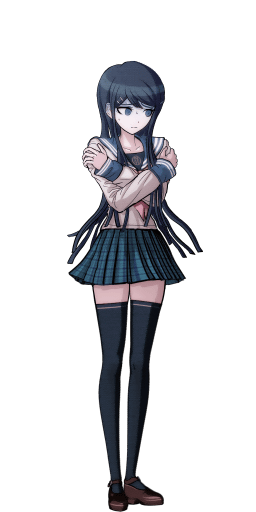
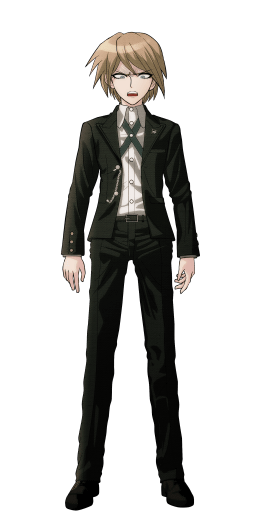
Every character in both the demo and retail game has a complete set of standing, full-body sprites for Class Trials with reactions and emotions. This includes Mukuro Ikusaba (posing as Junko), Sayaka, and Ishida. Their default-emotion full-body sprites can be seen at various points during Free Time events, but those are only the half-size versions. The demo changed several events that occur in Chapter 1 to maintain a sense of mystery. This leads to both Sayaka and Mukuro appearing in the class trial as Yasuhiro is murdered in place of Sayaka, and Mukuro's murder does not occur in the demo. All of the unused full body sprites can be seen below. Some of Sayaka's and Mukuro's full body sprites were eventually used for "Trigger Happy Heart" events in School Mode, which is included in future re-releases of the game.
Mukuro Ikusaba
Sayaka Maizono
Ishida (Kiyondo)
Ishida's last sprite is almost identical to one of Kiyotaka's, except this one has tears.
Makoto Unused Sprite
Makoto has a unused sprite of him being terrified. It's only used in the demo version.
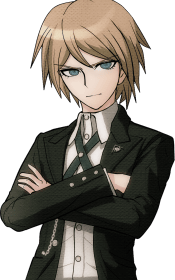
Byakuya without Glasses
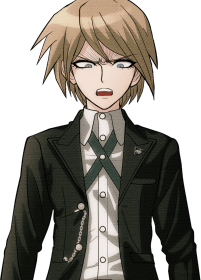
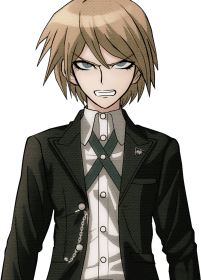
Byakuya has unused sprites without glasses, likely for when Aoi slaps him.
Early Designs
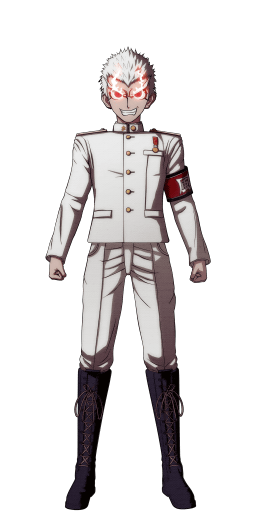
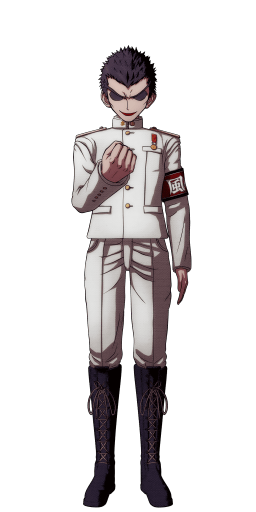
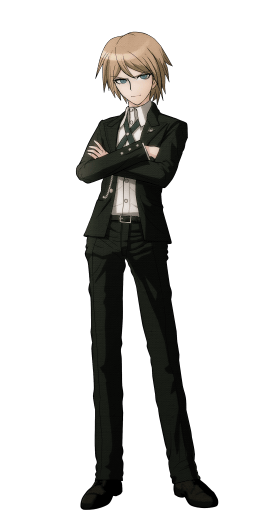
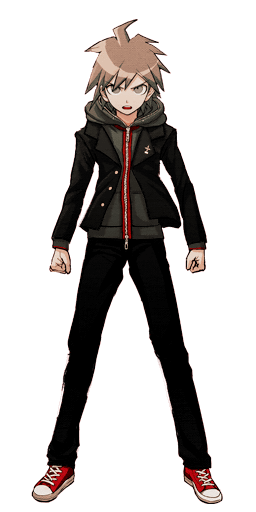
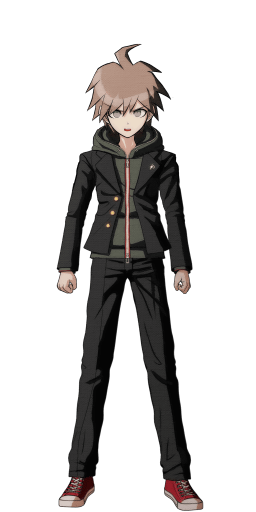
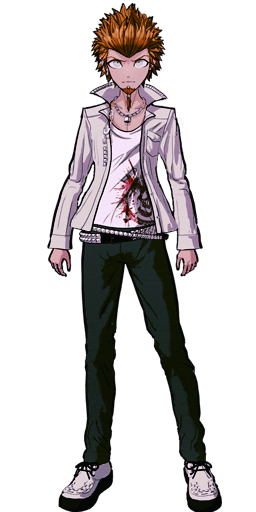
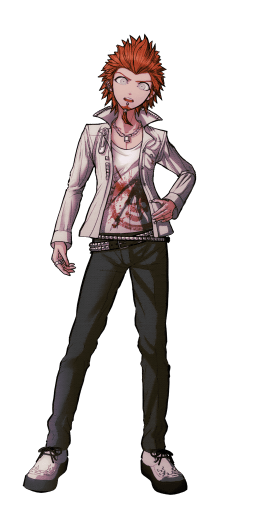
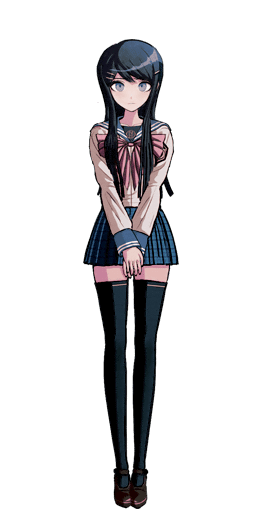
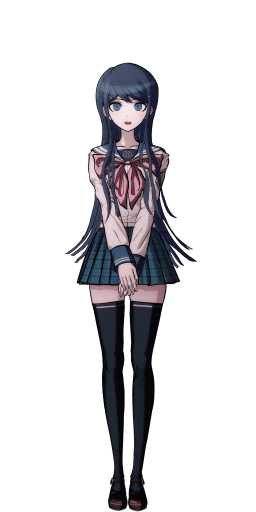
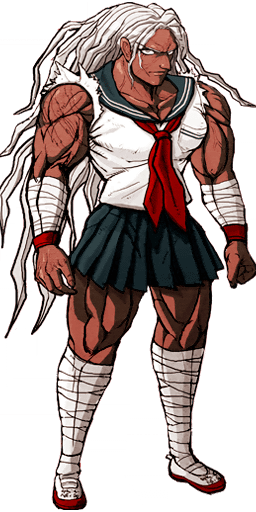
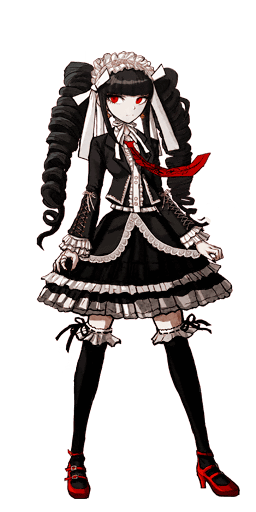
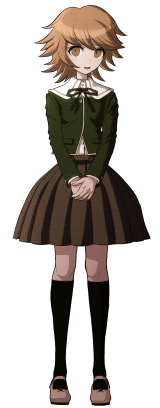
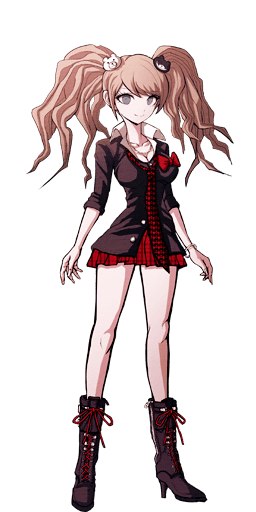
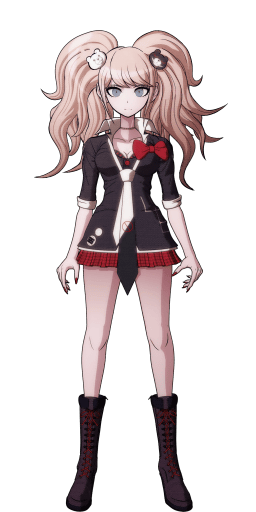
Every character (except for Yamada) has an early full body sprite. These sprites were used as placeholders, and there are still multiple copies of each for certain characters (for example, there are seven copies of Sakura's early sprite following her final designs). Except for Makoto, Leon, Sayaka, Mukuro, Toko, and Junko, these placeholder sprites are identical or nearly identical to the character's concept art in the in-game art gallery. Nearly all of these sprites, except for Kyoko, were used for the early Class Trial footage as mentioned above.
Makoto Naegi
| Early | Final |
|---|---|
 |
 |
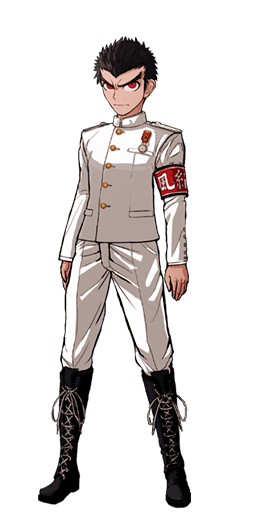
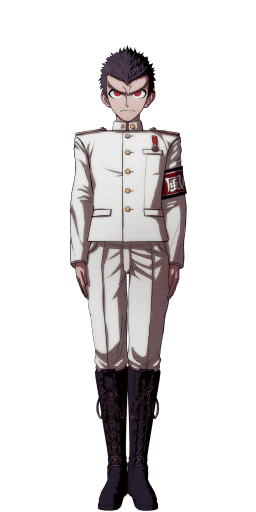
Kiyotaka Ishimaru
In the early Class Trial footage, Kiyotaka's outfit is black instead of being white.
| Early | Final |
|---|---|
 |
 |
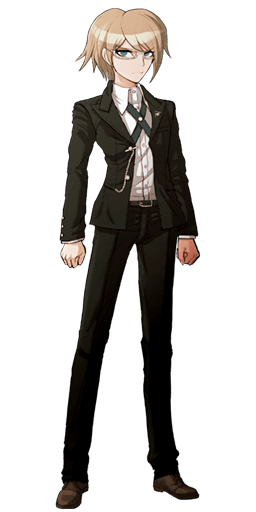
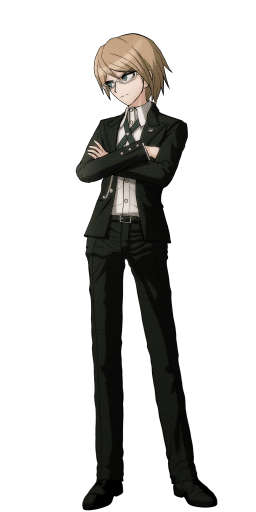
Byakuya Togami
| Early | Final |
|---|---|
 |
 |
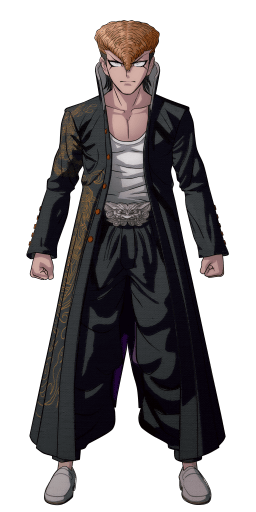
Mondo Owada
The early Class Trial footage had different symbols on his coat.
| Early | Final |
|---|---|
 |
 |
Leon Kuwata
| Early | Final |
|---|---|
 |
 |
Yasuhiro Hagakure
| Early | Final |
|---|---|
 |
 |
Sayaka Maizono
| Early | Final |
|---|---|
 |
 |
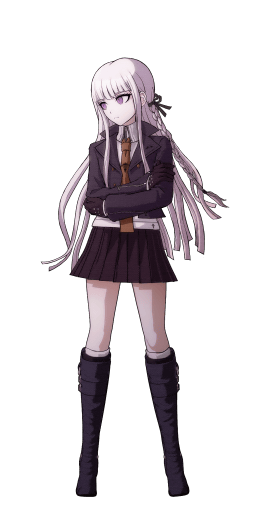
Kyoko Kirigiri
Kyoko's placeholder sprite is missing part of her hair ribbon, which is in her concept art. The early Class Trial footage shows her having a completely different sprite.
| Early | Final |
|---|---|
 |
 |
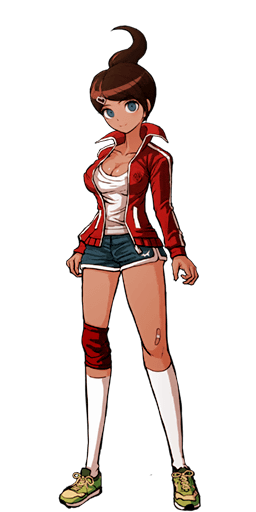
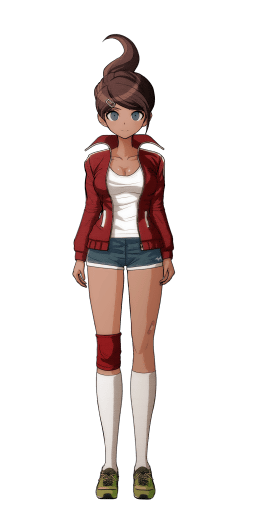
Aoi Asahina
In the early Class Trial footage, her eye color was grey and her breasts were overall bigger.
| Early | Final |
|---|---|
 |
 |
Toko Fukawa
The early Class Trial footage uses the sprite on the left.
| Earliest | Early | Final |
|---|---|---|

|

|

|
Sakura Ogami
| Early | Final |
|---|---|
 |
 |
Celestia Ludenberg
| Early | Final |
|---|---|
 |
 |
Chihiro Fujisaki
| Early | Final |
|---|---|
 |
 |
Mukuro Ikusaba
Ikusaba's tie is solid white, without the bunny-head pattern. The early design is partly used in-game during the beginning, though the upper half is covered by a magazine.
| Early | Final |
|---|---|
 |
 |
Junko Enoshima
Junko's hair is darker, and her undershirt is red with tons of black Monokuma heads, presumably representing the "GAME OVER" cutscenes where the killer is revealed before their execution.
| Early | Final |
|---|---|
 |
 |
Monokuma
| Early | Final |
|---|---|
 |
 |
Unused Text
Scrapped Murder Case
Six pieces of evidence for the scrapped murder case seen in the early Class Trial footage go unused.
| Japanese | English |
|---|---|
| モノクマファイル
被害者は江ノ島盾子。 死亡時刻は午前10時~13時までの間。 死体発見現場となったのは、2組の教室。 |
Monokuma File
Victim: Junko Enoshima Time of death: between 10:00 A.M. and 1:00 P.M. The corpse was discovered in classroom 1-B on the first floor of the school zone. |
| 掃除道具
2組の教室にあった掃除道具。 雑巾やちりとり、ほうきなど。 |
Cleaning Supplies
Cleaning supplies found in classroom 1-B. Brooms, dustpans, cleaning rags, etc. |
| 現場の見取り図
2組の教室の現場見取り図。 |
Map of the Scene
A map of the crime scene in classroom 1-B. |
| 花瓶の破片
現場に落ちていた。 割れた花瓶の破片。 |
Shattered Vase
Found at the crime scene. |
| 舞園の目撃証言
桑田が1人で廊下を歩いていたのを見た。 なんか妙にコソコソしていたらしい。 |
Maizono's Testimony
Maizono claims to have seen Kuwata sneaking around the halls by himself. |
| 霧切の証言
2組の掃除道具の青いちりとりに小さなガラス片が付着していた。 その材質は現場にあった花瓶の破片と同じもの。 |
Kirigiri's Testimony
A small shard of glass was found in the blue dustpan at the scene. Kirigiri says it is made of the same material as the broken vase. |
Ishida Free Time Events
There are also two sets of Free Time dialogue specifically for Ishida, who can never do free time events in the final game due to scaring Makoto off whenever he's talked to. Character names are not part of the unused text and are only included below to distinguish who is speaking.
| Japanese | English |
|---|---|
| そのプレゼントは渡す事ができません。 “重要アイテム” ですので… | Sorry, no can do. Key items don't make great presents... |
| 渡すプレゼントを選択してくださいませ。 | Please select a present. |
| 石田: …いちお、貰っとくぜ。 | Ishida: I'll take it. |
| 石田: サンキューな… | Ishida: Thanks... |
| 苗木: 少しは喜んでくれたかな…? | Naegi: He seems to have liked it a bit... |
| 石田: おーし、気に入った… タイマンしてやんよ… | Ishida: Not bad, not bad... Whaddya say we duke it out, man-to-man? |
| 石田: やってやんぞォ!! ひき肉にしちまうよ? ダボッ!! | Ishida: Let's fuckin' do this! I'll grind you to dust, pipsqueak! |
| 苗木: 良かった。 どうやら喜んでくれたみたいだ。 | Naegi: Thank goodness. It seems like he's satisfied with it. |
| 石田: 上等上等上等… | Ishida: Excellent, excellent, excellent... |
| 石田: 上等なモンくれやがって! クソありがとうございますだゴラァッ! | Ishida: This is fuckin' excellent! Thank fuckin' God for you, muthafucka! |
| 苗木: ここまで喜んでもらえると、あげたこっちも嬉しくなるよな…! | Naegi: With a reaction like that, even I'm feeling a bit of the joy! |
| 石田: オレはよォ… “ダチ”笑われてヘラヘラしてらんねーんだよ… | Ishida: Lemme tell ya a little secret... Bros ain't yer bros just so you can jerk 'em around... |
| 石田: 気合い入れろ、オラァ!! | Ishida: Put your fuckin' heart into it, beeotch!! |
| 苗木: しまった… がっかりさせちゃったみたいだ… | Naegi: Crap... Didn't leave a great impression with that one... |
| 石田: テ、テメェ… | Ishida: Y-You bastard... |
| 石田: なめてんのか!? コラァァァァアアッ!! | Ishida: You fuckin' with me?! |
| 苗木: 怒らせちゃったみたいだ… 印象が悪くなっちゃったな… | Naegi: He looks mad... Not getting any brownie points for that... |
プレゼントを渡さなくてもよろしいですか?
|
Are you sure you don't want to give Ishimaru a present?
|
| Japanese | English |
|---|---|
| 石田: さてと…始めんぞ… | Ishida: Let's begin, then... shall we? |
| 苗木: 始めるって…何を…? | Naegi: Begin... what? |
| 石田: ゼロヨンか? タイマンか? テメーは、道具アリでもいーぜ? | Ishida: You race? You fight? You down with weapons? |
| 苗木: あ、あのさ…石丸クン… 大和田クンの事がショックなのはわかるけど… | Naegi: U-Uhhh... Ishimaru... I know you're pretty shaken up about Owada and all that... |
| 石田: 大和田か… | Ishida: Owada... |
| 石田: あいつは…ハードラックとダンスっちまったんだよ… | Ishida: He... had a date with misfortune... |
| 苗木: …え? 何? | Naegi: Huh? |
| 石田: 月がよぉ…狂ってんだよ… | Ishida: The moon... is disturbed... |
| 石田: おい、いつまで“そこ”にいるんだァ!? あんまチョーシくれてっとひき肉にしちまうよ!? | Ishida: Hey! Whatchu standin' there for?! Keep fuckin' with my mojo and I'll fuck with your face! |
| 石田: オメーは“仲間”だけどよぉ。 “ダチ”じゃねーんだ… | Ishida: You're a companion. But you're no bro... |
| 意味不明な言葉を残して、 石丸クンは僕の前から去っていった。 | After spouting a bunch of gibberish, Ishimaru wandered off. |
| 苗木: 石丸クン…大丈夫かな… | Naegi: I hope he's all right... |
| 苗木: …いや、大丈夫な訳ないよな。 どう考えたって… | Naegi: No, no matter how you look at it, he is not all right... |
| 石丸清多夏の 通信簿 に、今の情報を追記致しました。 | Kiyotaka Ishimaru's report card has been updated. |
| おめでとうございます。 “スキルポイント” が上がりました。 | Congratulations. You earned a skill point. |
| 苗木: 石丸クンと別れたボクは、 いったん自分の部屋へと戻る事にした。 | Naegi: After parting ways with Ishimaru, I returned to my room for a little. |
Revisional Differences
The Observation and Running skills are unlocked from Kyoko's and Aoi's first Free Time Events, respectively. They allow the player to see what objects can be investigated and run faster, respectively, abilities available by default in the PSP The Best re-release, though the skill names and descriptions are still in the files. This would carry over to later ports and subsequent games in the series.
The Danganronpa series
| |
|---|---|
| PlayStation Portable | Danganronpa: Kibou no Gakuen to Zetsubou no Koukousei • Super Danganronpa 2: Sayonara Zetsubou Gakuen |
| PlayStation Vita | Danganronpa: Trigger Happy Havoc • Danganronpa 2: Goodbye Despair • Danganronpa Another Episode: Ultra Despair Girls • Danganronpa V3: Killing Harmony |
| PlayStation 4, Windows | Danganronpa: Trigger Happy Havoc • Danganronpa 2: Goodbye Despair • Danganronpa V3: Killing Harmony (Demo Version) |
| Nintendo Switch | Danganronpa S: Ultimate Summer Camp |
| iOS | Danganronpa V3: Killing Harmony • Danganronpa: Unlimited Battle |
| Android | Danganronpa V3: Killing Harmony • Alter Ego |
- Pages missing developer references
- Games developed by Spike
- Pages missing publisher references
- Games published by Spike
- PlayStation Portable games
- Pages missing date references
- Games released in 2010
- Games released in November
- Games released on November 25
- Games with unused graphics
- Games with unused text
- Games with revisional differences
- To do
- Articles requiring elaboration
- Danganronpa series
Cleanup > Articles requiring elaboration
Cleanup > Pages missing date references
Cleanup > Pages missing developer references
Cleanup > Pages missing publisher references
Cleanup > To do
Games > Games by content > Games with revisional differences
Games > Games by content > Games with unused graphics
Games > Games by content > Games with unused text
Games > Games by developer
Games > Games by developer > Games developed by Spike Chunsoft > Games developed by Spike
Games > Games by platform > PlayStation Portable games
Games > Games by publisher > Games published by Kadokawa > Games published by Spike Chunsoft > Games published by Spike
Games > Games by release date > Games released in 2010
Games > Games by release date > Games released in November
Games > Games by release date > Games released in November > Games released on November 25
Games > Games by series > Danganronpa series
