This is a sub-page of Proto:Resident Evil (PlayStation).
| This page is rather stubbly and could use some expansion.
Are you a bad enough dude to rescue this article? |
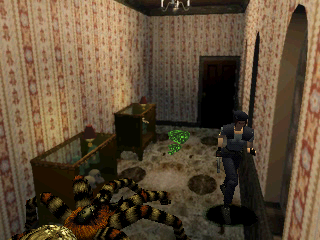
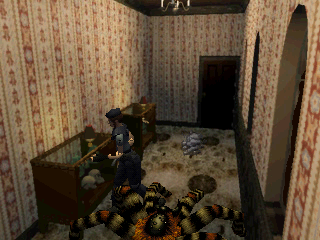
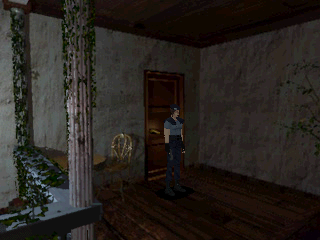
The Sample Ver. 10/04 prototype of Resident Evil (aka Biohazard) is farther along compared to the V-Jump 1995 build but remains far from complete.
With a build date of October 4, 1995, it predates the final version's release by over five months.
General Differences
- The CAPCOM logo used before the title screen has no audio.
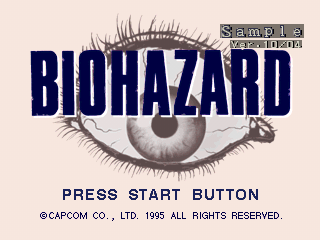
- The title screen now has the text "SAMPLE Ver. 10/04" at the top-right corner.
- The "Biohazard" title call still has not been implemented yet.
- Like the previous prototype, waiting long enough repeats the Capcom logo as no in-game demos have been recorded at this point.
- Jill's story has been started, but at this point, not much else past the cutscene with Barry in the dining room has been implemented. After the first zombie has been dispatched, Barry will have vanished from the dining room rather than waiting there for you, and attempting to re-enter the main hall will not cause the zombie to come into the dining room and attack like in the final. The "Jill sandwich" cutscene has been implemented, however, as Barry will come to save Jill from the ceiling trap.
- Voice-overs have not been done yet, but the (Japanese) subtitles have been written, albeit with slightly different wording. Chris' story script is fully implemented.
- Compared to the August 4, 1995 Prototype, a few more rooms are available:
- 1F Mirror Room
- 1F Dressing Room
- 1F Boiler Room (outdoor terrace)
- 2F Main Hall
- 2F Dining Room Mezzanine
- 2F Corridor, leading to the balcony
- 2F Balcony
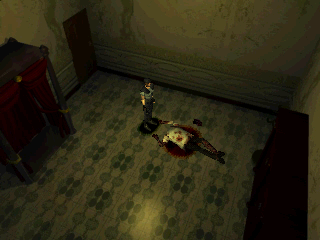
As well as three more rooms only accessible via hacking.
| Sample Ver. 10/04/95
|
Final Ver. 03/22/96
|

|

|

|

|
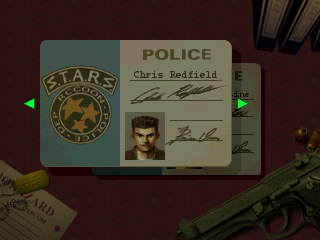
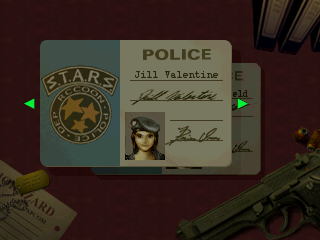
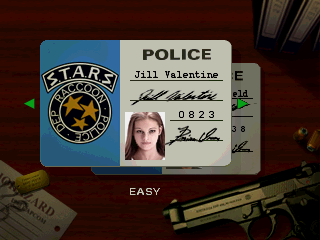
- The character select cards are somewhat different in the Sample 10/04 version than in the final US version. The pictures used for both characters are drawn instead of an actor photo, and additionally, the lighting is darker and the Beretta is at a slightly different angle. The August 4 1995 Prototype contains an earlier version of this screen.
| Sample Ver. 10/04/95
|
Final Ver. 03/22/96
|

|

|

|

|
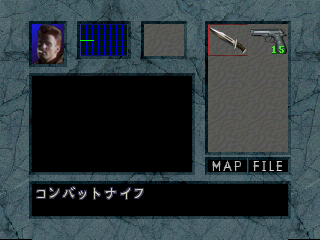
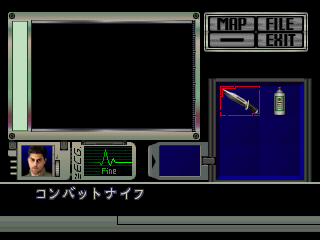
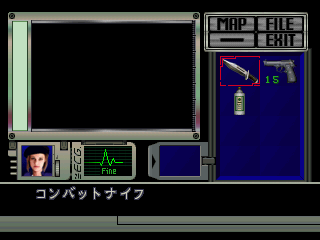
- Pressing Start brings up an inventory screen that looks substantially different from the one used in retail. It is laid out differently and uses a different background. Further, the picture used for Chris is grabbed from the nonexistent in this build intro movie (as evidenced by the cigarette in his mouth). When checking inventory items, it is not possible to zoom in or out. The August 4th build did not have an inventory screen implemented and does not have inventory items in its data.
- Just like in the August 4th build the game ends in this room: when entering it a small cutscene plays where Yawn emerges and the player character begins fighting it. The room looks slightly different than in the final version and has a camera angle unique to the prototype versions. This version of the room can however be seen in the final version: not during gameplay, but in the FMV of the Hunter entering the mansion.
- There is no cinematic black bar at the top and bottom of the screen during cut scenes.
- Door animations differ: once a door is opened, the point of view zooms in and leans toward the opening.
- Unlike in the August 4 Prototype, the "You Died" game over screen is implemented, though with far less grisly looking text.
Gameplay Differences
- Chris has 8 inventory slots, while Jill only 6. It is the opposite in the final.
- Chris has less HP than Jill, unlike in the final where his higher HP count is one of his pro points.
- The three guns available, Beretta, shotgun, and Magnum, behave much like in the January 31, 1996 prototype: with the Beretta, it only takes a few shots to kill a zombie. With the shotgun, the ever-reliable aiming upwards at a zombie's head will instead result in a miss, with headshots now being pulled off by aiming at the zombie's chest if aiming at the right distance and angle. The Magnum is much weaker than in the final, as it takes 2-3 shots to kill a zombie, a spider, or a Hunter.
- Most enemies respawn when re-entering a room.
- Crows behave differently, as they tend to attack less than in the final version, instead flying around the player more.
- Puzzles have not been implemented yet.
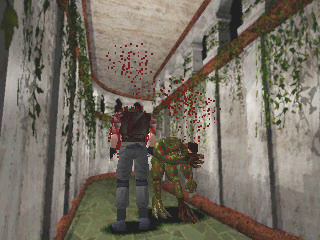
- Hunters have a slightly different look, they have some shades of orange and a lighter shade of green.
Controls
- Following the August 4th build that unintuitively required a directional double-tap to run or turn quickly, this build requires you to hold Triangle (the run button in this build). This makes your character rotate and perform a 180° turn faster, although it does not work while aiming. The concept of a quick turn would be scrapped in the final version and would not surface until Resident Evil 3: Nemesis, which opted for a button combination that performs a quick and automatic 180° turn.
- Turning while aiming is slower than in the final.
- In-game Manual reloading is in this prototype and can be performed by pressing the run button while aiming. The currently-equipped weapon makes the same empty "click" noise when attempting to fire it when out of ammo, and the gun's current clip is refilled. It is possible that this feature was intended for manual reloading with extra ammo in the inventory, however, there is no ammo to pick up in this version, and hacking the game to put some in the inventory doesn't give any results either. The final game only allows reloading via the inventory or when the clip is dry, and this feature wouldn't show up until years later in Resident Evil 4.
- For debugging purposes, ammo is infinite and guns will automatically be reloaded after attempting to shoot with the empty weapon. There is no reloading animation.
- There is no need to aim upwards to shoot a Hunter while it jumps.
- In order to climb stairs in a room, the kind of stairs that does not trigger a loading screen, the player simply just moves forward on them like any other surface. Again, Resident Evil 3: Nemesis later implemented a different take on this feature. The 2002 Remake would actually allow for the player to scale stairs this way as well.
Gore
The violence is slightly more gratuitous in these earlier builds of Resident Evil than in the final, suggesting less constraint in showing the gore in full glory on-screen. This build shows us how much was being done − and how much they wanted to get away with − by this point in time.
Dismemberment


When shooting off a zombie's arm, or when kicking a prone ankle-biting zombie's head off, the body parts remain to be seen on the ground. This was taken out in the final Japanese version. In fact, this feature is absent in most versions of the game and was only re-implemented in the PC versions and in the Japanese Saturn version (but not in the western Saturn versions).
Decapitation


After a Hunter decapitates the protagonist, their head remains held in Hunter's hand, giving the gruesome effect of it admiring its new trophy. Further, during the "YOU DIED" screen, the head can be seen on the floor. This feature was taken out of the final version and never re-implemented in any version.
Maps
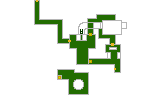
While only a tiny portion of the game is playable, maps for the entire game are present in the game's data. Many of those show layouts that differ from the final version.
Full Map
| Sample Ver. 10/04/95 |
Final Ver. 03/22/96 |
|---|
 |
 |
- The layout of the courtyard differs. Some minor detailing also does.
Courtyard
| Sample Ver. 10/04/95 |
Final Ver. 03/22/96 |
|---|
 |
 |
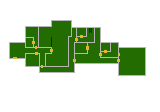
- On the right: the first room of the courtyard differs, as the location of the plants, made the room a bit more "mazey" in the sample version.
- On the left: there is an extra room, located in between the room with the waterfall and the corridor that leads to the dormitory. Note the two white squares in the middle of the room which denote areas the player can not walk onto, it is possible that they were supposed to be bushes or fountains much like there are in the GameCube remake.
Dormitory
| Sample Ver. 10/04/95 |
Final Ver. 03/22/96 |
|---|
 |
 |
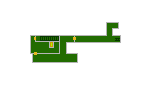
- On the left, the shape of the entrance corridor differs.
- From that corridor, there is an extra room in the sample version, which does not exist in the final. A key to room 004 can be found unused in the game's data, most likely meant for this room.
- Below that room is the storeroom, which is a bit smaller than the sample version.
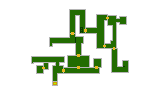
- On the right: In the sample version, there is a second door leading to the main hall (the room with bees in it). Most of the rooms are laid out completely differently in the sample version: the ladder leading to the basement is located in another room, room 003 is missing its bathroom, and the medicine room (presumably) is smaller and located further down south. There is also an extra corridor leading to the room with Plant-42. The GameCube remake will re-use the concept of having the second corridor and the main hall connected from the north side, by having a hole in the wall where the door is located on this map.
Mansion Basement
| Sample Ver. 10/04/95 |
Final Ver. 03/22/96 |
|---|
 |
 |
- On the right and at the bottom: the layout of both corridors differ.
- On the upper-left: the staircase is missing in the sample version, although the door leading to it is present.
| Sample Ver. 10/04/95 |
GameCube remake |
|---|
 |
 |
- The layout of the east corridor was re-used in the GameCube remake, where the Mansion basement is actually a mix between this prototype version and the final PlayStation version.
Under Ground
| Sample Ver. 10/04/95 |
Final Ver. 03/22/96 |
|---|
 |
 |
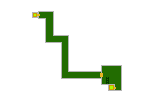
- On the top-right: the hole in the middle of the room is marked in the sample version, it is not in the final.
- In the middle: the corridor leading to the room with the spider boss is smaller in the sample version.
- At the bottom-left: the store room is smaller in the sample version.
Laboratory B1
| Sample Ver. 10/04/95 |
Final Ver. 03/22/96 |
|---|
 |
 |
- On the right: the location of the entrance elevator differs.
Laboratory B3
- Not pictured, the maps differ slightly in that a door is missing in the sample version, which is probably just an oversight as there would be no way to access the entire western portion of the map without it.
Unused Content
Pick-Up Items
Dormitory Keys
| Sample Ver. 10/04/95 |
Final Ver. 03/22/96 |
|---|
 |
 |
- In the final version of the game the room numbers are written directly on the keys, in this version the keys come with a tag with the room numbers on it.


- The model and texture of an inventory item that does not exist in the final version: Key 004. It was probably meant for Room 004 of the Dormitory, a room that does not exist in the final version, as seen in the map section.
- Dormitory room key #002 does not exist in this version.
MO Disk
| Sample Ver. 10/04/95
|
Final Ver. 03/22/96
|

|

|

|

|
Jewels
| Sample Ver. 10/04/95
|
Final Ver. 03/22/96
|

|

|

|

|
- The Blue and Red Jewels have not been carved yet.
Hex Crank
| Sample Ver. 10/04/95 |
Final Ver. 03/22/96 |
|---|
 |
 |
Small Key
| Sample Ver. 10/04/95 |
Final Ver. 03/22/96 |
|---|
 |
 |
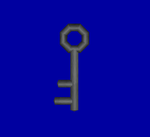
- The Small Key is not so small in the sample version.
- This unknown key has a different shape but is similar to the Small Key. The purpose is unknown, though its rusty look resembles the "Old Key" from the GameCube remake.
White Book
| Sample Ver. 10/04/95 |
Final Ver. 03/22/96 |
|---|
 |
 |
Pickaxe

The Pickaxe, which is still in the final version's data unused, is already present in this version. The 3D model seems identical.
Keypad

- A keypad of purpose unknown. It is found in the character select screen graphical file. An earlier version of it can be found in the August 4, 1995 Prototype.
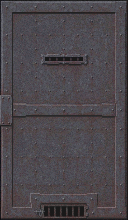
Door

Jill Valentine


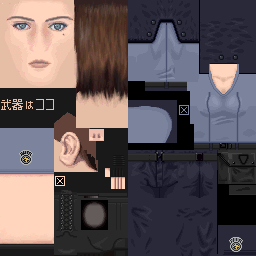
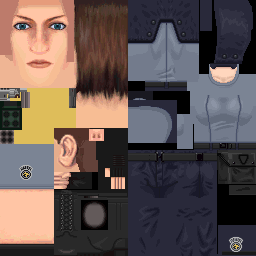
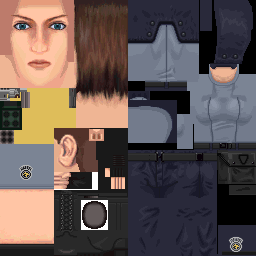
- An unused variant of Jill's model, the exact same version can also be found unused in the August 4, 1995 Prototype. The neckline is more generous than in the final. There is a developer note on the texture, "武器はココ" (The weapon is here).
Rooms Data
- For the game to be able to display models and sprites in a room, data for them is stored with the data of the room. The dining room has data for a fire sprite, the same fire sprite is used in the final when a fireplace is lit. The dining room does have a fireplace, but it remains unused, like in the final version.
- Similarly, the same fire sprite, as well as the Beretta model, can be found in the data pertaining to the room which has the shotgun on display. This room also has a fireplace.
Graphical Differences
Jill Valentine
| Sample Ver. 10/04/95
|
Final Ver. 03/22/96
|

|

|

|

|
|
|
|
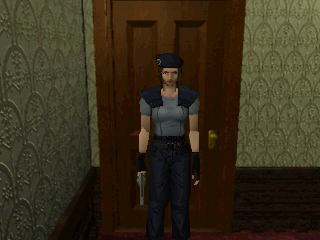
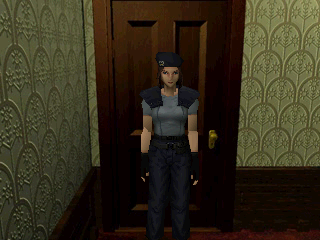
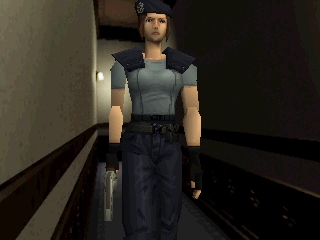
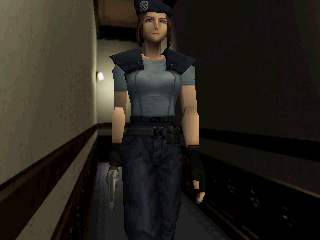
Jill looks quite different in the sample version: her nose, mouth, and eyebrows are bigger. The color of her skin on the chest is lighter. Parts of her costume and shading were touched up for the final version also. See also the Unused Content section for another variant.
Spider
| Sample Ver. 10/04/95
|
Final Ver. 03/22/96
|

|

|
|
|
|
- The spider's poison spit is a much more vibrant green in the prototype.
Lighting
As detailed in the page pertaining to the January 31, 1996 prototype, Resident Evil has a dynamic light system that casts lights and shadows on 3D models.
- The lighting differs a lot in this version and is brighter in most rooms.
| Sample Ver. 10/04/95 |
Final Ver. 03/22/96 |
|---|
 |
 |
- The lighting on the balcony has a blue tint.
Game Over Screen
| Sample Ver. 10/04/95 |
Final Ver. 03/22/96 |
|---|
 |
 |
The "You died" text on the game over screen is written rather regularly if scratched compared to the bloodier text in the final game.
Rooms Data
Most room backgrounds appear to be identical to the August 4 Prototype. However, there are some differences, some changes are unique to this version and differ both from the August 4 Prototype and the final version. It is also worth noting that even when a room background appears to be identical to the final version, shading and color differences can exist.
| To do:
Compare rooms with the final version when it differs from the August 4 Proto. |
Inacessible Rooms
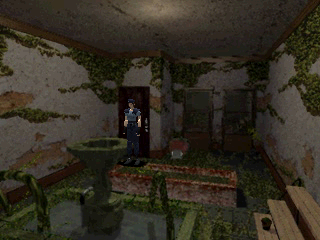
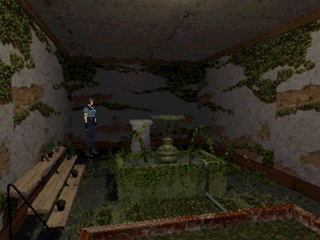
Data for three rooms not accessible to the player during regular gameplay exists. They are playable via hacking, although, except for the doors which are functional, the rooms have no interactivity.
1F West Corridor


First shot: the door, despite being locked on the other side, leads back to the tea room. The door leading to the guard's room and to the botany room is also functional, but the other two are not.
The layout of the corridor is identical to the final and most camera angles match the final.
The wallpaper differs from the final, although this particular design is used in the final in the 1F East Corridor, with different colors.
The text on the door leading to the Tiger Statue Room says, somewhat unsurprisingly: "It seems to be locked".
Guard's Room


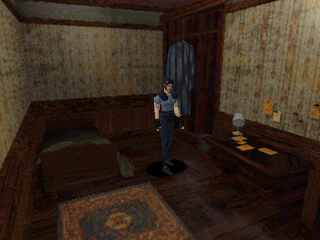
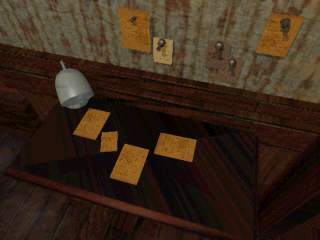
Some of the furniture match with the final, though the placement of the desk and of the bed are swapped. When stepping close to the desk and to the closet, the camera switches to extreme close-ups. It is unsure if the closet trap has been thought of yet at this point.
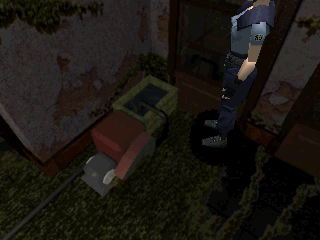
Botany Room


The layout of the room and the camera angles match the final. The window revealing the hidden part of the piano room is not present yet. The close-up of the watering system indicates the puzzle was already thought of.
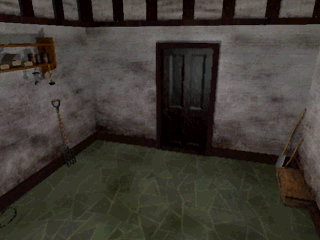
Shed

A camera angle that can not be seen during regular gameplay.
