Proto:Nintendo DS/ver.40820D
This is a sub-page of Proto:Nintendo DS.
This was documented on Forest of Illusion.
A prototype version of the Nintendo DS firmware was dumped and released on July 30, 2022. This firmware was saved from a prototype console labeled "NTR-CPU-X4" with a very low serial number (NTPAB20003). It also lacked any soft rubber covering the screws or printing on the case itself, such as the Nintendo DS logo.
This particular build of the firmware has a version number of ver.40820D (possibly August 20, 2004), and has many more features compared to its earlier counterpart.
Main Menu
Starting this firmware up will greet you with a rough recreation of the Game Boy Advance BIOS with a sound effect of Japanese children cheering "Nintendo!". This sound effect was used for the "Nintendo" screen in the Game Boy Advance game Sakura Momoko no UkiUki Carnival, developed by Nintendo Special Planning & Development (now known as Nintendo System Development); a division of Nintendo known for hardware and peripheral development.
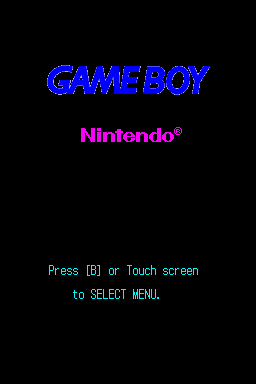
Inserting a cartridge in SLOT-1 will make the Nintendo logo appear. On the bottom of the screen is text that reads "Press [B] or Touch screen to SELECT MENU.". Pressing either buttons while a cartridge is inserted will skip autobooting and boot into the main menu.
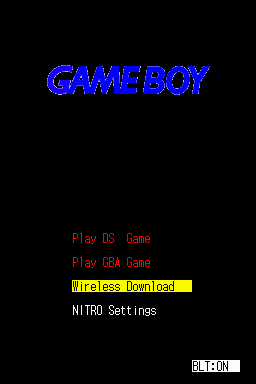
Unlike ver.040615, this build has a menu, though it's very barren. You get the option to either start a DS cart, GBA cart, start Wireless Downloads (aka Download Play) or go to the settings. Pressing R will enable or disable the backlights. Pressing the first two options when carts are enabled in SLOT-1 or SLOT-2 will start whatever is inserted as it should.
Wireless Download
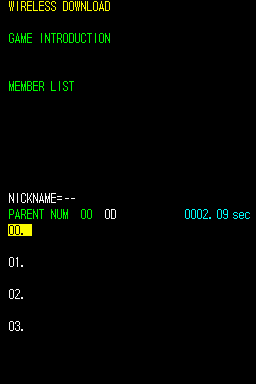
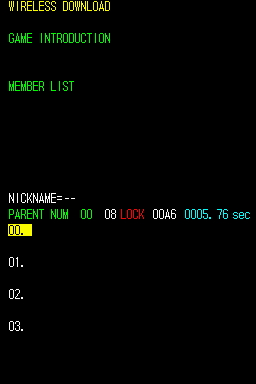
Selecting Wireless Download will bring you to a barebones Download Play menu, which still has more going on than its earlier counterpart. On the top screen is a game's Download Play description and a list of names of consoles that are sending out Download Play content. On the bottom screen is a list of 16 available slots, your console's name and the amount of time you've been in this menu. Connecting isn't possible however, and will bring up red text reading LOCK whenever the console detects a connection. The values on the right determine for how much longer connections will be locked. Pressing B will stop the application immediately with Japanese text reading Completed. A hard reset is required to go back to the main menu.

NITRO Settings
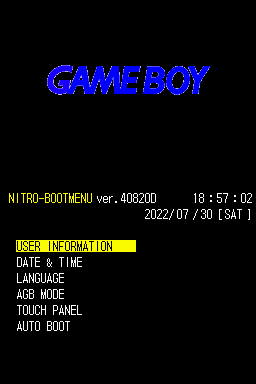
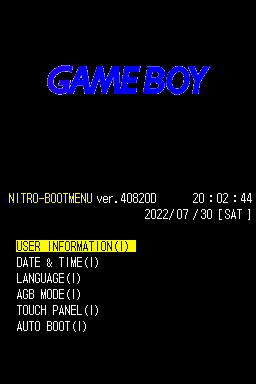
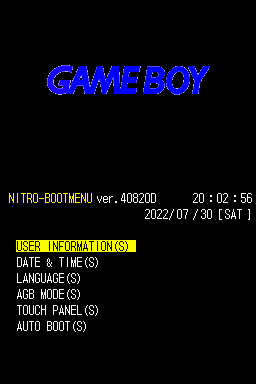
Selecting NITRO Settings will keep the Game Boy Advance logo on the top screen and boot you into the console's settings. On the bottom screen is the firmware's version number, and the console's date and time. The different setting options go as follows:
- USER INFORMATION: Change your console's name, your birthday and color.
- DATE & TIME: Change the console's real time clock.
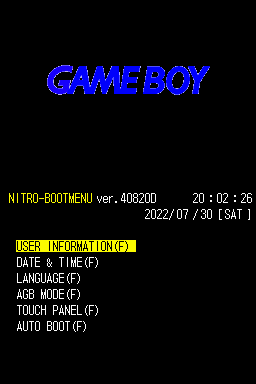
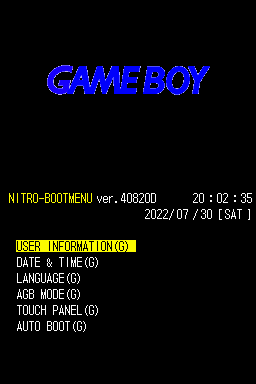
- LANGUAGE: Change the console's language. Japanese and English are the only real options. Selecting any other options will give you every piece of text ending with the first letter of the selected language.
| French | German | Italian | Spanish |
|---|---|---|---|
|
|
|
|
- AGB MODE: Select if you want to play Game Boy Advance games on the top or bottom of the screen. The default setting is top.
- TOUCH PANEL: Recalibrate the touch screen. Rather than being able to touch 4 induvidual dots after calibrating, you can instead drag a cursor across the screen.
- AUTO BOOT: Turn autobooting into a SLOT-1 cartridge on or off. The default setting is off.
Blanking out all settings by writing FF starting at 0x3FE00 will start a "first boot". The top screen will remain white while the bottom screen displays all the info. Turning off the console before the setup completed and turning it back on will return you to the setting you didn't fill in. You'll scroll in order through the following settings:
- LANGUAGE (Select language.)
- TOUCH PANEL (Calibrate touch panel.)
- DATE & TIME (Set RTC.)
- USER INFORMATION > INPUT NICKNAME (Input nickname.)
- USER INFORMATION (Set user color.)
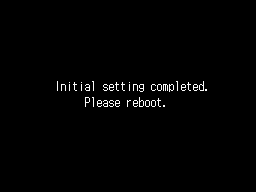
After completing these 5 settings, text will display reading "Initial setting completed. Please reboot.". Rebooting will bring you to the main menu.
