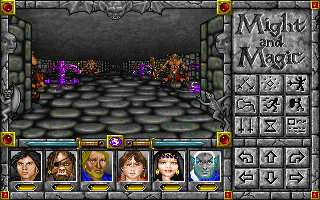
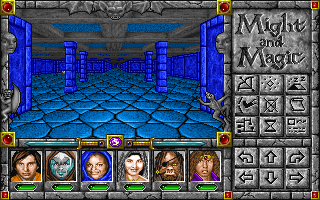
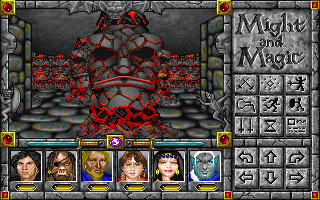
This page details one or more prototype versions of Might and Magic V.
In 1993, New World Computing released a non-interactive game demo for their upcoming Might and Magic V: Darkside of Xeen. Unlike the previous demo, this one's engine was more in-line with that of the final product. However, there were still a handful of changes between the demo and the final game.
| To do:
[[https://web.archive.org/web/20231017105936/https://www.triforce-legend.com/site/linkael/jv_hack/mm/Xeen_MapsDL.zip Savegames with demo maps
Is there a way to disable the auto demo sequence to allow free movement to see if the rest of the game engine is enabled in the demo and what might be different from the final version of the game?
Revise article with a little more reasoning on what things were based on an earlier build of the game and what things were likely altered/omitted solely for the demo, probably to reduce the demo to take up the least amount of harddrive space and simply for demonstration purposes.]] |
Early Textures
| Autoplay demo |
Final game |
|---|
 |
 |
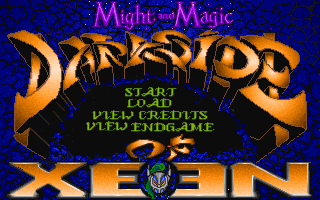
The "View Endgame" option on the title screen was exchanged for "Other Options," in the final game. Additionally, the font for the options is a bit different.
| Autoplay demo |
Final game |
|---|
 |
 |
Distant sprites are rendered a little differently, in the final game.
| Clouds of Xeen
|
Darkside demo
|
Darkside final
|

|

|

|
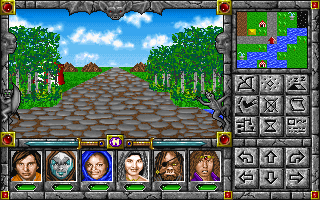
The overworld pathways still use the Clouds of Xeen cobblestones, rather than the shattered-looking dark stone. Additionally, the mini-map icon for said pathway is either miscolored, or has been altered, in the demo.
Town
| Autoplay demo |
Final game |
|---|
 |
 |
Cave
| Autoplay demo |
Final game |
|---|
 |
 |
| Autoplay demo |
Final game |
|---|
 |
 |
| Autoplay demo |
Final game |
|---|
 |
 |
| Autoplay demo |
Final game |
|---|
 |
 |
| Autoplay demo |
Final game |
|---|
 |
 |
| Autoplay demo |
Final game |
|---|
 |
 |
| Autoplay demo |
Final game |
|---|
 |
 |
| Autoplay demo |
Final game |
|---|
 |
 |
| Autoplay demo |
Final game |
|---|
 |
 |
| Autoplay demo |
Final game |
|---|
 |
 |
| Autoplay demo |
Final game |
|---|
 |
 |
| Autoplay demo |
Final game |
|---|
 |
 |
| Autoplay demo |
Final game |
|---|
 |
 |
Dungeon
| Autoplay demo |
Final game |
|---|
 |
 |
| Autoplay demo |
Final game |
|---|
 |
 |
Map Icons
| Autoplay demo |
Final game |
|---|
 |
 |
Maps
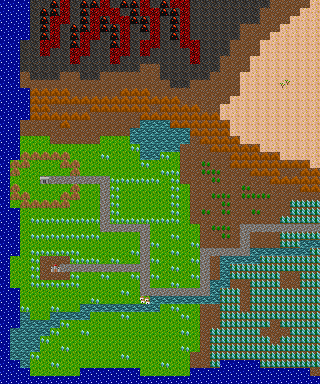
World (02 : Area A2 - 03 : Area A3 - 04 : Area A4 - 06 : Area B6 - 07 : Area B7 - 08 : Area B8)
| Autoplay demo |
Final game |
|---|
 |
 |
The demo takes the player (or viewer) on a path that would later become A4 X14 Y11 to A3 X04 Y09, in the final game. Strangely, it's the only time the Minimap is active in the entire demo. As such, it's also the easiest part of the game to compare to the final version.
Many objects were added to that area of the final game's map:
- A4 X15 Y12: Tent - Castleview town pass vendor
- A4 X13 Y15: Shrine - Luna the Druid
- A3 X11 Y01: Well - no distinct properties
- A3 X08 Y10: Tent - Dreyfus, High Priest of Mok
- A3 X13 Y12: Tent - Simon, the Emerald Gemsmith
- A3 X04 Y09: Tower - Great West Tower
- A3 X02 Y10: Well - Well of Spells
Additionally, in the final, there is a load point six squares north of town leading from A4 to A3. This is because while the overworld in the demo is one double-sized map, the overworld is split into 24 separate maps organized into a 4-by-8 grid, in the final.
Early Dungeons
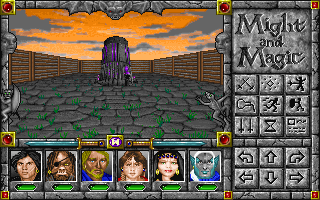
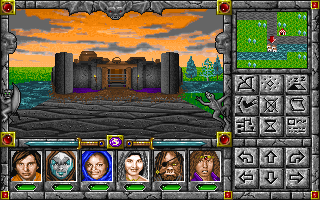
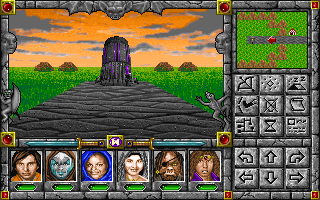
Four different locations are highlighted in the demo: a town, a "tower," the overworld, and a "dungeon." All of the locations do end up in the final game, though the dungeons, in particular, received some noteworthy changes.
Castleview (29 : Castle View)
| Autoplay demo |
Final game |
|---|
 |
 |
Town Tower (32 : Sandcaster Sewer)
| Autoplay demo |
Final game |
|---|
 |
 |
| Autoplay demo |
Final game |
|---|
 |
 |
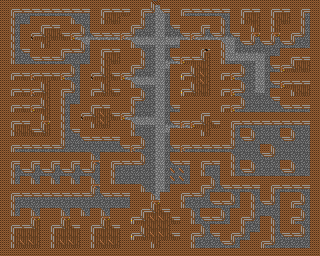
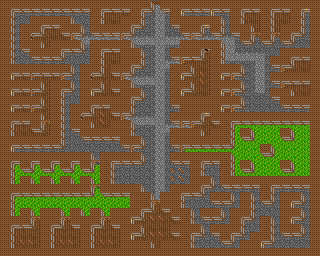
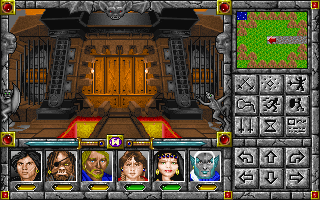
The tower within the town – which would later become Ellinger's tower – leads into what appears to be a… mine. This "tower mine" segment would later become the southwest corner of the Sandcaster Sewers (from X03 Y05) and, as such, gained some water and a sewer grate.
Here's a map of the relevant segment of the Sandcaster Sewers, from the final.
Distant Dungeon (44 : Castle Kalindra Dungeon)
| Autoplay demo |
Final game |
|---|
 |
 |
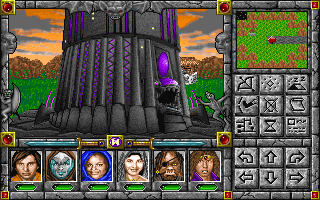
A dungeon sits within a circle of mountains and surrounded by immobile monsters (for demonstration purposes). In the final game, this dungeon is replaced by a tower, instead.
| Autoplay demo |
Final game |
|---|
 |
 |
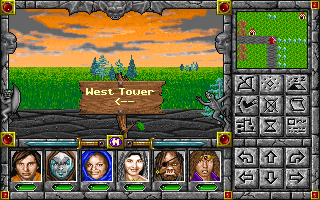
Also of note, the sign on the overworld pointing to the dungeon was also changed to reflect the dungeon becoming a tower.
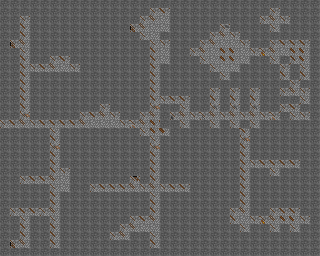
Amusingly, what served as a place to show off more monsters and end the demo became a part of a relatively-peaceful area, in the final game: the Castle Kalindra Dungeon (starting at X13 Y15). As such, its graphic set and music loop was changed from the dungeon set to the castle one. (It makes sense in the context of the game, really!)
Here's a map of the relevant segment of the Castle Kalindra Dungeon, from the final.
Other Differences
- The opening cutscene is missing the conversations between the Dragon Pharaoh and Queen Kalindra, the "monstrous friends" of Xeen, and Ellinger.
- Alamar uses Lord Xeen's laugh instead of his own, semi-mechanical laugh.
- The title screen uses "Town Night B" as its theme. In the final, "Newbright" is used instead.
- The party in this demo is the default party in the final game, unlike the Might and Magic IV demo.
- For whatever reason, the party's interface is locked in "Combat" mode through the entire demo.
- The World of Xeen teaser title screen uses "Outdoors: Day 3" as its theme. In the final, "Newbright" is used, instead.
- "Outdoors: Day 3" would become the Final Score theme, in the final.
