Proto:Loom (DOS)
This page details one or more prototype versions of Loom (DOS).
There was a demo created for the 1990 Winter CES which is dated 2/1/1990. This demo was released to the public in both long-form and short-form versions; in the latter several scenes from the long version were cut out.
General Differences
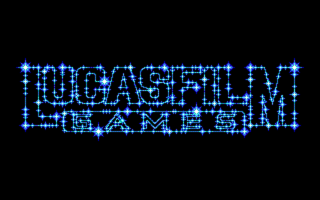
An alternate Lucasfilm Games logo.
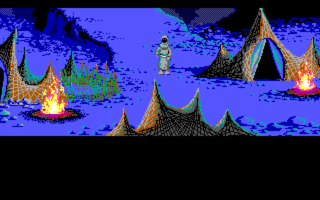
There were originally some reeds growing on one side of the tent housing the Loom, which were later removed.
The scythe room in Crystalgard doesn't have its bells drawn in yet.
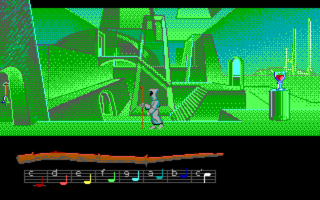
In the chalice room in Crystalgard, the area around the distant doorways in the upper-left corner shows an earlier stage of the pixel art. (This is actually caused by an object being drawn on screen around that area, which wasn't updated when the underlying background was changed.)
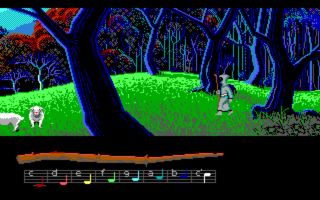
The Shepherds' pasture originally had more area of forest on the right side of the screen.
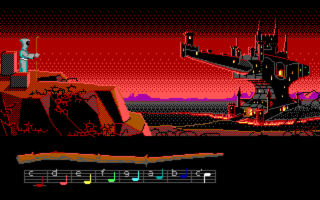
The branches on the right side of the screen on the Forge plateau were later redrawn.
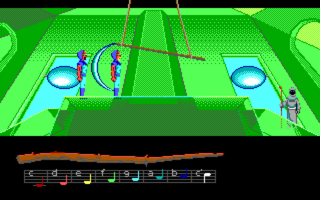
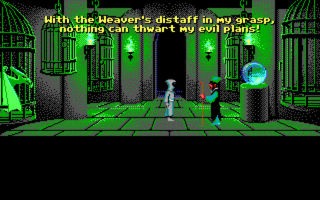
The cages in Mandible's tower were originally closed. In the published DOS EGA version, all the cages except the ones for Bobbin and the beast are permanently open. (Presumably in order to save disk space and avoid redrawing them in the open position after Mandible tears open the Pattern.)
In the FM Towns and DOS CD versions, these cages are always closed, and stay that way even after Mandible opens the Pattern.
Unused Graphics
An unused animation for a seagull picking up the clam on the Loom Island docks and dropping it on the ground, causing the clam to break open.
|

|
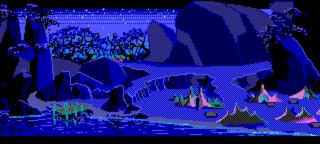
In the resource files, the tents on Loom Island have a magenta color that suggests they were meant to glow with a color-cycling effect to show reflected light from the campfires outside them. When running the demo, no such effect appears, and the magenta color appears as a static brown, like in the final game.
Note that the only two tents are accessible. In pre-release screenshots, the Guild Treasury Tent and Hetchel's tent were originally a single location. However, by the time of the demo's release, the Treasury had been moved to its own tent, since its interior appears in the demo. The exterior background might not have been extended yet.
| Variable graphics areas in the demo | Variable graphics areas in the game |
|---|---|
|
|
|
|
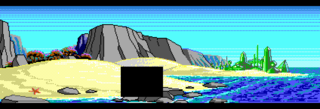
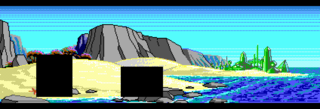
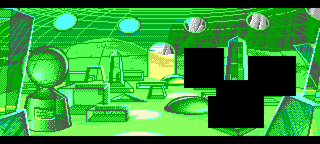
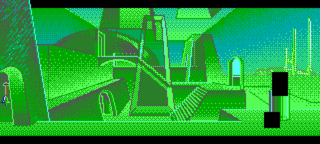
Like in the final game, the backgrounds for the beach and the Crystalgard graveyard in the resource files have areas marked for variable graphics that are unused. However, the boundaries of the areas in question are different. No alternate art for these areas is included in the demo files, though the boundaries being changed would suggest the effects in question were still being tweaked after the demo's release.
| Variable graphics areas in the demo | Glass shards below pedestal | Variable graphics areas in the game |
|---|---|---|
|
|
|
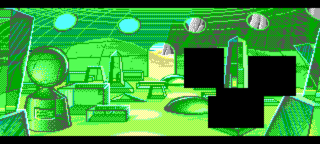
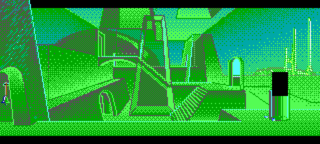
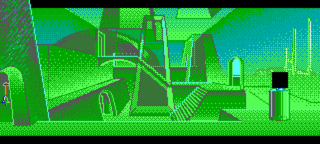
The chalice room in Crystalgard has several areas for variable graphics related to the Chromax Conundrum. One of them is at the foot of the pedestal; the image here survives, showing some fallen glass shards. The variable area for the chalice itself is also larger than in the final game, encompassing the whole of the cup rather than just the upper part that Bobbin can fill with wine.
