Proto:Duke Nukem 3D (PC)/LameDuke/Episode 3
This is a sub-page of Proto:Duke Nukem 3D (PC)/LameDuke.
Suck Hole is the third episode in Lameduke. The level starts out in a prison, but seems to be set up so that the player eventually infiltrates an underground base deep under the ocean via an oil rig. Most levels have very few or no enemies. Several levels are broken, such as important doors never being able to open or special effects meant to progress through a level being busted. This episode has no Octabrains and marks the last appearance of the Femanoids.
Something interesting is that these levels (except for a single small shot of one of the levels that appears to have been taken in the middle or middle-late of 1995, long after Lameduke was compiled) never appeared in pre-release materials, nor were they ever mentioned in articles. This means that Lameduke is the only proof of Episode 3 and its concepts existing.
Contents
Intermission Screen
This episode, along with the following one, does not have a picture when starting it. This results in the demo being played spazzing out with "Press Start to Continue" being displayed at the bottom of the screen.
N1.MAP
N1.MAP is the first level in Episode 3. It takes place in a prison that Duke is trapped in. The objective is to open the main gate in order to escape the prison.
The player starts in a dark cell. Opening the door will reveal a small prison cell block with some Troopers and two floors. On the second floor is an elevator leading to the main floor of the prison.
In the center of the prison's main building is the first of two switch rooms. These switch rooms have switches that enable or disable the laser beams guarding the various prison cells in numbered blocks. The center of the first switch room also has a switch that disables or enables a laser barrier that blocks access to the courtyard.
Just to the left and right of the first switch room are elevators leading up. These lead to more prison cell blocks, access paths to the prison's towers (which are currently blocked if the player has only visited the first switch room, even if all of the switches were used), and an elevator that leads to a higher room that contains nothing.
The rear of the first switch room contains an elevator that leads to a small area that has a laser barrier and three switches on various corners. The switch to the left of the elevator will disable the laser barrier, revealing a hallway that has two more elevators blocked off more by lasers. The switches to the left and right of where the laser barrier was disables the elevator barriers.
Taking a left or right after the three switch room will lead the player to the courtyard. The player will face the main gate soon after leaving the interior, but it cannot be opened yet. The courtyard can be explored, revealing some enemies, including two Drone 1s that appear out of pillars near the entrance to the interior.
After exploring the courtyard, the player has to go back to the elevators that were blocked with laser barriers in order to access the basement. The basement contains a room that has several Troopers in a small cage, which can be opened with a nearby switch for fun (though Lameduke's physics often means that one or two will somehow manage to escape on his own) and a switch to the right of the cage.
The basement contains two more prison cell blocks, one on each side, though there's nothing interesting in them. The prison blocks converge on a room with two pillars in front of a laser barrier. However, the laser barrier will not be active if the player did not hit the switch marked "6" in the first switch room. If the barrier is on, there is a switch opposite of the barrier to activate it.
After running through the barrier when it's deactivated, the player will face another barrier. In order to deactivate it, the switch that can be seen on the other side of the barrier must be shot. The Pistol and Plasma Gun work, but the Plasma Gun's projectiles will always pierce through the barrier, making it easier to hit the switch.
Past the other barrier is the second and final switch room in the level. This room has switches that control the elevators that lead to the lower rim, the barriers that prevent access to the upper rim, and most importantly, the front gate. There is also what appears to be an elevator on the opposite side of the final switch room, but it doesn't seem to be usable.
When all switches in the final switch room are activated, the player has to redo the laser barrier "puzzle" they have just done to get back into the rest of the basement. After getting into the basement, the player can head back to the floor that leads to the courtyard.
The player can exit the level any time after activating all switches in the final switch room, but the level still has more in it.
To explore the lower rim of the prison, the player has to go back to the first switch room, then take a left or right and follow the hallways until they see an elevator. Use it, then take it down to access the lower rim. The lower rim is a simple corridor that's meant to represent the underground part of the rim surrounding the prison. In addition to the elevator taken, there is one elevator that leads to one side of the courtyard, while another leads to a part of the upper rim. This part of the upper rim finally lets the player see the area beyond the rim and contains a lot of RPG ammo for some reason. No matter what entrance to the lower rim is used, they're connected in a way so that the player will reach the other one.
The last parts of the prison to explore are the towers, which can be accessed via the walkways found on the level above the first switch room. The left tower leads to a room containing a switch that does nothing, while the right one has a Trooper and a propane tank in it. Destroying the propane tank will blow off the right tower's top.
After exploring all of the prison, the only part left is the ocean area outside the prison. To reach it, either jump down off the upper rim or paths to the towers, or open the main gate in the courtyard. The outer area contains several rocky areas, an RPG, and a dock. Getting near the end of the dock will exit the level.
N2.MAP
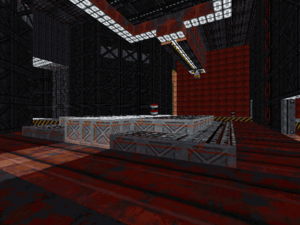
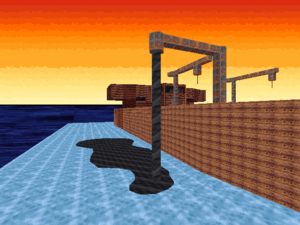
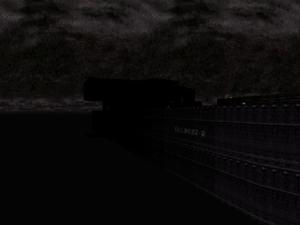
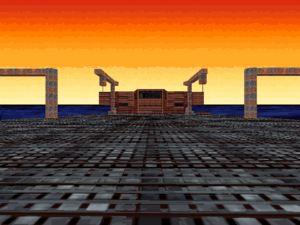
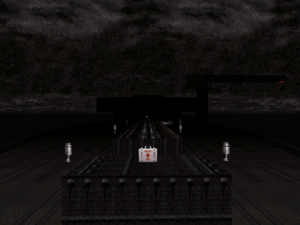
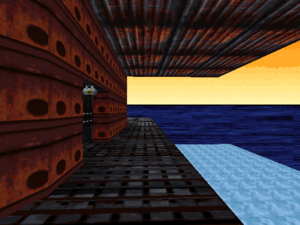
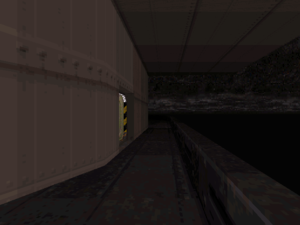
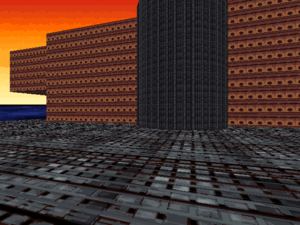
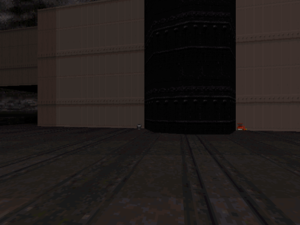
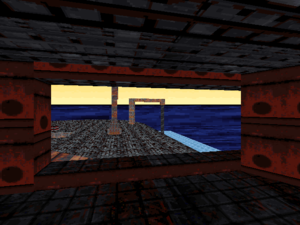
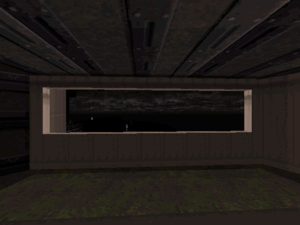
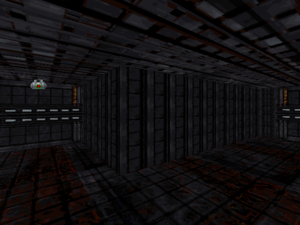
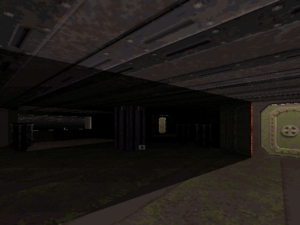
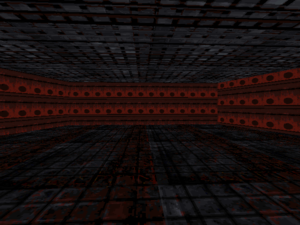
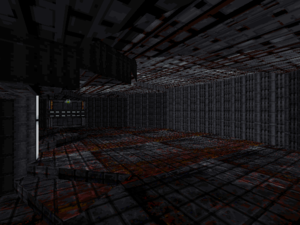
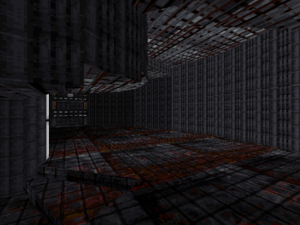
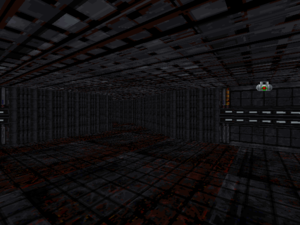
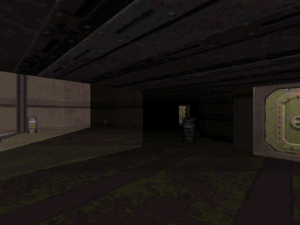
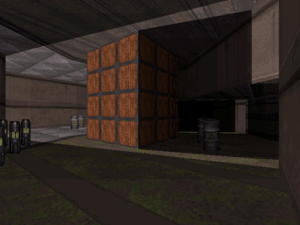
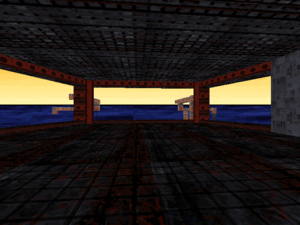
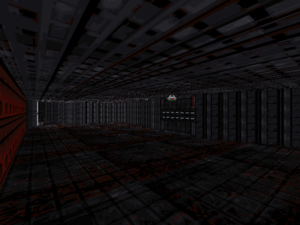
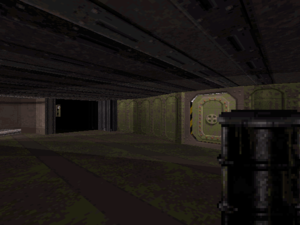
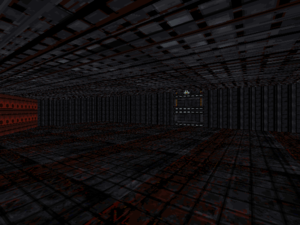
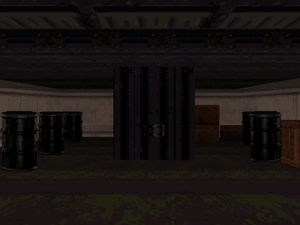
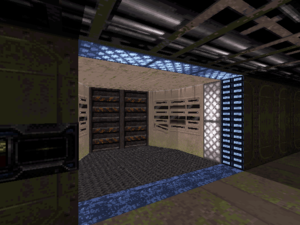
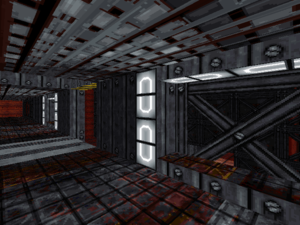
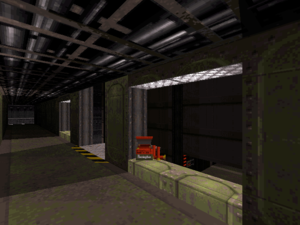
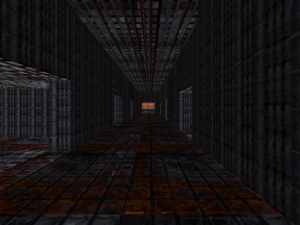
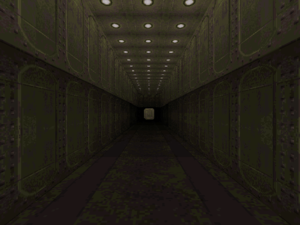
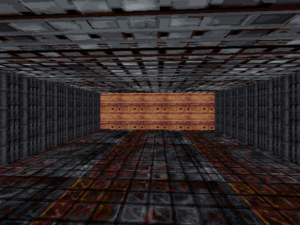
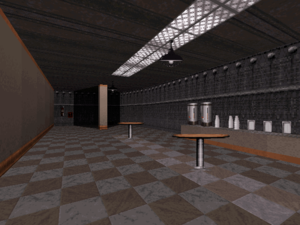
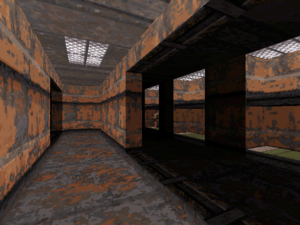
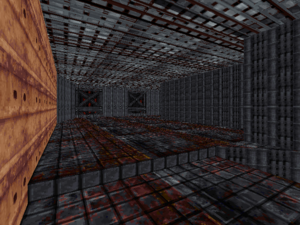
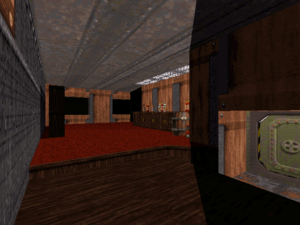
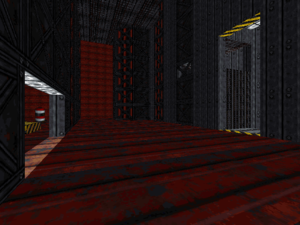
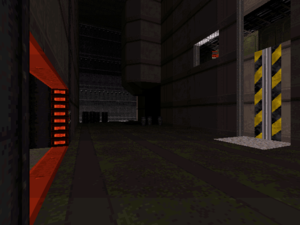
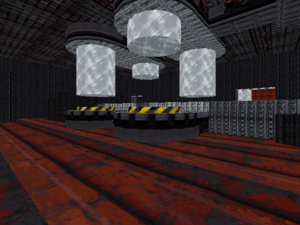
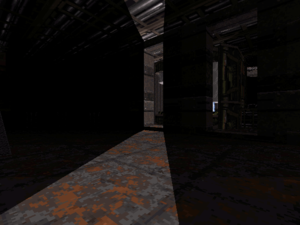
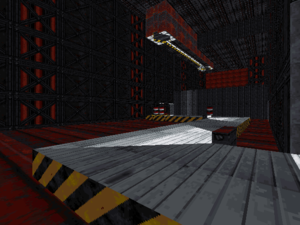
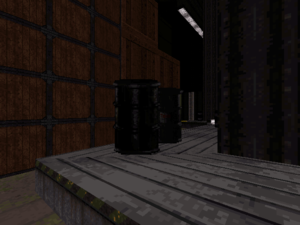
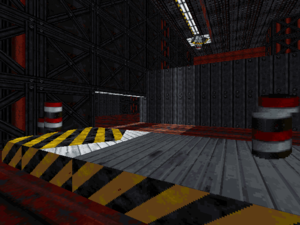
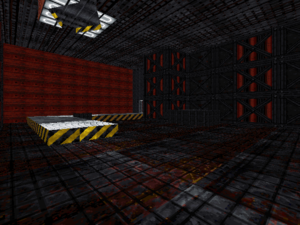
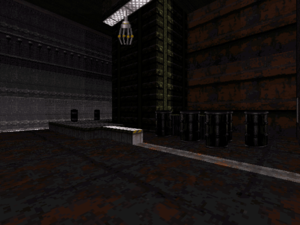
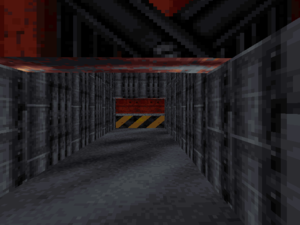
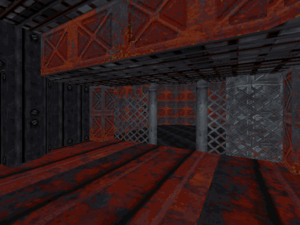
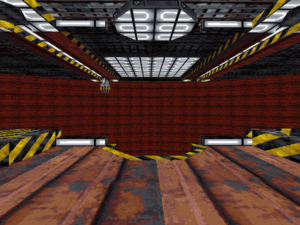
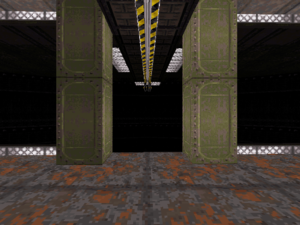
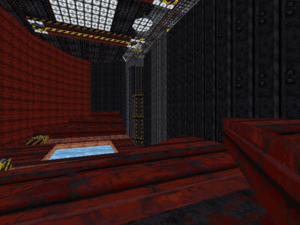
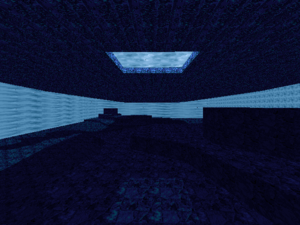
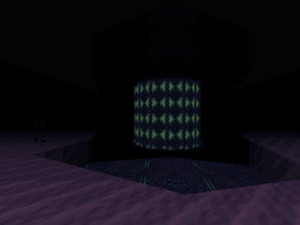
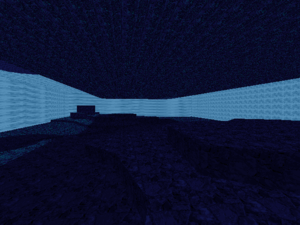
N2.MAP is a prototype version of what would become Derelict (E4L9) in the Atomic Edition. This one is much more primitive than the final version, with many rooms having neither enemies nor details. In fact, there are no enemies in this level at all! The prototype version is much lighter in both lighting and texture choices and lacks any sort of gameplay flow, instead being a giant ship the player wanders around. Some areas, such as the engine room and the final room, are quite different in this prototype as well. The exterior of the ship has a pipe spewing oil, which was removed in the final game. The ship itself is not called "Valdeez-2".
| Prototype starting point | Final starting point |
|---|---|
 |
 |
| Prototype | Final |
|---|---|
 |
 |
| Prototype | Final |
|---|---|
 |
 |
| Prototype | Final |
|---|---|
 |
 |
| Prototype | Final |
|---|---|
 |
 |
| Prototype | Final |
|---|---|
 |
 |
| Prototype | Final |
|---|---|
 |
 |
| Prototype | Final |
|---|---|
 |
 |
| Prototype | Final |
|---|---|
 |
 |
| Prototype | Final |
|---|---|
 |
 |
| Prototype | Final |
|---|---|
 |
 |
| Prototype | Final |
|---|---|
 |
 |
| Prototype | Final |
|---|---|
 |
 |
| Prototype | Final |
|---|---|
 |
 |
| Prototype | Final |
|---|---|
 |
 |
| Prototype | Final |
|---|---|
 |
 |
| Prototype | Final |
|---|---|
 |
 |
| Prototype | Final |
|---|---|
 |
 |
| Prototype | Final |
|---|---|
 |
 |
| Prototype | Final |
|---|---|
 |
 |
| Prototype | Final |
|---|---|
 |
 |
| Prototype | Final |
|---|---|
 |
 |
| Prototype | Final |
|---|---|
 |
 |
| Prototype | Final |
|---|---|
 |
 |
| Prototype | Final |
|---|---|
 |
 |
| Prototype | Final |
|---|---|
 |
 |
| Prototype | Final |
|---|---|
 |
 |
| Prototype | Final |
|---|---|
 |
 |
| Prototype | Final |
|---|---|
 |
 |
| Prototype | Final |
|---|---|
 |
 |
| Prototype | Final |
|---|---|
 |
 |
| Prototype | Final |
|---|---|
 |
 |
| Prototype | Final |
|---|---|
 |
 |
| Prototype | Final |
|---|---|
 |
 |
| Prototype | Final |
|---|---|
 |
 |
| Prototype | Final |
|---|---|
 |
 |
N3.MAP
N3.MAP takes place on an oil rig. While a simple map on its own, it contains an impressive-looking (for 1994) underwater portion that can only be accessed with a bug.
The player starts in a passage that is underwater. After a little walk, the player will end up in a room with an elevator in the center of it and a switch on the right. The switch itself is bugged and will warp the player to another part of the level if the player gets very close to it, so it's best to shoot the switch in order to use it. With the switch activated, the player can call the elevator and head up.
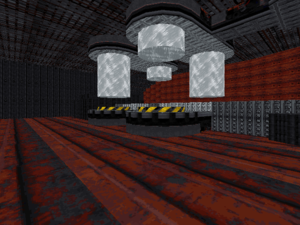
The elevator takes the player to a cylinder-shaped location that contains a few small floors. This is one of the three stations in the level. The first floor allows access to the courtyard, which shows that the player is on an oil rig. A structure can be seen in the middle of the courtyard, with a cylinder-shaped object at the very center of it.
Going back to station one, the player can take an elevator to the second floor, which allows access to the second station. The elevator can go up to the third floor, which lets the player walk on more of the structure that makes up the middle of the oil rig.
Station one's second floor leads to station two. Station two operates the same as station one, but looks different.
After a quick walk from station two's second floor, the player will reach station three. Station three can only be accessed from station two's second floor, and contains a different layout from the rest of the stations. It contains an elevator that goes up (but is disabled when the player first reaches it), and an elevator that goes underground (marked by having a different floor texture compared to the rest of the station's floors on the first floor). The underground switch must be activated by pressing a switch on the right side of station 3.
The underground elevator leads to an area meant to look like it's under the courtyard area. The player will be in a hallway that has two switches at the end of it, along with a dark but large room past the hallway. Both switches must be used to fully light up the dark room. Oddly, attempting to use the left switch will cause the wall to either go up, exposing two switches, or go down, covering the switches (which will reveal two switches if used again). To use the left switch, it must be shot with the Pistol or Plasma Gun.
Despite its size, the large and formerly dark room only has one key point of interest: a switch in the very back of it. This switch activates the elevator that goes up in the third station.
The other elevator in station 3 leads to the top of the middle structure seen in the courtyard. The object seen in the center of it is actually an elevator (a similar object can be seen in the station 3 basement area, suggesting it's meant to be the same elevator). However, the elevator is blocked with a laser barrier, and the laser barrier cannot be opened. The U key will disable the barrier, but will also make the elevator go down. The player has to use it to bring it back up. After getting on the elevator, it will only go down by hitting U again. Eventually, the elevator will stop at a dead end, preventing the player from going anywhere else.
While the elevator is broken, there's still more of the level to explore. To explore the rest of it, the player has to restart, then head back to the room with the switch and elevator at the start. Instead of using the switch, the player has to run into it. The game will glitch and the player will be warped to a previously-unseen section of the level. This area is actually the underwater portion that can be seen from the windows in the hallway the player starts in, and it contains a large and very detailed area.
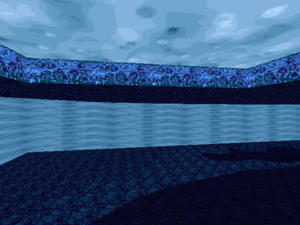
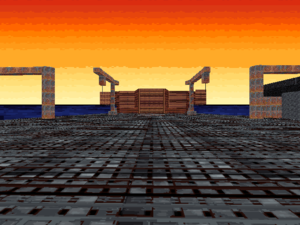
This area is split into two parts, the lower part of the oil rig seen in the rest of the level and, oddly, a full copy of N2's exterior. The N2 copy contains the entire exterior of the ship, minus the windows and functioning doors.
The oil rig appears to be the entire bottom of the oil rig explored earlier in the level. The underwater area can be explored as well, showing a swarm of sharks that will constantly hound the player unless they are killed (the RPG works great for this). Circular areas that seem to represent that stations found earlier can be found and have indoors areas if the player swims up them. A shaft can be seen in the center of it, going down underwater. Presumably, this is meant to be the same elevator found at the end of the regular section of the level.
The center of the oil rig above water contains another elevator. This one will go down, letting the player see some of the underwater portion from the shaft's perspective. However, the elevator will suddenly stop, like before, unofficially ending the level once and for all.
| N3 | N2 |
|---|---|
 |
 |
N4.MAP
N4 takes place in a series of caves, presumably meant to be under the ocean, if the previous level's design is any indication.
The player starts in a small room with a switch in front of them and a door behind them. The switch must be used to open doors in the next room.
The door behind the player leads to a large room that contains four doorways and a round shape in the center that matches the elevator seen in the center of the oil rig in N3. The intention seems to be that the player rode the elevator from the oil rig down into the cave. On the opposite side of the room the player exits is a door (using a texture that was used as a wall in previous levels) that is blocked by a laser barrier. To the left of where the player exits is a doorway that leads to a collapsed cave. There is a crack the player can slip through, but it quickly leads to a dead end.
The doorway to the right of where the player exits lead to a long hallway that ends in a room that has several pools of water, a small stepped waterfall the player must go up, and a crude-looking generator. The generator's processors can be stopped by shooting at them with anything but the Pistol or Tazer. However, this doesn't seem to do anything.
To continue, the player must go to the door blocked by a laser barrier and hit the U key in debug mode to deactivate the laser barrier, as there is no way to deactivate it normally. Past the barrier is a small hallway that ends with two turrets on rising platforms and a door behind them.
Past the Turret door is a large and round area with a structure in the center of it. However, once the player gets close enough to the central structure, the player will suddenly be teleported to a flooded version of the room. In the center of the structure is a switch behind glass. Breaking the glass and using the switch does nothing. There are also doors behind the structure that cannot be opened. The only point of interest left is a pipe on the roof above the area between the entrance and the switch. Getting into the pipe will start to warp the player into the unflooded version of the room seen earlier, but there's no way to permanently get into it. The player has to be constantly jumping in order to stay in the unflooded room. If not, they will be pulled back into the flooded room. By doing this, the player can see that the doors behind the structure are now open, but there is no way to get into them.
The bugged flooded room marks the end of the level, as there is nowhere else to go because of the room's very bugged nature.
N5.MAP
N5 takes place in a series of caves under the ocean. It contains a unique texture not seen anywhere else in the prototype nor in the final game.
The player starts the level by fallling into a small pool. The pool has two Sharks in it and a pipe that looks similar to the one found at the top of the flooded room in N4. In front of the player is a staircase that leads to a doorway with two switches flanking them. The switches must be activated to proceed.
The doorway leads to a roughly hourglass-shaped room with either an elevator or a door on each side. Each door and elevator has a number next to it. If the switches near the doorway were used, the elevators marked "1" will not have laser barriers in front of them, but the elevator marked "2" will and the door marked "3" will not open. Each door or elevator has a switch that will activate lights in the hourglass-shaped room after being used twice (this is likely a glitch).
To continue, the player must ride a "1" elevator room. These elevators lead to an interesting room that contains an unusual organic growth texture that not only doesn't appear in the final game, it looks nothing like the alien growth in the final game. The room also contains a pipe that leads back to the starting area and a switch labeled "2". This switch disables the laser barriers in front of the "2" elevator.
With the laser barrier disabled, the player can now ride the "2" elevator up. This elevator leads to another room with the organic growth from the other room in it. After going through a long hallway, the player will stumble on a switch marked "3" with a pipe leading down in front of it. After pressing the switch, the player can either hop down the pipe, or run back to the "3" door in the hourglass room.
Jumping down the pipe will have the player land in a large cave area that is filled with water. The player can dive in the water and see a door that is blocked by a laser barrier that is marked both "4" and "5". The land-based parts of the cave have the same sandbag barrier-like objects seen in M4, an elevator on the right side, and a pipe in the back. The pipe leads back to the same underwater section that makes up the rest of the cave.
Taking the elevator up will send the player to a 90 degree-shaped corner. At the corner of the hallway is a switch marked "5", which must be used. Past the switch is a dead-end that has a switch on the very back and two elevators blocked by laser barriers on the left and right. The switch deactivates the laser barriers.
The elevators lead to another door marked "3", but this one has a switch on the right side of it. It should be open if the "3" switch was used earlier. The elevators also have "4" above them in this room". Past this "3" door is a long hallway that leads to a room that has a switch in the back of it and a pipe in the center of it. The pipe leads back to the water cave room, while the switch controls the "3"-marked doors seen and used earlier. The room also has a path to lead back to the hourglass room seen at the start of the level.
The only thing to do left is head back into the water cave room and check out the "4" and "5" door. With the appropriate switches used, the laser barrier has been deactivated. Despite hitting the "5" switch, the "5" door will never open, leaving the player with nowhere else to go. This marks the end of the level.
N6.MAP
N6 is a level that consists of various stations in an underwater cave, some of which must be reached by swimming in the water. Most doors in this level are automatically opened when the player approaches them.
The player starts in a small cave with a door on the other side. Past the door is a tight metal passageway, which will appear often in this level. Through the passageway is a large room divided into three sections: lower (which the player starts in), left, and right. The left and right sides are connected by a pool of water the player can dive into. The area contains various windows the player can use to see the large and flooded cave the area is in. Oddly, the player can walk right through the windows and start swimming in the water.
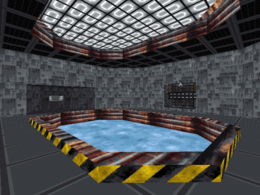
The left side has a locked door that can be opened by pressing the switch on the right side. Past the door is another metal hallway that leads to a split between a left door and a right door. The right door ends in a door that cannot be opened, so the only choice is to go left. The left door leads to a small area with a pool in its middle and a switch nearby. The switch opens the door on the right hallway.
The next area can be accessed in one of two ways. It can be entered by either hopping into the pool in the left path room and swimming in the caves, or going back to the right path and using the now unlocked door, then following the path.
By diving into the pool in the left path, the player will enter the underwater cave area seen area. The entrance to the next area is nearby, but the player can also swim to the first area in the level for whatever reason. When swimming to the next area, the player will notice it is similar to the metal structures the player just went trhough. To enter it from the water, the player has to swim up on the light part of the area underneath the metal structure.
The new area consists of a very large pool and some doors. One door is a double door, another is connected to the floor via stairs, another is on an elevated portion of the floor the player must walk up, while the last one connects to a room that can be seen through a window. The double doors leads to an empty room, the stairs door is currently locked, and the elevated floor door leads back to the split seen earlier (it connects to the right side of the split). To open the stairs door, the player has to go through the door near the window to enter a room with motherboard textures, then use the switch in the back. This will unlock the stairs door.
The stairs door leads to a long metal hallway that has some visible rock. At the end of it is another pool the player must dive in.
This time, the player will be in a completely separate underwater cave. The goal is to swim to the right until another metal structure is seen, but the area is littered with smaller pools the player can swim up to explore. However, there is nothing in them.
The area's goal has an airlock-like place at the bottom the player must swim though, which will send them to another pool that can be swam up. At the top of the pool is an area somewhat similar to the first one in the level. Behind the pool are two windows, which can also be walked through to start swimming in the water. At the back of it is a door that leads to the exit when opened (even though it looks like a dead end).
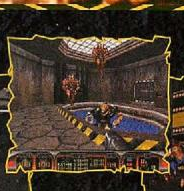
Interestingly, the pool room found at the end of the left path from the split early in the level appeared in a pre-release image, but with textures used in the final game, the Assault Troopers seen in the final game, and the flamethrower Enforcer seen in other pre-release images.
| Pre-release image | N6 |
|---|---|
 |
 |
N7.MAP
N7 is completely different from the rest of the levels in Episode 3. Water plays no role in the level. Instead, it features conveyor belts and cranes, like in the final game's Toxic Dump (E1L4).
The player starts in a small room that has the door at the end already partially open, though it will close if the player waits long enough. Past it is a medium-sized room with two cylinders. Approaching them will have the right one open. Getting close to it will have a group of Femanoids attack the player out of the blue. The platform they were on can be ridden down to reveal a hidden area. This also shows that the other cylinder has Drone 1s in it, but it is never opened normally for some reason.
Past the cylinders is a door that leads to a split path between left and right. They both end up in the same area, but have side rooms that are completely different. The side room found on the left side has a round room with monitors in the center of it and a window looking back into the cylinder room, while the right path has a side room that leads to two separate windows that let the player look at the cylinder room. Each path also has a lit pillar in the center of it.
Both paths converge onto what looks like a plain room with nothing interesting in it. However, as the player goes forward, two side rooms will open, revealing more Femanoids. Reaching the back will have the back open, revealing light and a gaggle of Drone 1s. Note that all the trap doors can be opened with the use key, which is useful for exploration, as the Drone 1 trap room tends to close before it fully opens up.
To proceed, the player must use the wall at the very end of the trap room. After a short walk, the player will be in a room with a crude-looking conveyor belt. The player must hop on it and crouch, then follow it until the player has cleared a short opening. The conveyor belt will lead the player through various smashers that must be avoided, including some in a U-shaped area that has a unique area in the center of it.
After the smashers, the player will end up in a room similar to the first conveyor belt one. Getting off of it will let the player explore the room seen in the center of the U-shaped room.
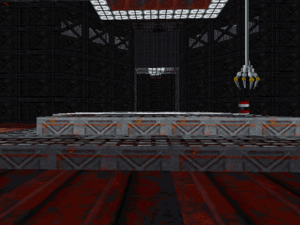
Continuing to follow the conveyor will lead the player to a room that has cranes on each side and a circular object with the only Trooper in the level in it. The goal is for the player to be picked up by the cranes (like in Toxic Dump) and to keep riding the conveyor belt until the last crane picks them up. The cylinder is unique in that it has the only appearance of the reflective water seen in Episode 4 in Episode 3. There is also an area near the water cylinder that can be flown up via the jetpack, but it contains nothing.
With the crane room complete, the player will get back on the main conveyor and will eventually end up in a large room that has the conveyor end in a fork. Taking a left leads to a dead-end, but the right one will lead to a circular room that will teleport the player back to the start of the conveyor belt sequence. The intention is to get off the conveyor belt and explore the large room. The room itself has a rounded area in the back of it and a square-shaped area in the center of it.
Unfortunately, there is nothing past the large room, giving an premature end to the level.
N8.MAP
N8 is a copy of Episode 2' M8, but is playable in a default install without having to use a level format converter on it. There's nothing to say, since it's the exact same thing as M8.


