Proto:Cadash (Arcade)/Map Differences
This is a sub-page of Proto:Cadash (Arcade).
Contents
Round 1
Deerzar Castle
| Prototype |
|---|
 |
| Final |
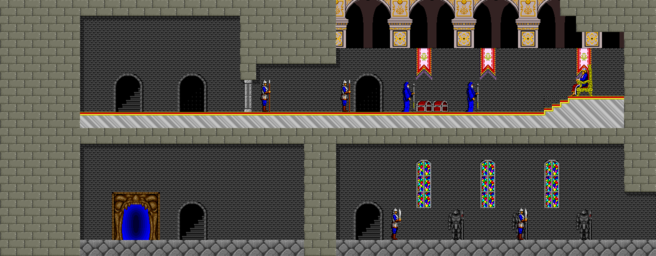 |
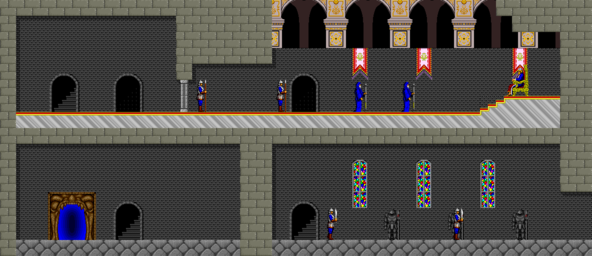
Dirzar Castle itself isn't that different between versions, but the final castle is extended a bit further to the right. The two wizards were spaced further apart to make room for two chests with a bag of money and medical herb inside.
| Prototype |
|---|
 |
| Final |
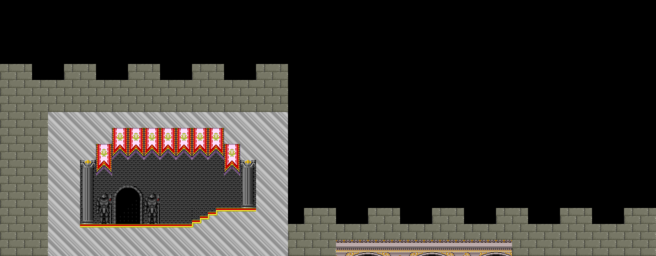 |
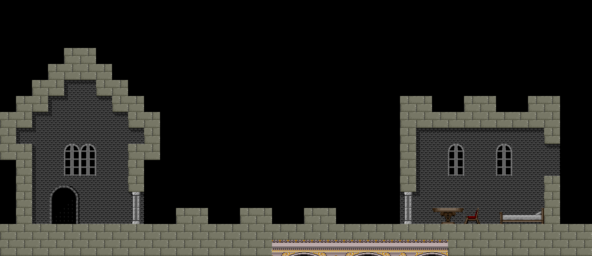
The third floor has more substantial changes. The prototype has a full roof and two rooms separated by silver doors. What purpose the bedroom would have served is unknown...though it could have served the same purpose as the extra throne room seen in the final game, where it's used for a cutscene before the final boss.
Deerzar
| Prototype |
|---|
  |
| Final |
 |
While in the final game the area around Dirzar Castle is empty, there's an inn and a tool shop by the castle in the prototype. Makes sense narratively, but not as much from a gameplay perspective; the player wouldn't have any gold by this point and wouldn't need the inn's services.
The prototype has two old men and two travellers outside, while the final game replaces the duplicate NPCs with a middle-aged woman and one of those wizardmen.
The inn has two NPCs: One that explains how inns work, and one that gives information on what happens when time runs out. The latter was moved to the outside area in the final game, while the former was removed.
Cave of Stones (Left Side)
| Prototype |
|---|
 |
| Final |
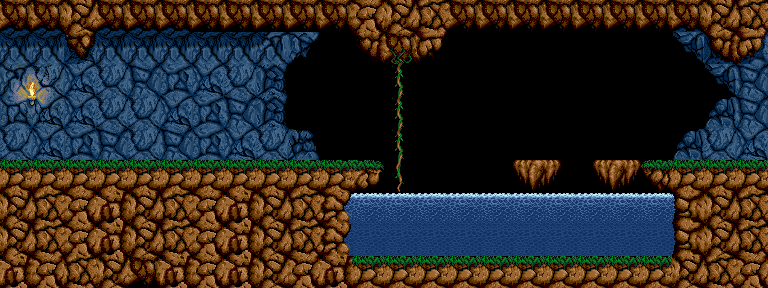 |
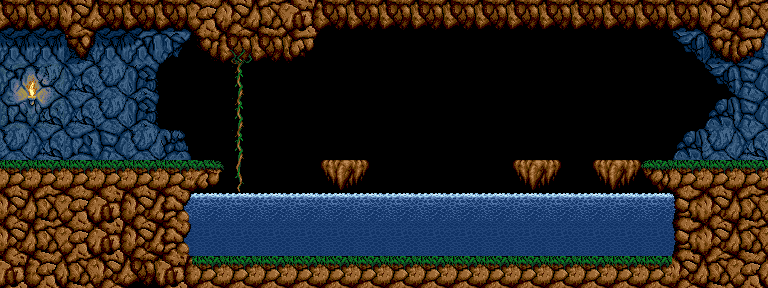
In both versions, there's a section where the player has to hop across floating platforms to avoid falling into the deadly water below. This section is longer in the prototype with three platforms, whereas the final layout shortens it to just two platforms.
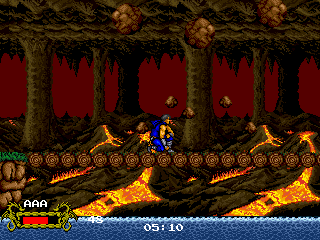
When volcanoes erupt in the prototype, the eruptions produce three large boulders and five small rocks. These small rocks were taken out of the final game for performance reasons.
La Heim Castle
| Prototype | Final |
|---|---|
 |
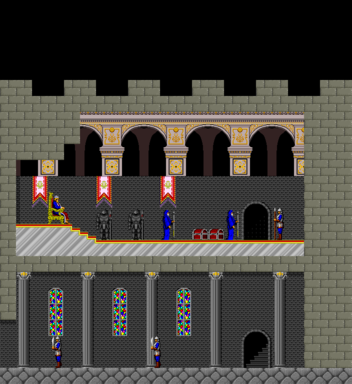 |
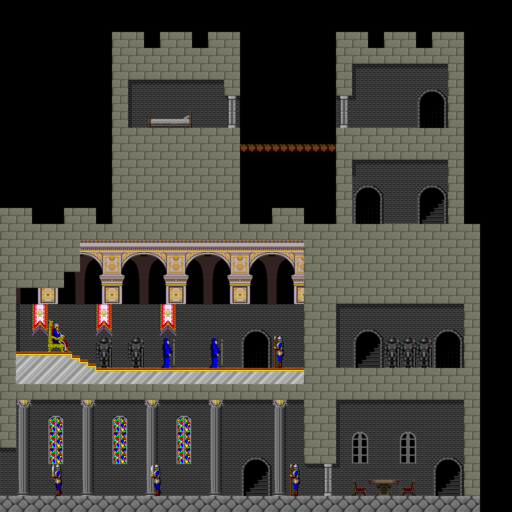
Le Heim Castle was greatly reduced in size by removing the third floor and its adjacent stairwells. Again, the two wizards moved apart to make way for two treasure chests. Since the silver gate was deleted, the NPC explaining how to unlock it was removed as well.
La Heim
| Prototype |
|---|
  |
| Final |
 |
Same change as in Dirzar, though in the prototype there are two middle-aged women instead of two traveling men.
| Prototype |
|---|
 |
| Final |
 |
In the prototype, both Marinade and La Heim use the same background. In the final game, it uses a truncated version of Marinade's background with Dirzar's palette.
Cave of Stones (Right Side)
| Prototype | Final |
|---|---|
 |
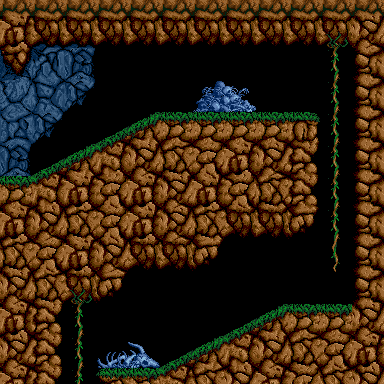 |
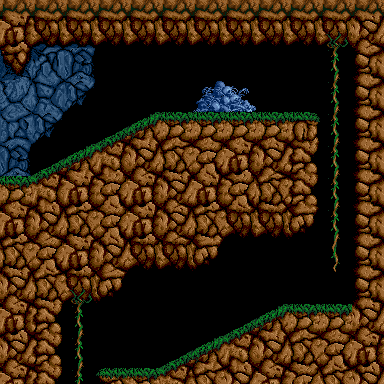
Another pile of bones was added between the upper and lower sections of La Heim's dungeon. This marks the location of a hidden medical herb.
| Prototype | Final |
|---|---|
 |
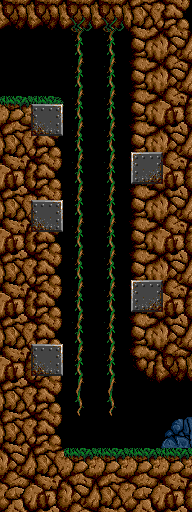 |
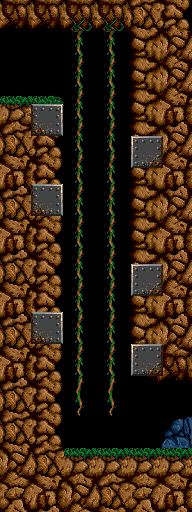
The prototype has six spear traps here, while the final game only has five. The remaining spear traps were placed further apart to give the players more room to breath.
| Prototype | Final |
|---|---|
 |
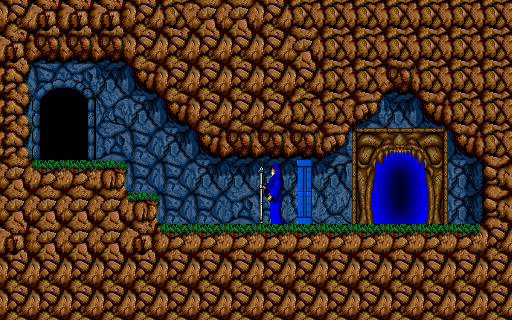 |
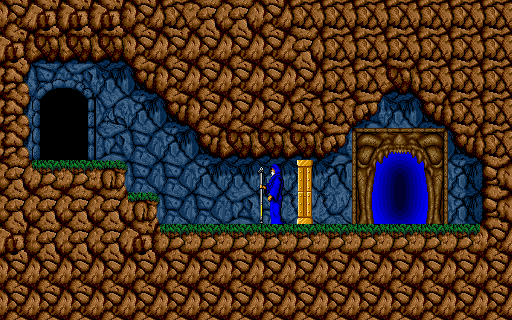
The gate that the gatekeeper opens in the prototype uses the same palette as the Gold Key gates in the final game. To not mislead the player into looking for a gatekeeper later on, the gate was changed to to a dark blue color.
Round 2
Marinade
| Prototype | Final |
|---|---|
 |
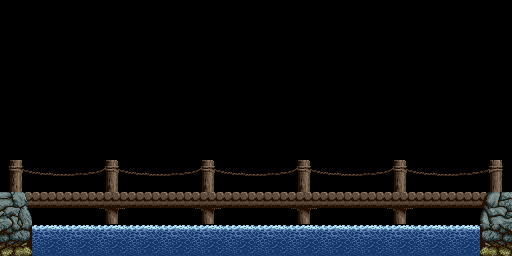 |
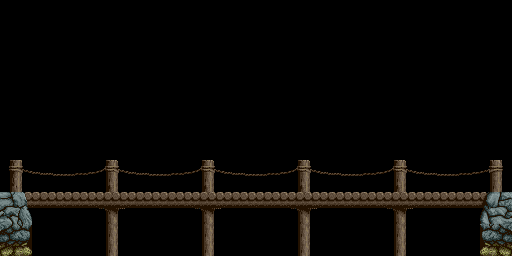
They put water under the bridge, but that's all in the past now.
| Prototype | Final |
|---|---|
 |
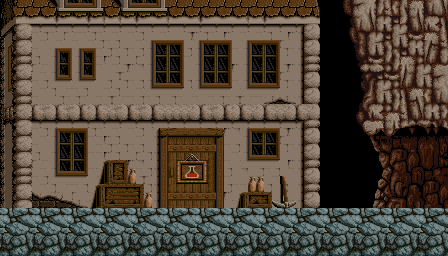 |
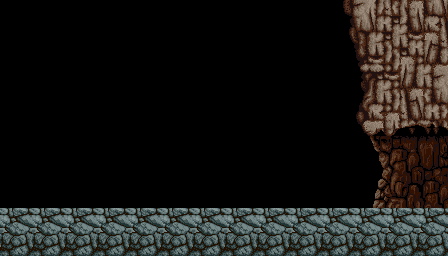
The first tools shop makes its first appearance here on what was once an empty plot of land.
| Prototype |
|---|
 |
| Final |
 |
In the prototype, Marinade uses the same style of clouds and the same color sky as Dirzar. This was changed in the final game to use a lighter shade of blue and a different, heavier cloud layer that the game applies a ripple effect to.
Tunnels of Brick
| Prototype | Final |
|---|---|
 |
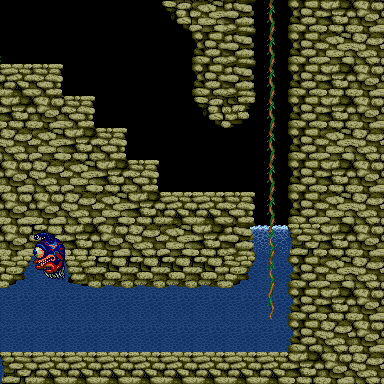 |
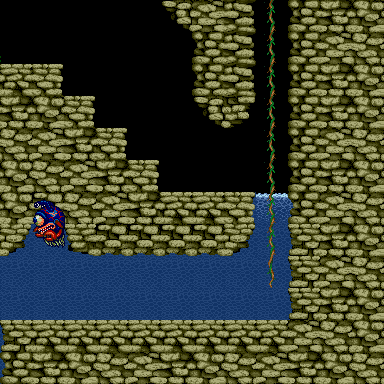
To make more room for the player to jump off of the entrance vine, the pool of water and the floor below were both lowered.
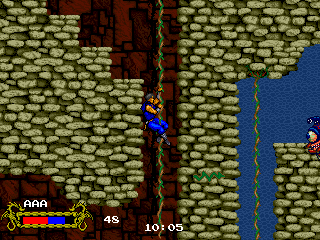
The Eye of the Deep in the above section can shoot at the player when they're in the area to the left of that section. However, the Giant Frogs that spawn in the upper area overwrite the Eye of the Deep's eyebeam palette, making it appear green. To fix this, the Eye of the Deep will not spawn if the player is in this area in the final game.
| Prototype |
|---|
 |
| Final |
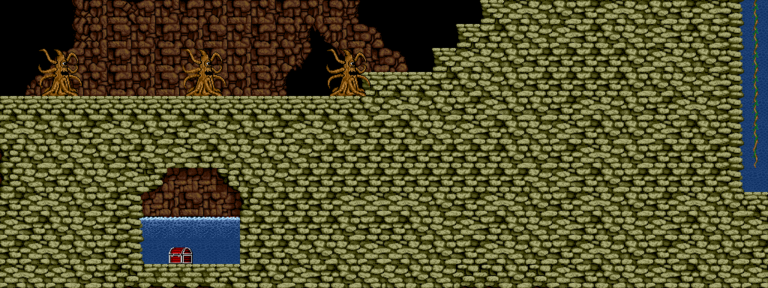 |
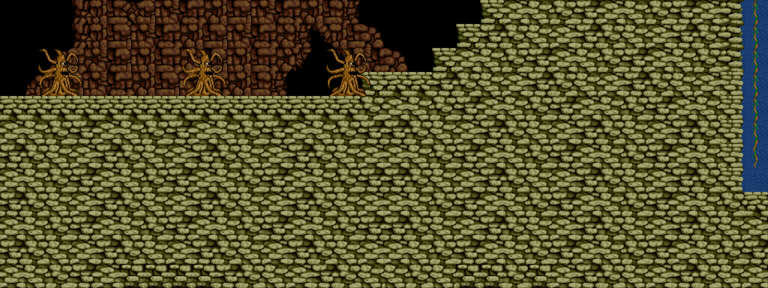
The final game adds a secret area hidden behind a fake wall to the left of the underground armory. This area leads to a treasure chest that contains the Mystic Lamp.
| Prototype |
|---|
 |
| Final |
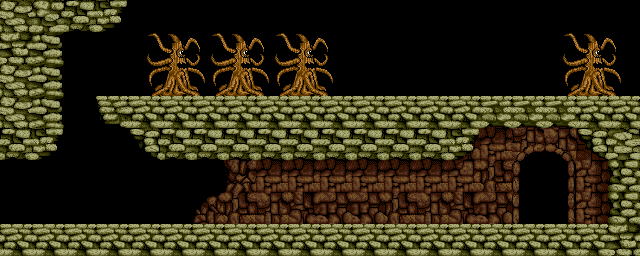 |
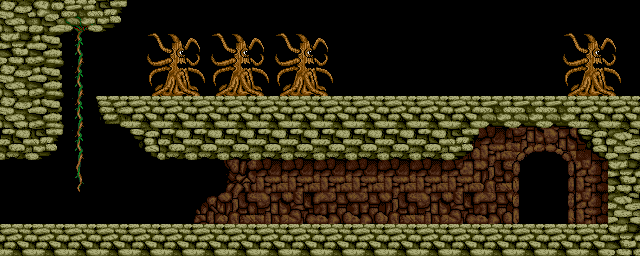
The final game removes the vine in this area, making the drop to the Kraken's den a one-way trip. It also fixes the rocky wall to the right of the entrance to the Spring of Wonders.
| Prototype | Final |
|---|---|
 |
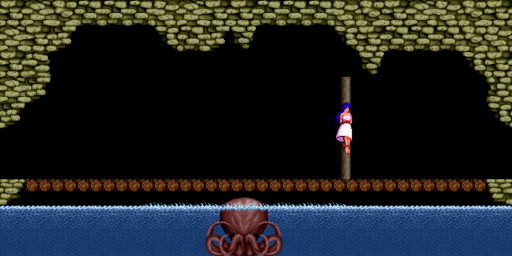 |
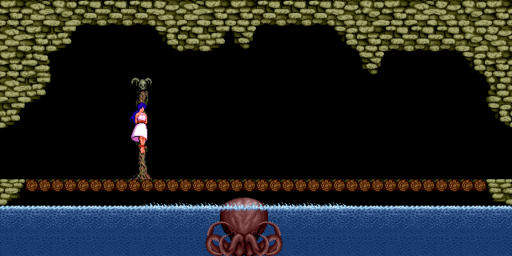
The post that the disguised mermaid is tied up is sprite-based and uses unique graphics in the prototype. Those graphics are still in the final game but the code for the sprite and the palette are not. The post was moved from the left to the right of the Kraken.
| Prototype | Final |
|---|---|
 |
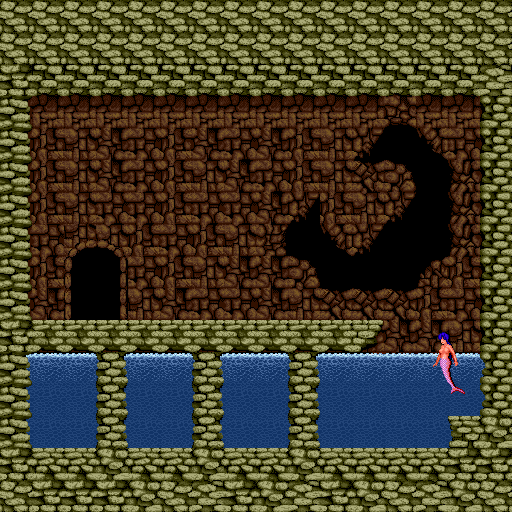 |
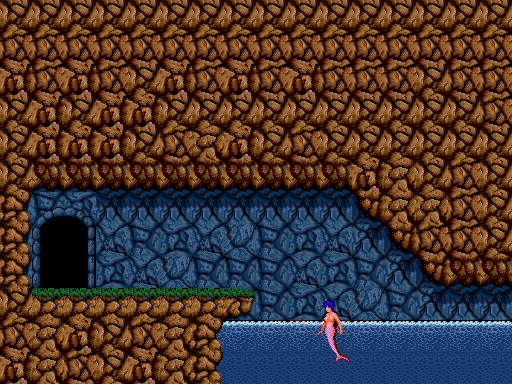
The Spring of Wonders in the prototype use Round 1's tileset. It's smaller, with a shorter walkway to the pool of water. The opening to the right makes it a bit more obvious how the mermaid is able to get back to the sea; note that the bottom of the cave can't be seen in the final version, so there's still some explanation for it.
| Prototype |
|---|
 |
| Final |
 |
The final version adds five more giant wasps below the Kraken's lair, removes the vine, and narrows the rocky wall to the right.
Round 3
Maze of Roots
| Prototype | Final |
|---|---|
 |
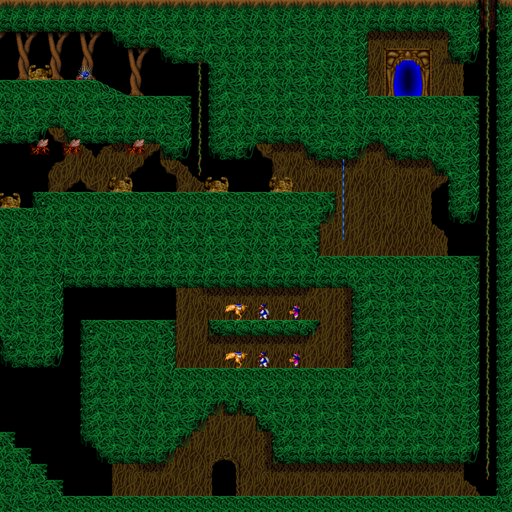 |
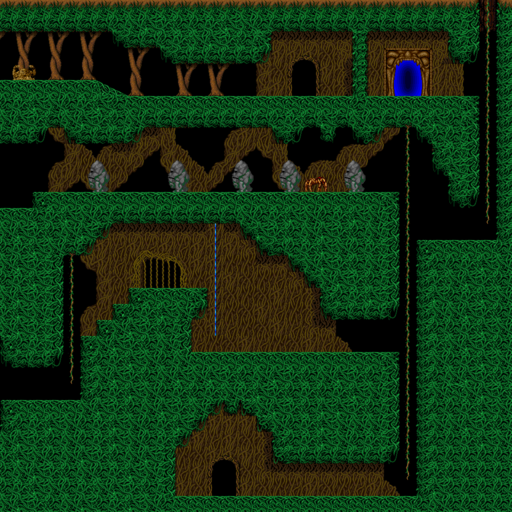
Though both maps contain some of the same set pieces, the Maze of Roots was extensively reworked after the location test. One of the biggest changes is the location of the Worm's cave. In the prototype, it's located to the left of the entrance warp and the player has to go to the left, up, and then to the right to get to it. In the final version, the cave is on the bottom-left corner of the map, and the player has to go past the gnome's hideaway to get to it. Some of the empty space left after the round was reworked was used to house a hidden developer's room.
The place where the player has to use the Worm's Thread was also changed from above the hideaway to just under the entrance warp, where the player is more likely to encounter it. In the final game, the player can either continue left to the giant plant section, or go up into the path with porcupine enemies and mudmen. This choice does not exist in the prototype, and the player is required to through both areas twice to proceed.
The player encounters the Golem enemies earlier than in the final version, though there are only five of them and they took longer to respawn, making leveling off of them more of a chore than it is in the final game. The area they once roamed was reoccupied by mudmen and giant hornets.
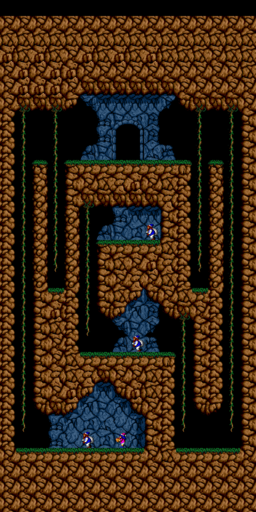
The gnome's hideaway is very different, and has a vertically-oriented layout that the player has to use vines to traverse. Notably absent is the NPC Chovin, who gives information on the Worm and its thread in the final game. Like the early mermaid cave, this uses the Cave of Stones' tileset.
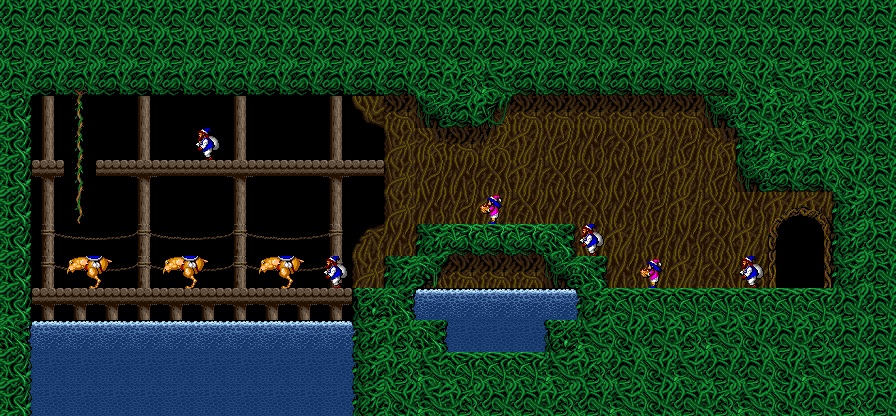
The final version uses a round-appropriate tileset and has a more traditional horizontal layout. The final game adds two more NPCs (including Chovin) and three of those weird chicken-horses.
| Prototype | Final |
|---|---|
 |
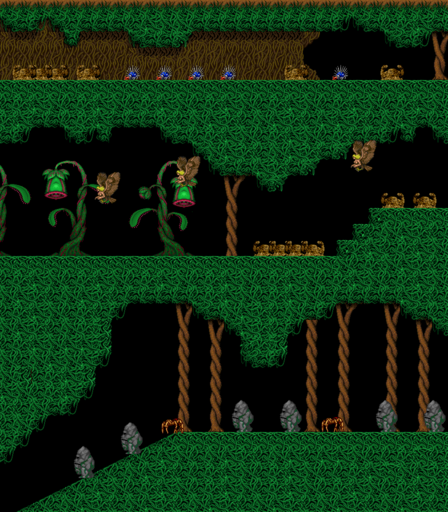 |
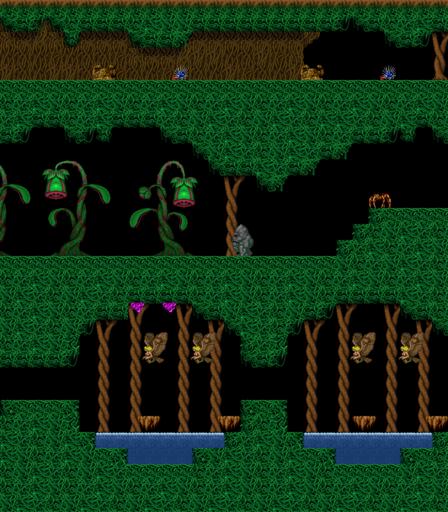
The upper path is fairly unpopulated in the prototype, while it's crawling with porcupines and mudmen in the final game. Said mudmen also infest the middle path, which is fairly empty in the prototype. The lower path is more difficult in the prototype, consisting a series of timed jumps over water with harpies and two pink slimes -- which are only found in Round 5 in the final version -- trying to knock the player off. Since the lower path was changed to be part of the first half of the stage, the final game toned down the difficulty slightly. This is also the first place where the player encounters the golem and spider enemies in the final version; this stretch of enemies ended up as one of the best grinding spots in the game.
| Proto | Final |
|---|---|

|

|
The way that the plants spew out their plant, uh, juice is different between versions:
- In the prototype, plants take 7 seconds to upchuck their green gunk. When the plant goop hits the ground, it splatters out in a wave that reaches 176 pixels across.
- In the final game, plants take 2 seconds to heave their lime liquid, and the ooze no longer spreads out when it hits the ground.
| Prototype | Final |
|---|---|
 |
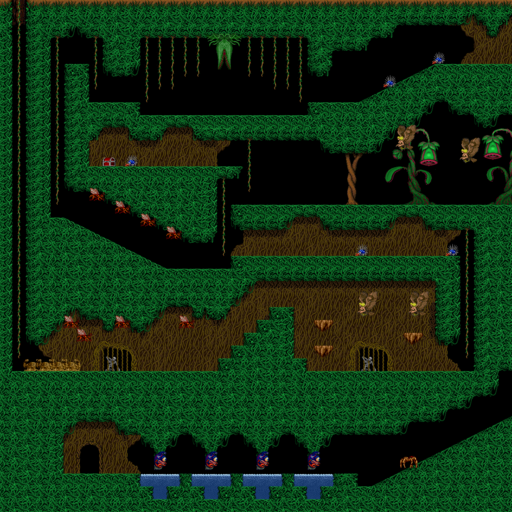 |
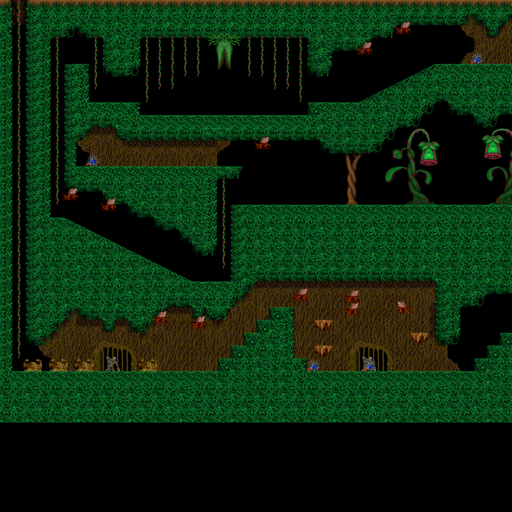
The player has to defeat the Crawling Kelp to access the Worm's cave in the prototype, but in the final game it's the game's only optional boss. After the upper half was changed to occur later in the stage, the area underneath the plans was opened up to create to the last platforming bit of the stage. Originally guarded by four giant hornets and two porcupines, the difficulty was decreased slightly by replacing the hornets with two harpies and removing the spiked enemies from the floor. To the left, two more hornets were placed in the area's ceiling, and the four mudmen were all positioned closer together.
The bottom path only exists in the prototype, and is the new location of the Worm's cave. Players have to dodge one final spider and four eyes of the deep to make their way inside.
Grove of the Gnomes
| Prototype |
|---|
 |
| Final |
 |
Two trees at the start of the endless forest section were removed. The gnome on the mount was moved further away from the forest, and a second NPC was placed in front of the armory.
| Prototype | Final |
|---|---|
 |
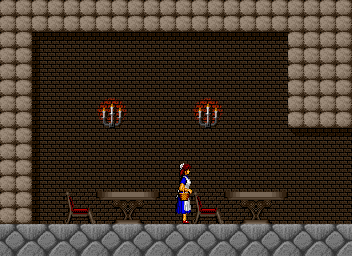 |
The residence in the gnome's village is empty in the prototype. The final build adds an NPC that tells the player that the neighborining content in the next round has already been destroyed by Baarogue.
| Prototype |
|---|
 |
| Final |
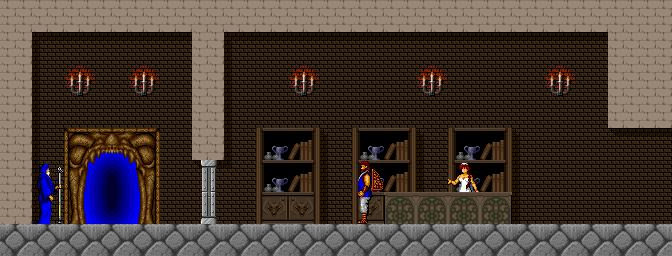 |
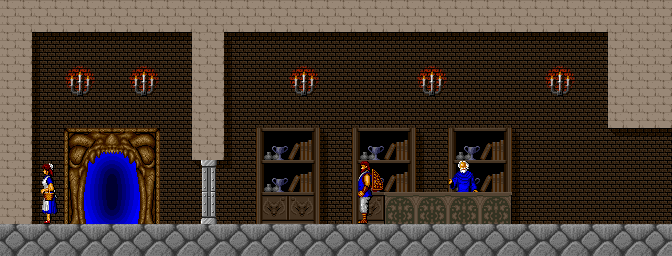
The proprietor of the tool shop is an old man in the prototype and a young woman in the final game. Talking to the woman by the gate of departure is necessary to enable the prototype's ending sequence. She was replaced by a wizard that tells the player to be careful as they proceed through the next area. Don't have to talk to him, though. He's not plot relevant.
