Prerelease:Gods (Amiga)
This page details pre-release information and/or media for Gods (Amiga).
There are at least two distinctive early builds of Gods visible through magazine coverage and advertising for the game.
Contents
Advertising Screenshots
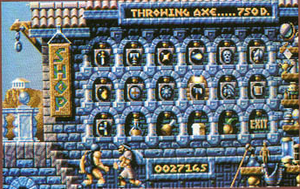
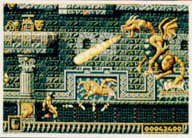
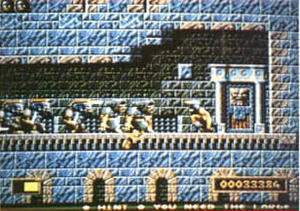
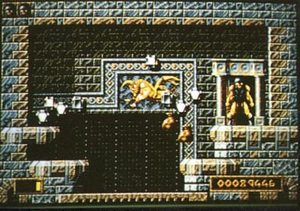
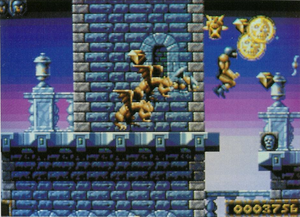
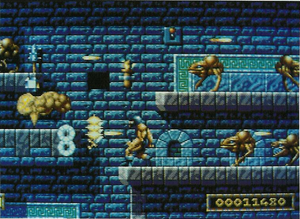
Preview screenshots used in both the advert for the game, but also a number of games magazines show that until quite late in development the main hero sprite had a different looking helmet. This was a more simplistic "crash helmet" style design like a Speedball character rather than the final game's more iconic "trojan" style helmet with the plume/ponytail on the back. There are three images used in the advert:
1) The hero with old helmet being attacked by bees and a cut alien looking ground enemy.
2) The main character and the shopkeeper on-screen in the shop screen in the same pose as when you trigger the shop keeper in a level in the final game (in the actual shop in the final game there are no characters on-screen at all). Note also the food items are at the end of the items list when in the final game they are always first in the list.
3) Early version of the Level 2 Dragon boss. Note the design of the room is totally different with only a similar shape to that of the final game. There is also treasure on the platform at the top, which is both empty and smaller in the final game's boss room. There's also what looks like a small burning lamp on the left of the picture that is not found anywhere in the final. This seems to be similar to the also removed flaming torch that was excised from the first level of the game.
Magazine Coverage
CU Amiga Magazine March 1991
A review of the game in the March 1991 issue of CU Amiga.
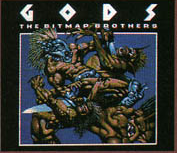
1) Contains the following image based on the box art, which is said to be from a "digitized intro screen". This picture is not used in any version of the game.
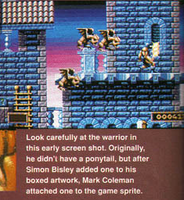
2) According to a caption in the review, the hero sprite's helmet design was changed after the game's artist Mark Coleman saw the famous cover art drawn by comic book artist Simon Bisley with the trojan style helmet and decided to change the in-game sprite to match.
Zero Magazine Issue 17
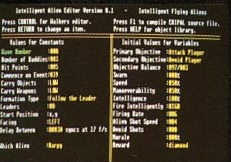
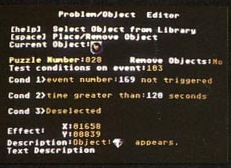
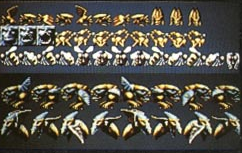
A preview feature in Zero magazine issue 17 from March 1991 includes an image of early sprite sheets and the game's editor used for creating levels.
1) "Intelligent Alien Editor 1.1" Alien attack wave editor.
2) "Problem / Object Editor" used for creating puzzles in the game.
3) Sprite sheet includes the cut scorpion enemy found in the final game's files, and also a cut flyer enemy at the bottom with a kind of pterodactyl appearance that is not present at all in the final game.
The screenshots in the article are from a build with the old helmet, but also a different health indicator for the hero, this time a simple bar chart that seems to range from right to left. Oddly the article also prints the Dragon boss picture from the advert with the new final game health indicator visible, so clearly the "beaker full of fluids" health meter must already have existed as at least a mocked-up concept artwork, or possibly the build in the article is only using a simpler placeholder meter (or was an already old build at the time).
1) Note the different life bar and the fact the thief here (level 2) uses a design not seen until the third level of the final game.
2) Again different life bar and a huge number of enemies that don't appear here in the final game.
3) The only known picture of the main character facing forwards in the old helmet design.
The article text also lists all the bosses, and states that the final boss will be "Cerberus, the three-headed hound of hell", which of course is not the case in the final game.
Joystick Magazine issue 11
An extended feature on the Bitmap Brothers in issue 11 of Joystick magazine from December 1990 features many early screenshots of the game from the "early helmet" period. These also seem to feature the bar chart for health, but oddly it looks like it goes left to right in this version as while it is cropped in most screenshots, some it is visible yet empty.
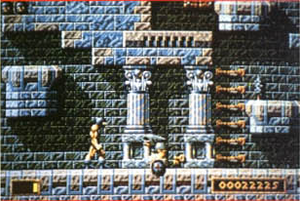
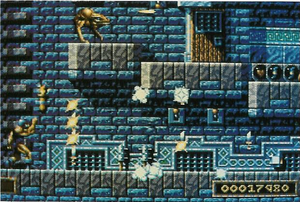
1) Note the cut metal platform graphic in use here as it is in this area of the demo. The enemies are also the gargoyle type that are not used here in the final game.
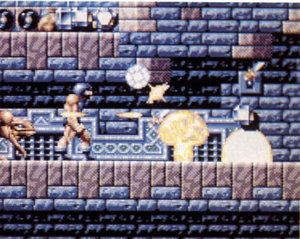
2) Note the small dark window graphic that was replaced in the final game. The switch is in a different position to the left of where it is in the final game. The spike trap is at the end of the platform rather than in the middle of it. The cut flaming torch graphic is still in use here. The moving platform that allows access to the secret room to the bottom left is missing with access instead already possible.
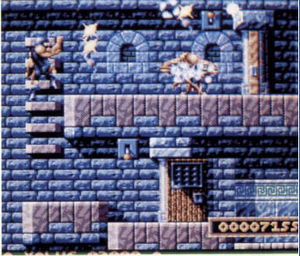
3) The small window graphic shown once again, and the hero is armed with spears and the Familiar, both of which are not possible this early into the final game.
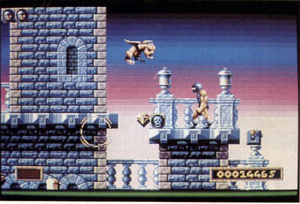
4) The end of level 1 world 1. Note the contents of the treasure room are the same as the leftovers in the inaccessible area version of the "B" Map in the final game, showing this is the same early version of the map that was later redone. The ladder graphic is also different, even compared to the simplified graphic in the Atari ST version.
The One Magazine Issue 26
A preview of the game from issue 26 of The One magazine from November 1990.
1) Again this shows the same early version of the level 1-1 treasure room items as in the Joystick screenshots.
2) The now empty treasure room and 1-1 exit. Note the completely different ladder graphic in use here.
3) As with the Joystick preview, the cut metal platform graphic is visible and the gargoyle enemies that are only used later in this level. The temporarily placed switch is also present in the early B map version of this level. The health bar is totally empty here as it is in some other screenshots, so possibly it was not working properly in this build?
4) The right hand side of the same area. This also matches the inaccessible B map version of this area, as it has the same temporary switch stuck on the pillar and also has the tower that is present here in the final game missing.

