Persona 5/Unused Areas/Palaces
This is a sub-page of Persona 5/Unused Areas.
Contents
Kamoshida's Palace
Compared to other palaces in the game, Kamoshida's Palace has a lot of unused fields. Many of which imply that the dungeon area of the palace was meant to be larger than what is seen in the final game.
Testing Main Hall
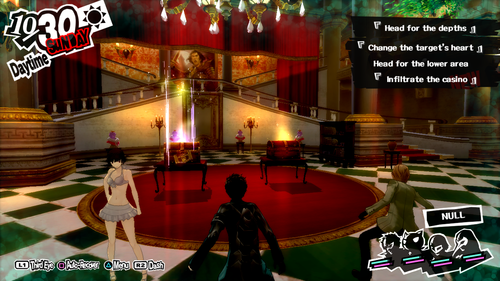
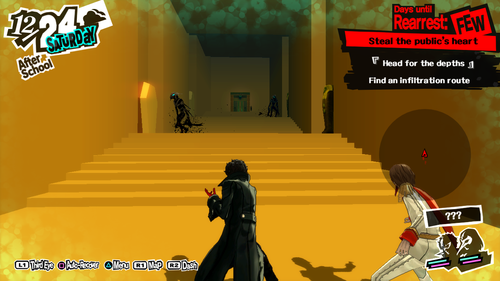
Field filename: f151_019. What appears to be a testing area for palaces. The field appears as the main hall area of Kamoshida's Palace with a few objects added. In the middle of the room are two tables with a regular treasure chest and a locked treasure chest on top of them, with four Kamoshida Busts that are found nowhere else in the game placed in front of the wall. Another Kamoshida bust can be found up the stairs in front of the portrait. The Kamoshida busts function as searchable objects, and the one on the staircase can be searched an infinite amount of times for Silver Cutlery. The regular treasure chest contains a Life Stone, a Revival Bead and four Crushed Shields. The locked chest contains four Revival Beads. Since there are no additional rooms connected to this area, trying to open most of the doors will result in the player entering into a void.
The pillars in front of the door are flagged as interactive objects, approaching them will bring up, from left to right: "Talk Morgana", "Action! 032", "Action! Target" and "Action! Crossword Puzzle". The doors at the entrance bring up a prompt to go to Shibuya or return to the Metaverse, with the middle door bringing up a generic "Examine" prompt. None of these prompts will do anything if the player tries to activate them. There's an "Examine" prompt hidden on the right side of the room, found at the end of the small corridor near where the staircase leading to the dungeon area is. Activating this prompt will play the cutscene that happens when a new area of Mementos opens up, and bring up a dummy message.
Sewer Area
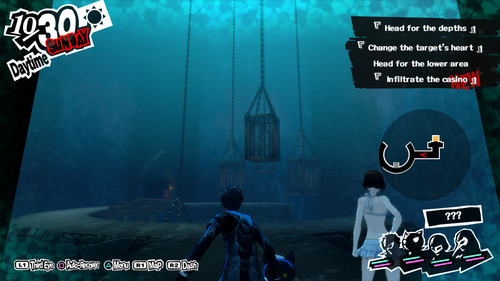
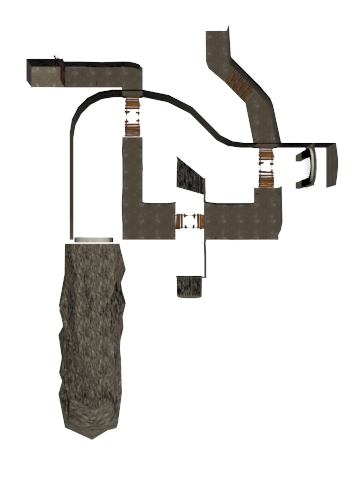
Field filename: f152_005. When this field is loaded, the player comes in via an elevator. A path leads to a cylindrical room surrounded by waterfalls with cages hanging above a large pool of water. The area near the elevator has a crate that can be broken for an item, and taking the elevator back up leads to the hidden passage with the treasure chest elevator from the final's Palace. Further geometry of this area, which requires one to clip through the visitable geometry of the area, reveals two additional rooms and a lot of tunnels, big enough to fit the player in.
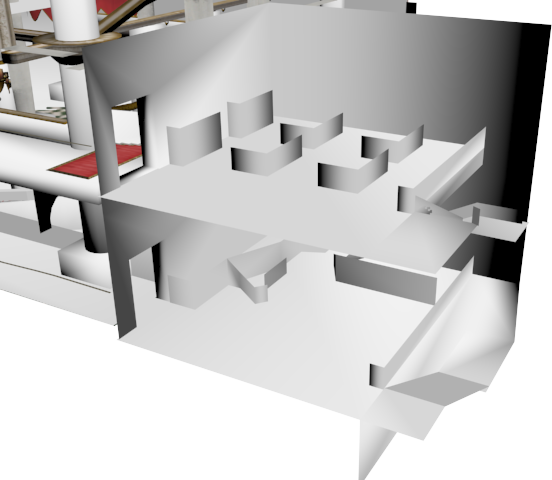
The larger of these rooms is a hallway intersecting a room with a spiked ceiling and four holes in the wall. The spiked ceiling has an animation for lowering which cannot be seen in-game. These holes are slightly larger than the player, but they cannot be entered. Neither of the gates on either side of the hallway lead anywhere either. One of the holes leads into a tunnel that connects to the small sewer room mentioned below.
The other room is a small sewer where the player would have presumably entered through the pipe seen in the screenshot, as the tunnel in the pipe leads up to the spike room. There is a hole in the floor that likely would've lead to the main water room.
The main water room of this unused area later ended up being partially redesigned and used in Persona 5 Royal, as one of the Will Seed locations.
Early Safe Room
Field filename: f152_052 and f152_053. An early version of the Kamoshida Palace Dungeon's safe room without the lighting effects of the final. Despite playing the regular dungeon music, it still functions as a safe room. These are likely placeholders for additional safe rooms for dungeon areas which never made it into the final game. The doorway of the safe room isn't mapped to go to anywhere, so opening it will cause the player to get stuck in a void.
It would later be used in Royal for one of the lower dungeon Save Rooms.
Other Areas
The models for these field pieces are not used for any field in Kamoshida's Palace, and trying to warp to the individual field pieces will softlock the game.
Early Main Hall
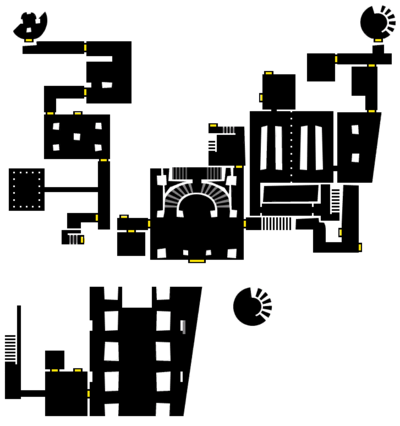
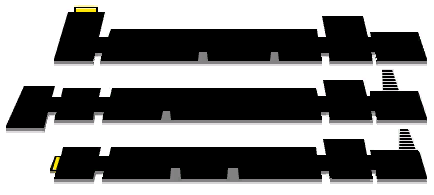
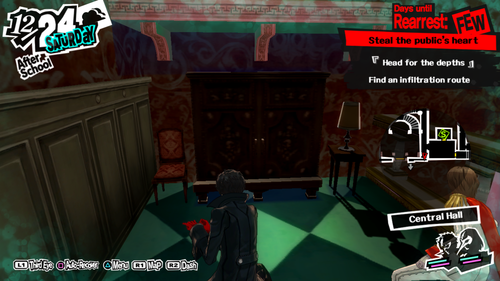
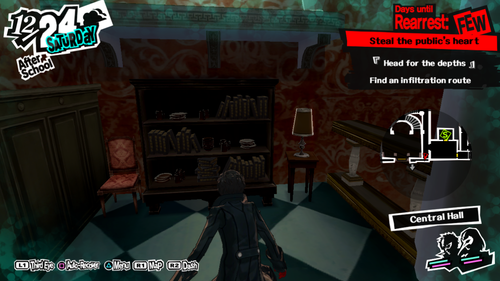
Field filename: f051_022_0. An early version of the main hall. This version doesn't appear to have a proper skybox, so opening any of the doors will result in walking into a void of blinding pink. While no model geometry for the room exists, collision data is present for a room at the back that matches up to a room that can be seen on an unused map for Kamoshida's Palace, but isn't present in the final game. The upper floor on the early map also has collision data for the area where the Safe Room can be found, although it lacks collision for the tables and bookshelves, and has no Safe Room door. On the lower floor, instead of a staircase leading downwards to the dungeon area, there is a doorway that would have lead into the dining hall, which was moved to the upper floor of the main hall in the final. The upper floor of the early map has no gates and the shelves that lead up to the window and the chandeliers are replaced with cabinets in the early map. It's impossible to climb up to the higher areas as the cabinets are not flagged as being climbable. The window leading to the castle entrance is closed in the early map.
| Early | Final |
|---|---|
 |
 |
Prison Cluster
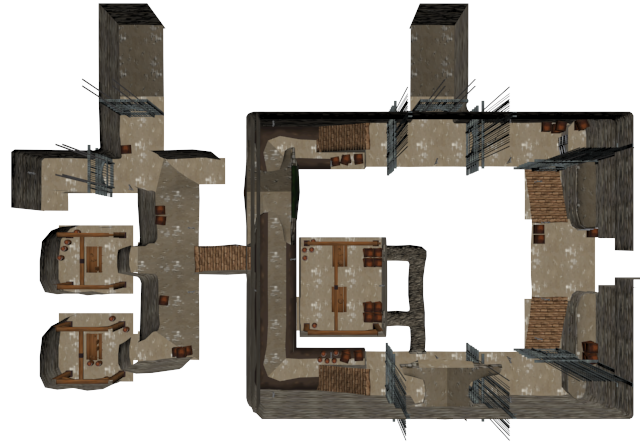
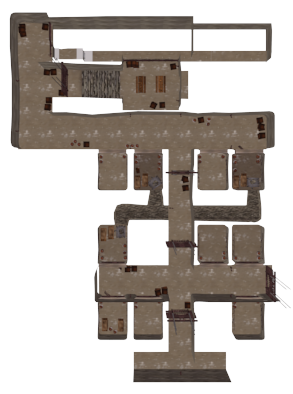
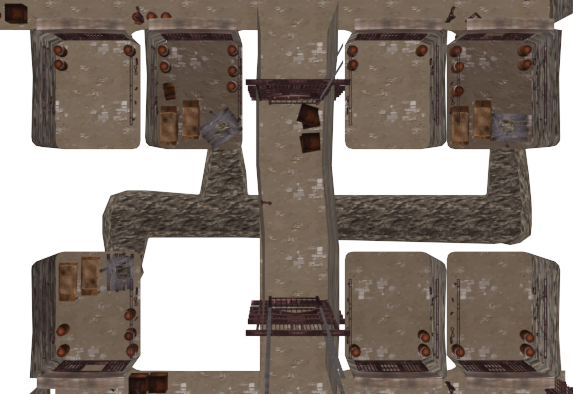
Field filename: f052_030. A cluster of prison cells with small chalkboards mounted on the front, a design aspect seen in concept art of the dungeons but absent from the final game. The room has an entrance matching the hidden passage from the lower area of the dungeons. Strangely, the prisoners in the cells are tinted blue and are part of the field's geometry. They also lack any animations.
Gate Area
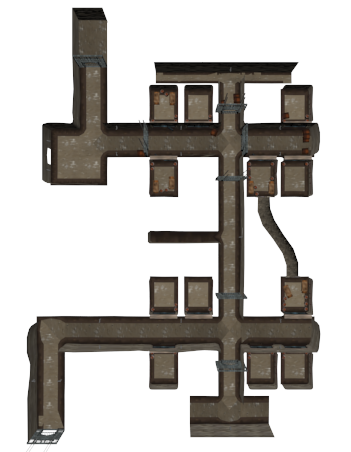
Field filename: f052_031. An area with a lot of locked gates and plenty of climbable surfaces to bypass them. The room in the middle of this field has a map on one of the tables that cannot be interacted with. There is no map of the dungeons to be collected in the final game. The crawl spaces in this field cannot be used either.
Crawl Space Area
Field filename: f052_032. A section with cells and a crawl space. The cells have chalkboards mounted on them, like the prison cluster field. The crawl space cannot be used. There is a Safe Room door in the square room, although none of the player's teammates will point it out if approached. The door itself is invisible and can only be "seen" from a distance as it's notably different from the surrounding wall geometry, although it still makes the same noises as other Safe Rooms in the game when the player is nearby. The game crashes when the player tries to open it.
Torture Gym
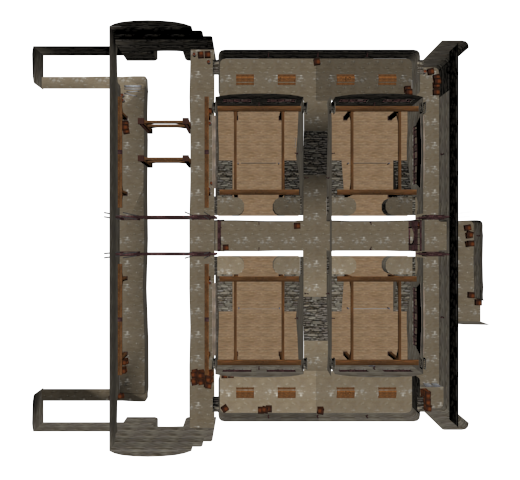
Field filename: f052_040. Has four cannon torture gyms and a lot of climbable surfaces. At the back of the torture gyms are rooms containing tables, boxes and non-functional switches on the walls. The doors leading into the torture gyms can be opened, but this is likely an error as the inside of the torture gyms lack proper collision. The next field after this one is the final's Training Hall of Love, and given the similarities between this field and the hidden passageway, these two fields were probably connected at some point.
Broken Bridge Path
Field filename: f052_042. A winding path with a lot of broken bridges to jump across.
Tower Area
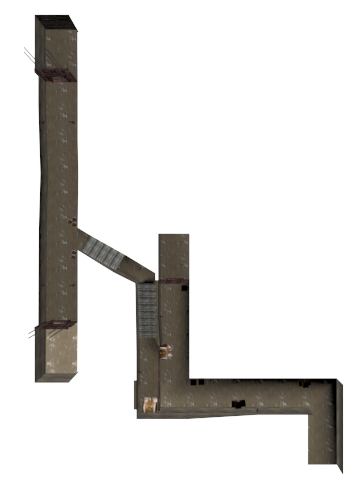
Field filename: f052_043. A tower-like structure with an outer corridor with climbable surfaces and an inner area with several wooden platforms suspended over a pit. The wooden beams that stick out over the pit in the central room have cages with prisoners inside suspended from them. The climbable boxes and wooden beams in the outer room have no camera setup, making it difficult to see where you're going if you jump up onto the beams. There is a crawl space on the wooden beam path that cannot be crawled through.
Climbable Box Hallway
Field filename: f052_044. A hallway with box stacks draped in cloth that can be climbed. There's a door after jumping on the first set of boxes that opens into nothing. It was probably meant to be connected to another field or might have been an entrance to a Safe Room.
Elevator Room
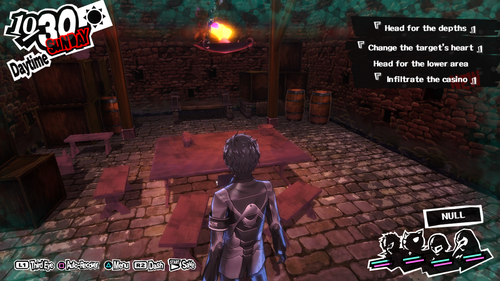
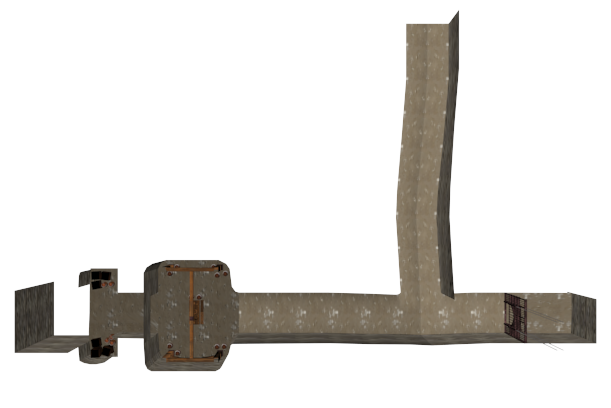
Field filename: f052_045. A corridor ending in a small room with a table in front of an elevator that cannot be interacted with. The wooden beams, barrels and table in the room lack collision.
Corridor
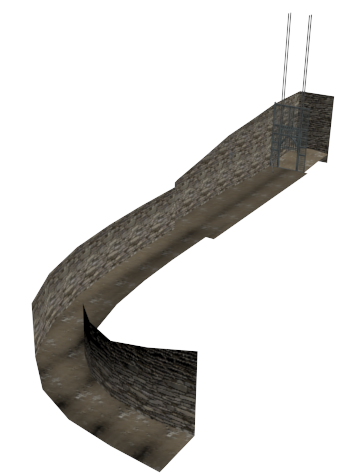
Field filename: f052_070. A curved corridor.
Mouse Puzzle Area
Field filename: f052_090. A dungeon area with a mouse puzzle. Early gameplay footage of Persona 5 showed that Kamoshida's Palace was originally going to have a mouse puzzle section. There is a small path that leads to a climbable section going through a hole in a metal fence. The cells in this field also have chalkboards mounted at the front.
Kaneshiro's Palace
Field filename: f154_013. An unused area intended for the Laundering Office. Despite this, it uses Price as the background music, instead of the Another version used for exploring the Laundering Office in the final game. Bringing up the map screen reveals that this field isn't considered part of Kaneshiro's Palace. The field features functional crawl spaces, and the ability to jump onto the window ledges to either sneak past or ambush the shadows patrolling the corridors. There are several piggy banks scattered around the area that cannot be searched for treasure, despite appearing gold when scanning an area with Third Eye. Both the elevator the player exits from when entering the field and the door at the bottom of it lead to the area of the Laundering Office preceding the Underground Vault. This implies this field might have been an earlier version of the area of the Laundering Office with security camera stealth puzzle seen in the final.
Futaba's Palace
Field filename: f155_012. An unfinished and untextured corridor with two shadows roaming about. There are two sarcophagi on one side, and two coffins on the other. Opening the doors at either end of the corridor leads to a wall. Opening the map screen identifies this area as "Futaba's Palace - Underground Passage", implying it was intended to be an additional part of the passage. The shadows in this field use the same enemy formations as the ones in the dungeon area of Kamoshida's Palace. For some reason, using Third Eye here crashes the game.
Shido's Palace
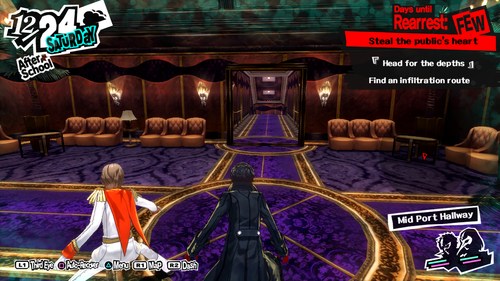
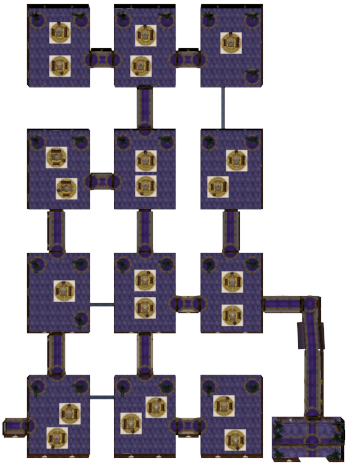
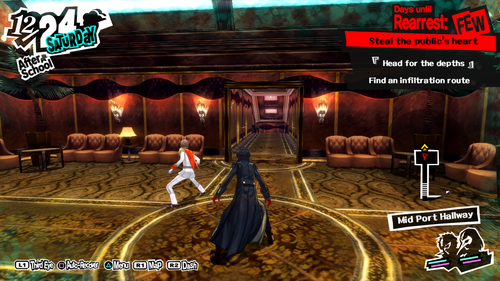
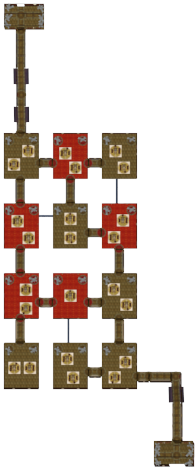
Field filename: f159_036. A field which is almost identical to the final's Mid Port Hallway, but smaller and with a purple carpet. It uses the same map as the final's Mid Port Hallway, however it doesn't appear to be synced properly to where the player is, so they'll always appear to be out of bounds. There is a treasure chest facing a chair in one of the rooms which if opened will result in the player being stuck in the chair. The elevator leads to the Central Passage, like the Mid Port Hallway in the final game. A door on the side of the field leads to the final's Mid Port Hallway, for some reason.
| Alternate | Final |
|---|---|
 |
 |
