This is a sub-page of Parasite Eve II/Unused Backgrounds.
Area 5 (Shelter 1F & B6, Neo Ark)
| Image
|
Info
|

|
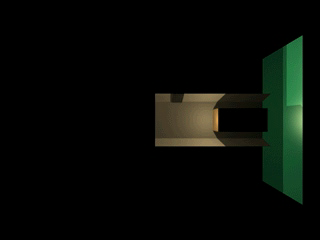
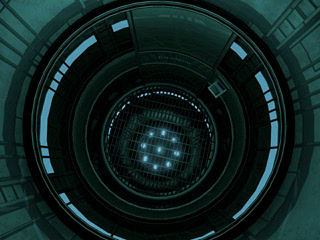
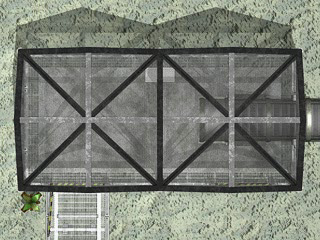
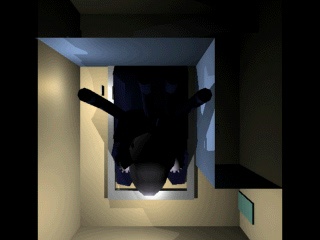
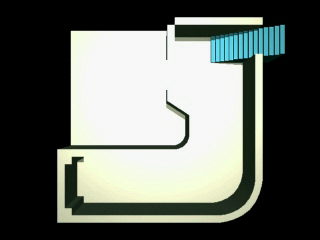
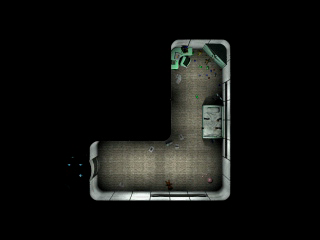
Room #1 (Parking Garage), Screen #1
File #76855
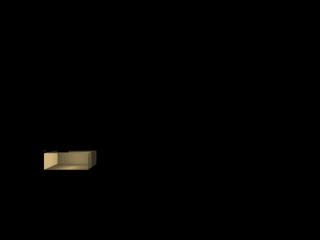
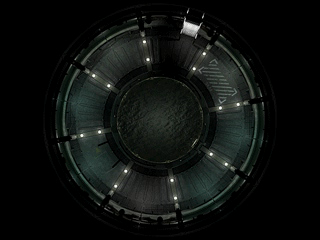
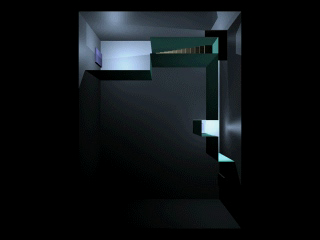
An overhead view of the entire room.
|

|
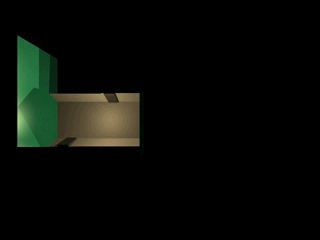
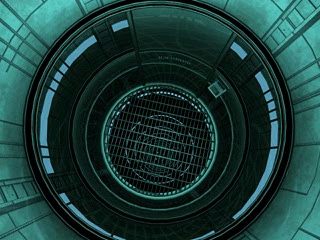
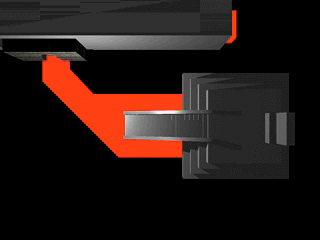
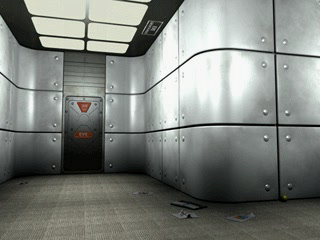
Room #2 (Vehicular Airlock), Screen #1
File #76926
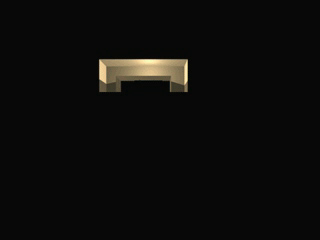
An overhead view of the entire room.
|

|
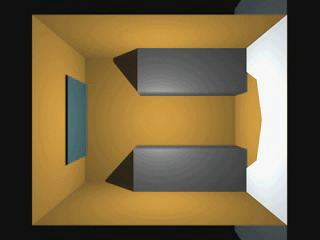
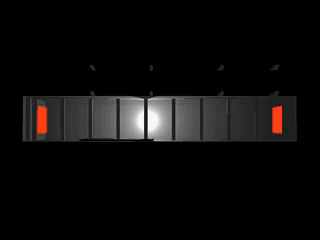
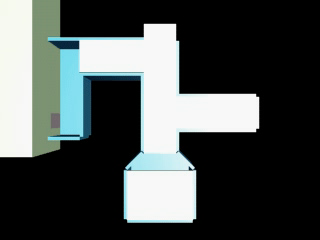
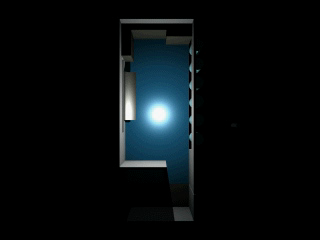
Room #3 (Bulwark), Screen #1
File #76970
An overhead view of the entire room.
|

|
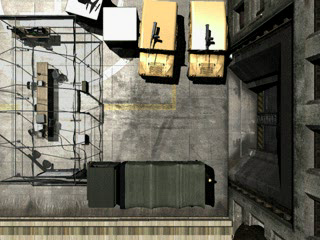
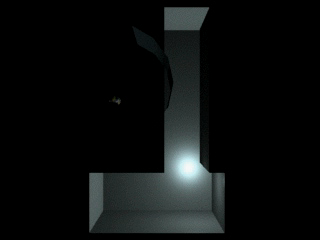
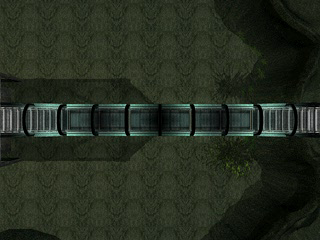
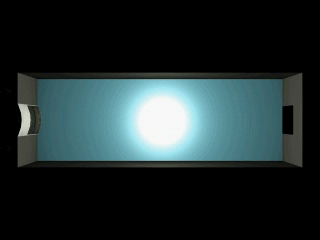
Room #4 (Heliport), Screen #1
File #77060
An overhead view of the entire room.
|

|
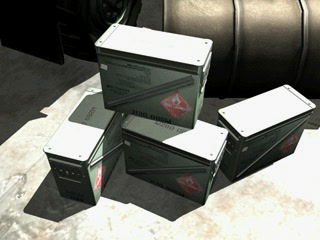
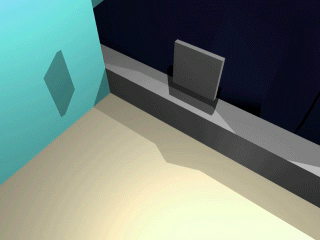
Room #4 (Heliport), Screen #12
File #77085
An unused close-up of the ammo boxes. The game handles Aya's ammo needs without using this.
|

|
Room #5 (Airlock), Screen #1
File #77115
An overhead view of the entire room.
|

|
Room #6 (Guardroom), Screen #1
File #77176
An overhead view of the entire room.
|

|
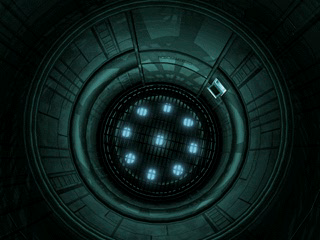
Room #7 (Observatory), Screen #1
File #77317
An overhead view of the entire room.
|

|
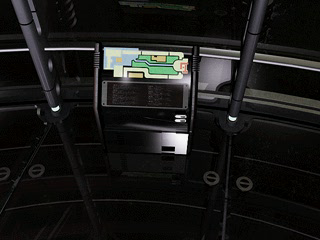
Room #7 (Observatory), Screen #21
File #77629
An unused close-up of the terminal.
|

|
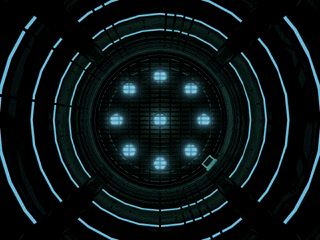
Room #8 (EVE Access Tunnel), Screen #1
File #77670
An overhead view of the entire room.
|
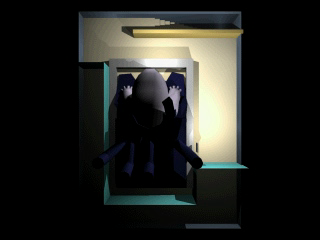
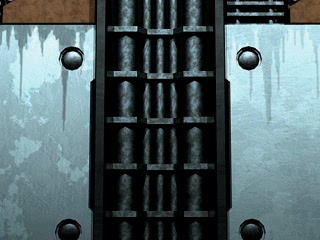
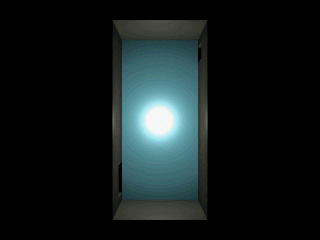
Room #9 (Elevator *), Screen #'s 1-4
File #'s 77744, 77745, 77746, and 77747
The following are all rooms for the elevator scene. An FMV is used in their place.
| Image
|
Info
|

|
Room #10 (North Promenade), Screen #1
File #77786
An overhead view of the entire room.
|

|
Room #11 (Forest Zone), Screen #1
File #77924
An overhead view of the entire room.
|

|
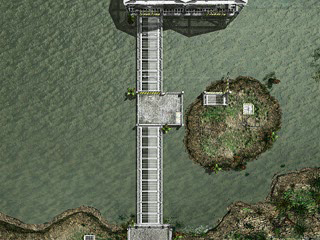
Room #12 (Submarine Tunnel), Screen #1
File #78032
An overhead view of the entire room.
|

|
Room #13 (Pavilion), Screen #1
File #81693
An overhead view of the entire room.
|

|
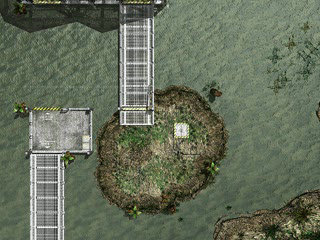
Room #14 (Island), Screen #1
File #81933
An overhead view of the entire room.
|

|
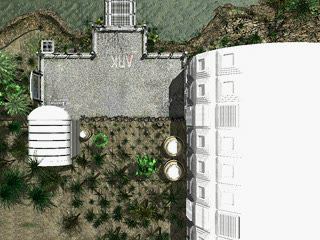
Room #15 (Garden), Screen #1
File #82083
An overhead view of the entire room.
|

|
Room #16 (Power Plant 2), Screen #1
File #82199
An overhead view of the entire room.
|

|
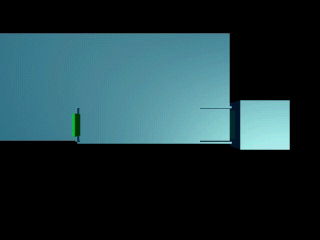
Room #16 (Power Plant 2), Screen #7
File #82249
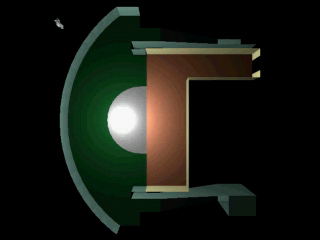
An unused, incomplete angle of the room.
|

|
Room #16 (Power Plant 1), Screen #1
File #82335
An overhead view of the entire room.
|

|
Room #17 (Power Plant 1), Screen #9
File #82399
An unused angle of the room.
|

|
Room #18 (Savanna Zone), Screen #1
File #82445
An overhead view of the entire room.
|

|
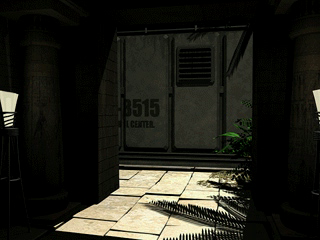
Room #19 (South Promenade), Screen #1
File #82514
An overhead view of the entire room.
|

|
Room #20 (Altar), Screen #1
File #82617
An overhead view of the entire room.
|

|
Room #21 (Shrine), Screen #1
File #82724
An overhead view of the entire room.
|

|
Room #21 (Shrine), Screen #7
File #82830
An unused angle of the room.
|

|
Room #22 (Nursery), Screen #1
File #82830
An overhead view of the entire room.
|

|
Room #22 (Nursery), Screen #11
File #82830
An unused angle of the room.
|

|
Room #23 (Growth Room), Screen #1
File #84502
An overhead view of the entire room.
|

|
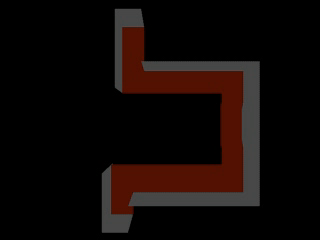
Room #24 (Corridor), Screen #1
File #84562
An overhead view of the entire room.
|

|
Room #25 (Training Room), Screen #1
File #84632
An overhead view of the entire room.
|

|
Room #26 (Oval Office *), Screen #1
File #84673
An overhead view of the entire room.
|

|
Room #27 (Bridge), Screen #1
File #84758
An overhead view of the entire room.
|

|
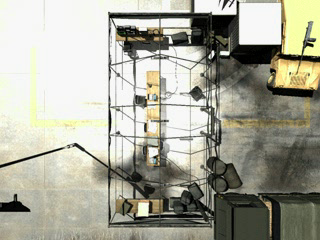
Room #28 (Tent), Screen #1
File #84952
An overhead view of the entire room.
|

|
Room #29 (Jungle Zone), Screen #1
File #85077
An overhead view of the entire room.
|

|
Room #30 (Submarine Gallery), Screen #1
File #85382
An overhead view of the entire room.
|

|
Room #32 (Pyramid), Screen #1
File #88551
An overhead view of the entire room.
|

|
Room #32 (Pyramid), Screen #7
File #88594
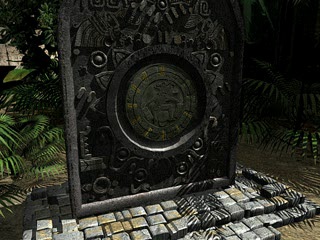
An unused close-up of the puzzle.
|

|
Room #33 (Substation), Screen #1
File #88652
An overhead view of the entire room.
|
Notes
Room #31 is an in-game sequence, but does not have an overhead map.
Rooms marked with a * are speculation; They are not given a proper name within the game.
(Source: Orin(Images) & Kuro-chan(Research))
