| Image
|
Info
|

|
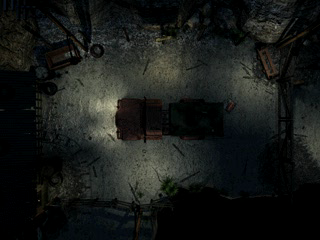
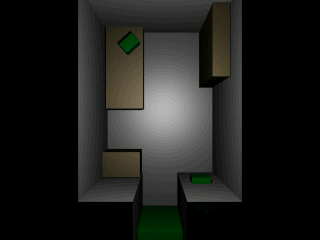
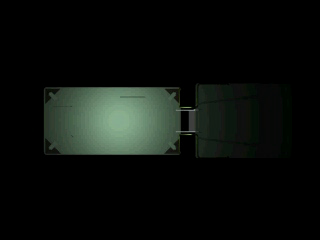
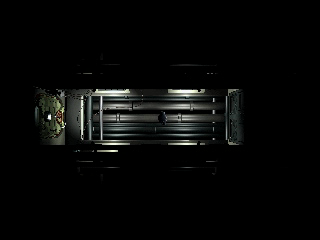
Room #1 (Mesa), Screen #1
File #42512
An overhead view of the entire room.
|

|
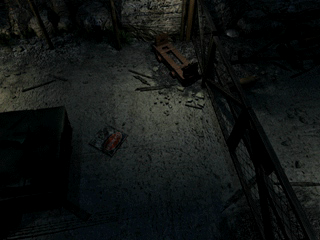
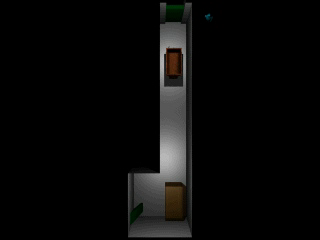
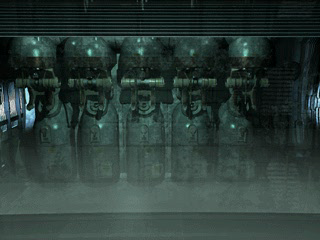
Room #1 (Mesa), Screen #3
File #42535
An unused angle of the room.
|

|
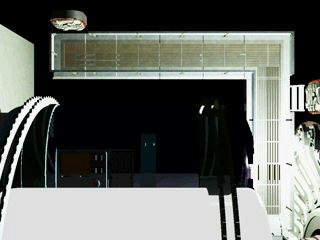
Room #2 (Cavern), Screen #1
File #42980
An overhead view of the entire room.
|

|
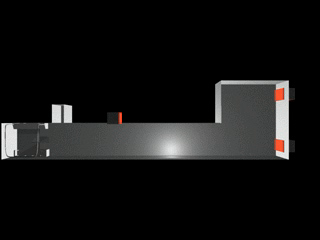
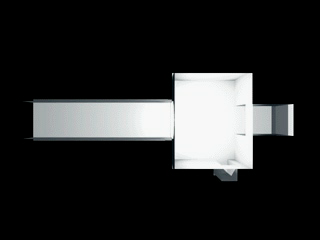
Room #3 (Tunnel Entrance), Screen #1
File #43234
An overhead view of the entire room.
|

|
Room #3 (Tunnel Entrance), Screen #5
File #43262
An unused angle of the room.
|

|
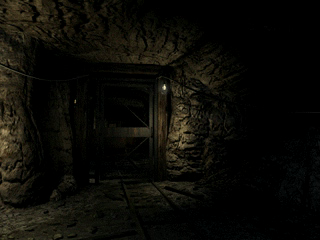
Room #4 (Tunnel), Screen #1
File #43311
An overhead view of the entire room.
|

|
Room #5 (Gorge), Screen #1
File #43443
An overhead view of the entire room.
|

|
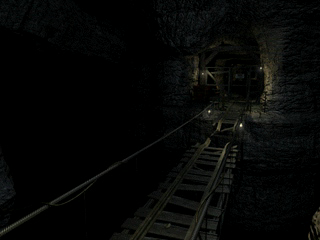
Room #5 (Gorge), Screen #5
File #43475
An unused angle of the room. It is not possible to see this screen under normal circumstances since a board is required to cross the chasm and reach that part of the room.
|

|
Room #6 (Refuge), Screen #1
File #43611
An overhead view of the entire room.
|

|
Room #6 (Refuge), Screen #5
File #43635
A (possible) prototype of the circuit board (puzzle). The power switch is flipped on, light is on, GATE 1 and GATE 2 are labeled as DOOR 1 and DOOR 2 and the visual design of the circuit path is different.
|

|
Room #7 (Forked Tunnel), Screen #1
File #43730
An overhead view of the entire room.
|

|
Room #8 (Secret Passage), Screen #1
File #43836
An (incomplete) overhead view of the entire room.
|

|
Room #9 (Elevator Hall, B1), Screen #1
File #43992
An overhead view of the entire room.
|

|
Room #10 (South Maintenance Walkway, B1), Screen #1
File #44054
An overhead view of the entire room.
|

|
Room #11 (Storage Room), Screen #1
File #44116
An overhead view of the entire room.
|

|
Room #12 (North Maintenance Walkway, B1), Screen #1
File #44245
An overhead view of the entire room.
|

|
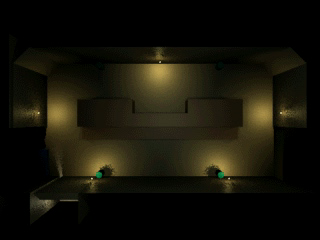
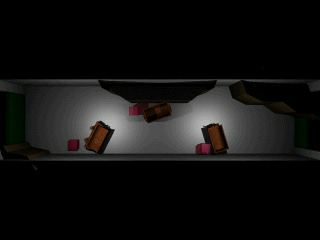
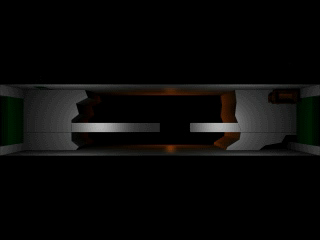
Room #12 (North Maintenance Walkway, B1), Screen #6
File #44259
An unused prototype of Screen #4, after the Bowman Brain Stinger escapes to this room. Note the damage done to and under the floor.
|

|
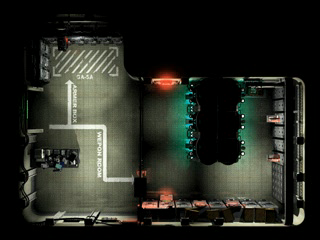
Room #13 (Armory), Screen #1
File #44326
An overhead view of the entire room.
|

|
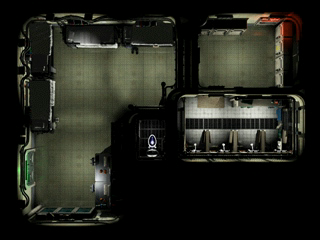
Room #14 (Sleeping Quarters), Screen #1
File #44442
An overhead view of the entire room.
|

|
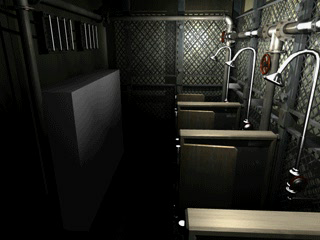
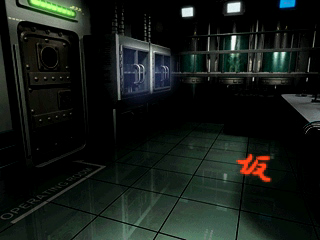
Room #14 (Sleeping Quarters), Screen #11
File #44538
An unused and incomplete view of the shower room.
|

|
Room #15 (Main Corridor, B1), Screen #1
File #44586
An overhead view of the entire room.
|

|
Room #16 (Sterilization Room), Screen #1
File #44760
An overhead view of the entire room.
|

|
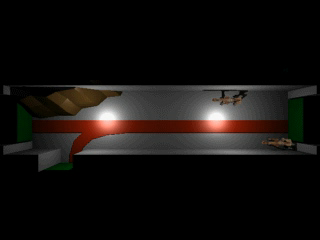
Room #16 (Sterilization Room), Screen #12
File #44780
A view of the west sterilization room after the fumigation system is turned on. Since the incident only occurs in the east room, this screen is unused.
|

|
Room #16 (Sterilization Room), Screen #13
File #44781
A view of the west sterilization room after the fumigation system is turned on. Since the incident only occurs in the east room, this screen is unused.
|

|
Room #17 (Pod Access Tunnel, B1), Screen #1
File #44867
An overhead view of the entire room.
|

|
Room #18 (Control Rool), Screen #1
File #46873
An overhead view of the entire room.
|

|
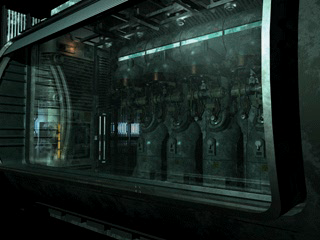
Room #18 (Control Rool), Screen #8
File #46908
This close-up of what is on the other side of the glass after the GOLEMs are released is unused. Instead, Aya comments that there is nothing there.
|

|
Room #19 (Access tunnel), Screen #1
File #47899
An overhead view of the entire room.
|

|
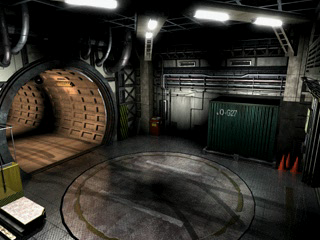
Room #20 (Underground Parking), Screen #1
File #48076
An overhead view of the entire room.
|

|
Room #20 (Underground Parking), Screen #6
File #48094
A close-up shot of the garage. This angle is only used when the garage door is open and can be investigated.
|

|
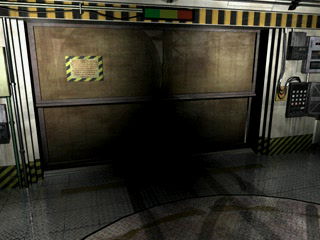
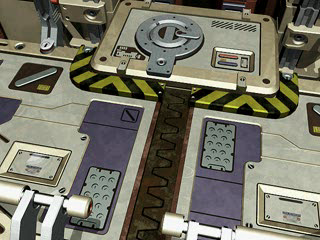
Room #20 (Underground Parking), Screen #8
File #48109
The shutter can only be opened if a vehicle is on the turntable, leaving this background unused.
|

|
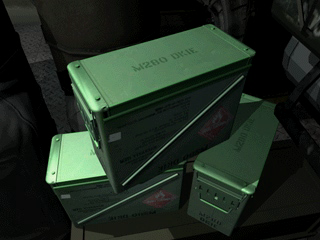
Room #20 (Underground Parking), Screen #23
File #48169
A close-up of the ammo boxes after the army parks in the garage. Aya can collect ammo without the close-up shot being used.
|

|
Room #21 (Golem Freezer 1), Screen #1
File #48208
An overhead view of the entire room.
|

|
Room #21 (Golem Freezer 1), Screen #4
File #48219
This angle is shown from outside the freezer, in the Control Room. It is unused.
|

|
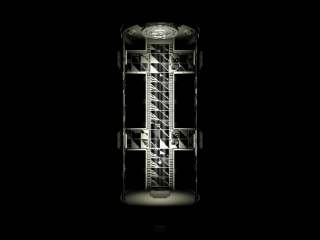
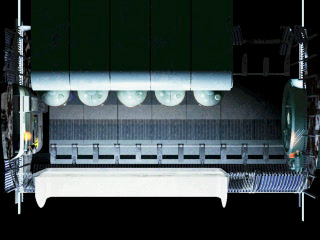
Room #22 (Pod Bottom), Screen #1
File #48351
An overhead view of the entire room. This room is for the 2nd final boss fight.
|
