This is a sub-page of Parasite Eve II/Unused Backgrounds.
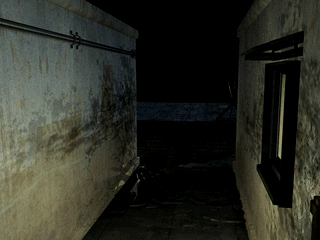
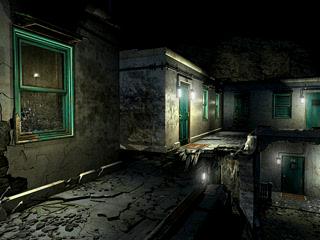
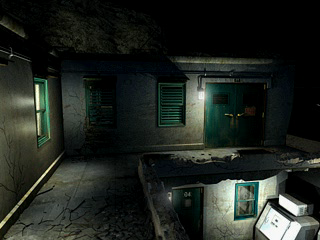
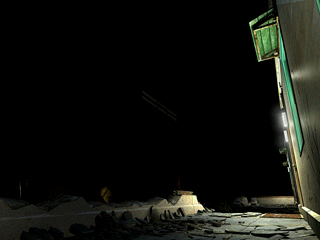
Area 3 (Dryfield, nighttime)
| Image
|
Info
|

|
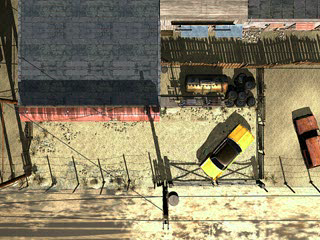
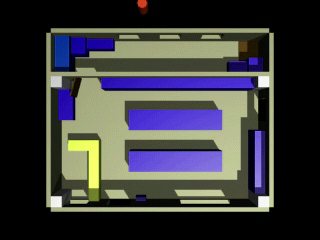
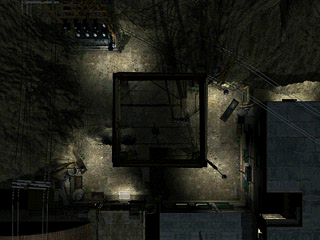
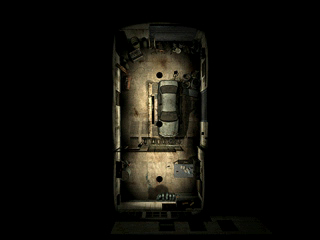
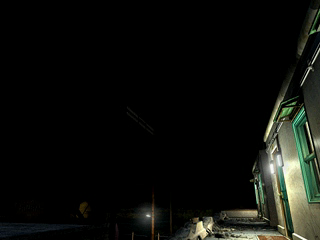
Room #1 (Gas Station), Screen #1
File #91793
An overhead view of the entire room.
|

|
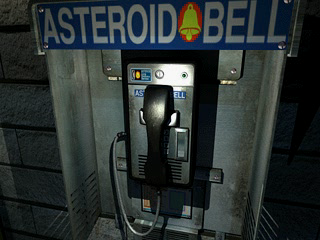
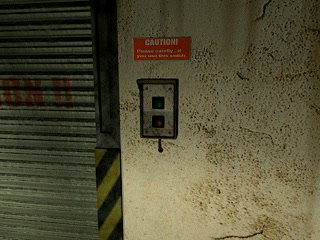
Room #1 (Gas Station), Screen #8
File #91824
A close-up of the phone booth. During regular game play, the phone line was cut and no close-up was used since you cannot save the game with it.
|

|
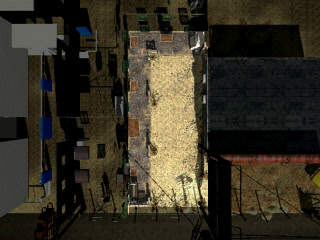
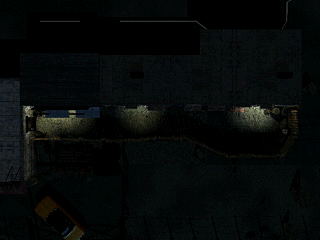
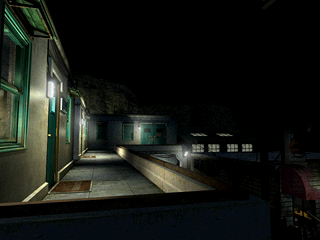
Room #1 (Main Street), Screen #1
File #92603
An overhead view of the entire room.
|

|
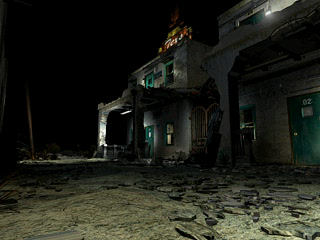
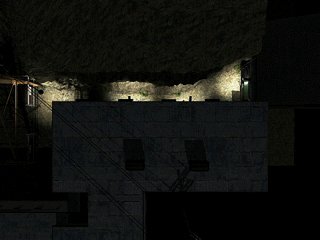
Room #1 (Main Street), Screen #10
File #92686
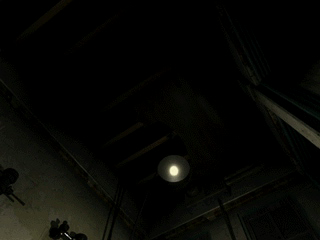
An unused angle, post-Burner fight. It was likely to have been used with the cutscene involving Flint's death.
|

|
Room #3 (General Store), Screen #1
File #92878
An overhead view of the entire room.
|

|
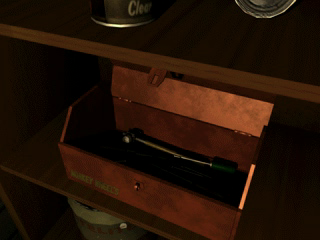
Room #3 (General Store), Screen #15
File #93102
A close-up of a toolbox that no longer has a wrench inside. It is also the wrong colour.
|

|
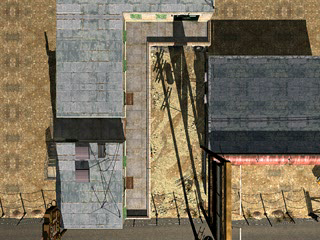
Room #5 (Back Street), Screen #1
File #93162
An overhead view of the entire room.
|

|
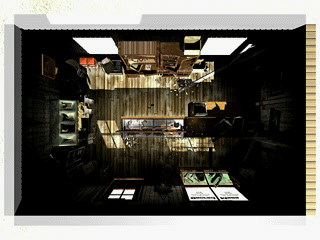
Room #6 (Souvenir Shop), Screen #1
File #93220
An overhead view of the entire room.
|

|
Room #7 (Warehouse), Screen #1
File #93315
An overhead view of the entire room.
|

|
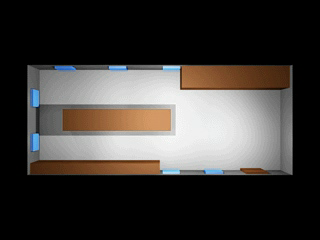
Room #8 (B1 Main Corridor), Screen #1
File #93362
An overhead view of the entire room. This room's background images come from B1 Main Corridor in the Shelter.
|

|
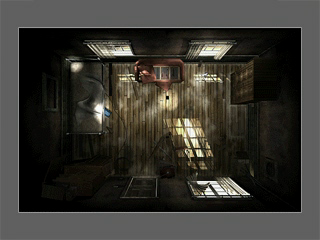
Room #9 (Dilapidated House), Screen #1
File #94802
An overhead view of the entire room. Compared to the daytime version, this one is bland.
|

|
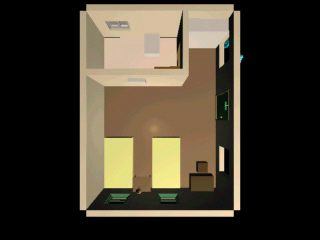
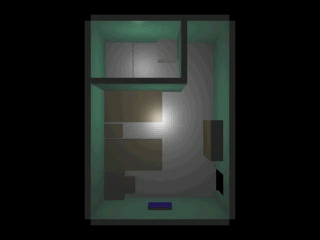
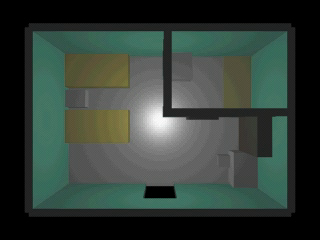
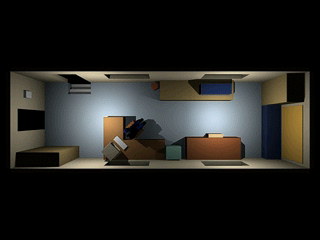
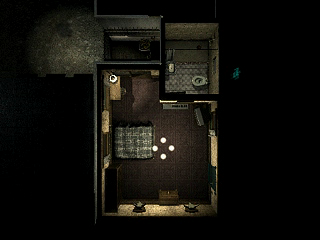
Room #11 (Room 1), Screen #1
File #96946
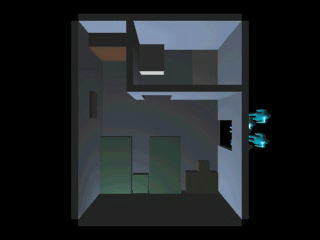
An overhead view of the entire room.
|

|
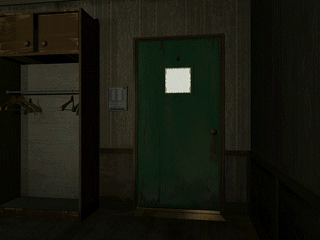
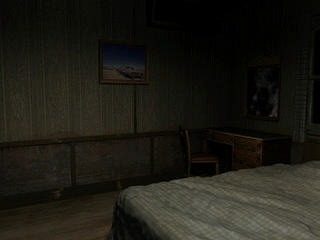
Room #11 (Room 1), Screen #7
File #97022
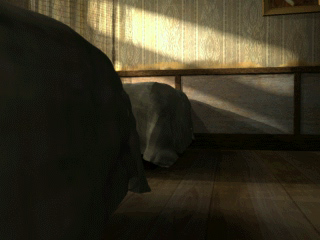
This appears to be a daytime version of the close-up where the Bone Sucklers appear from under the bed. These beds (however) are covered with sheets.
|

|
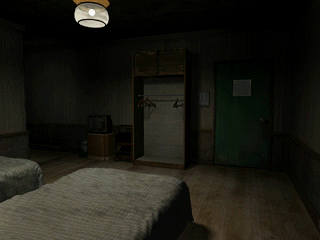
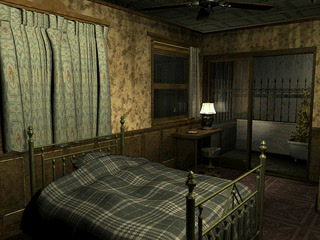
Room #11 (Room 1), Screen #8
File #96947
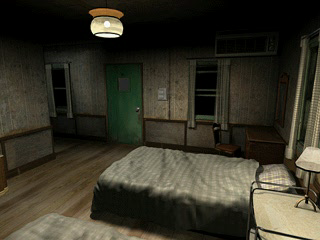
The beds are covered in blankets and a pillow. In the final version, they appear only as mattresses.
|

|
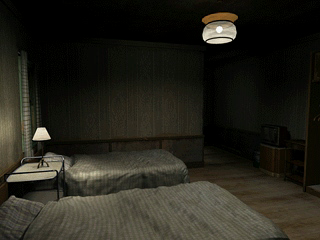
Room #11 (Room 1), Screen #9
File #96948
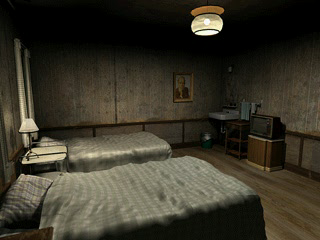
The beds are covered in blankets and a pillow. In the final version, they appear only as mattresses.
|

|
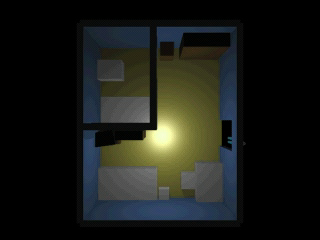
Room #12 (Room 2), Screen #1
File #97103
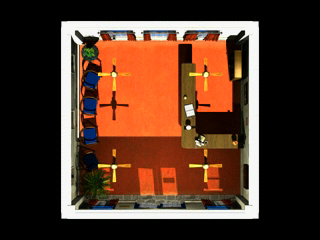
An overhead view of the entire room.
|
Room #13 (Room 3), Screen #'s 1-5
File #'s 97266, 97267, 97268, 97269 and 97270
A few of the unused angles for daytime also appear at night.
| Image
|
Info
|

|
Room #14 (Room 4), Screen #1
File #97440
An overhead view of the entire room.
|

|
Room #15 (Parking Lot), Screen #1
File #97604
An overhead view of the entire room.
|

|
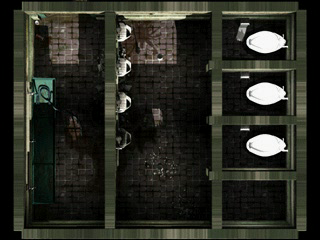
Room #16 (Toilet), Screen #1
File #97725
An overhead view of the entire room. Thankfully, this view appears far more sanitary than the final version.
|

|
Room #16 (Toilet), Screen #9
File #97792
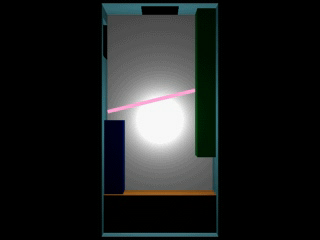
This camera angle is not used in-game.
|

|
Room #17 (Motel Lobby), Screen #1
File #97868
An overhead view of the entire room.
|

|
Room #18 (Saloon G & R), Screen #1
File #97991
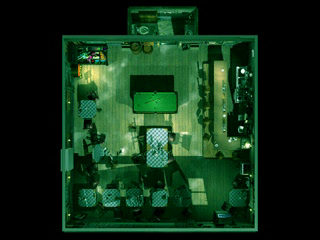
An overhead view of the entire room.
|

|
Room #19 (G & R Kitchen), Screen #1
File #98135
An overhead view of the entire room.
|

|
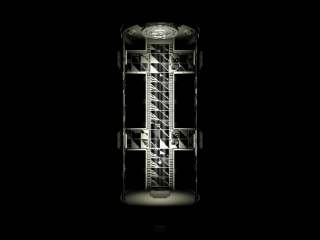
Room #20 (Water Tower), Screen #1
File #79693
An overhead view of the entire room.
|

|
Room #20 (Water Tower), Screen #9
File #98301
This close-up is used during the daytime, but not used at night.
|

|
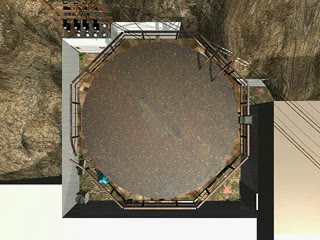
Room #21 (Water Tank), Screen #1
File #98390
An overhead view of the entire room.
|

|
Room #22 (Breezeway), Screen #1
File #98484
An overhead view of the entire room.
|

|
Room #22 (Breezeway), Screen #6
File #98534
This close-up is used during the daytime, but not used at night.
|
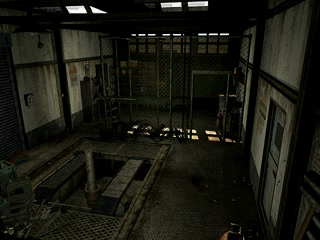
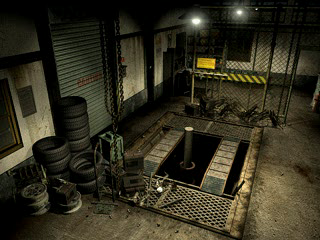
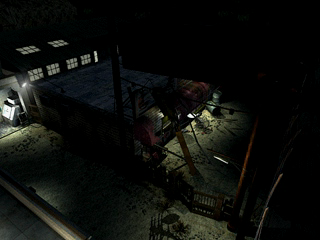
Room #23 (Factory), Screen #'s 1, 10, 11, 13-18
File #'s 98634, 98714, 98715, 98717, 98738, 98754, 98755, 98762
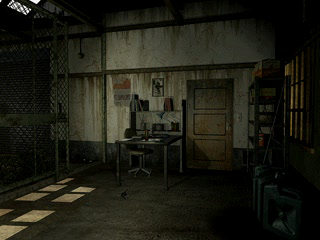
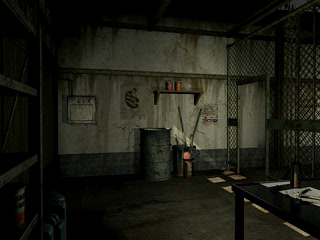
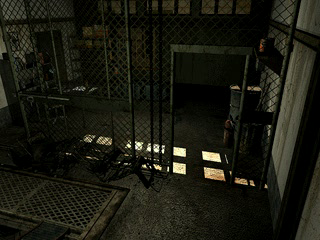
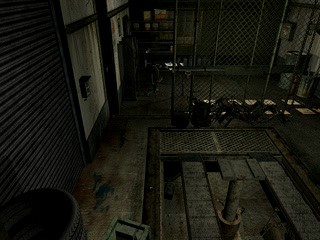
A number of unused images are here, including shots daytime and close-ups 'normally' used by daytime, only. The puzzle in this room is not pre-solved for the nighttime version of Dryfield (which is the normal for most of the other rooms) and should the player 'warp' to this location, they will have to solve it to enter the Garage. The last image is missing a grate on the floor.
| Image
|
Info
|

|
Room #24 (Garage), Screen #1
File #98841
An overhead view of the entire room.
|

|
Room #24 (Garage), Screen #16
File #98950
This background remains unused from daytime. It cannot be seen in-game and attempting to do so may crash the game.
|

|
Room #25 (Driveway), Screen #1
File #99493
An overhead view of the entire room.
|

|
Room #25 (Driveway), Screen #6
File #99533
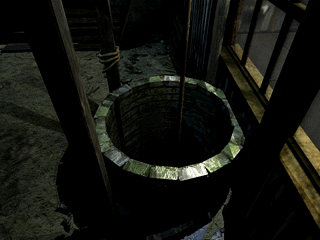
An close-up of the entrance to the well. This is used in daytime and is not normally viewable at night, though it is possible if you warp to Area 3 before solving the well puzzle.
|

|
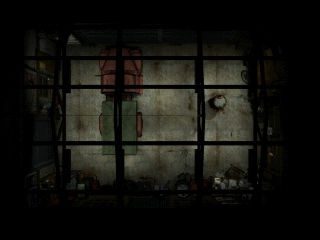
Room #26 (Junk Yard), Screen #1
File #99613
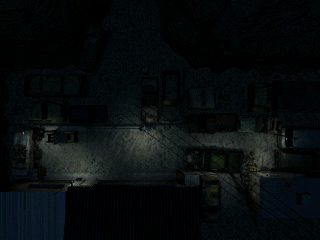
An overhead view of the entire room.
|

|
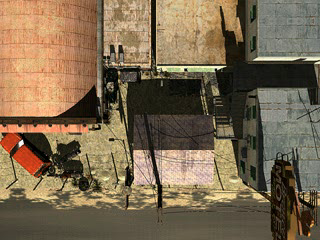
Room #26 (Junk Yard), Screen #5
File #99686
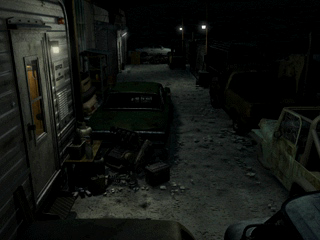
This angle cannot be seen since the green car's roof gets crushed before you can walk up to the trailer.
|

|
Room #27 (Trailer Coach), Screen #1
File #99865
An overhead view of the entire room.
|

|
Room #28 (Room 5), Screen #1
File #99975
An overhead view of the entire room.
|
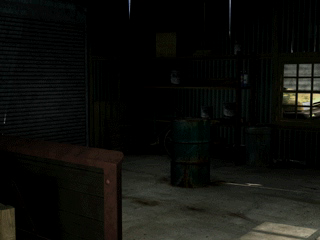
Room #29 (Factory), Screen #'s 1, 13-16, 27, 28, 30, 31 and 38
File #'s 100246, 98714, 98715, 98717, 98738, 98754, 98755, 98762
Plenty of unused images.
| Image
|
Info
|

|
Room #30 (Room 6), Screen #1
File #103596
An overhead view of the entire room.
|

|
Room #30 (Room 6), Screen #6
File #103646
Most likely from an earlier build of the room.
|

|
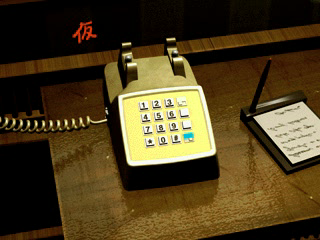
Room #30 (Room 6), Screen #10 & 11
File #103698 & 103699
An unused close-up of the phone. Most likely from an earlier build.
|

|
Room #31 (Motel Balcony), Screen #1
File #103789
An overhead view of the entire room.
|

|
Room #32 (Water Hole), Screen #1
File #103946
An overhead view of the entire room.
|

|
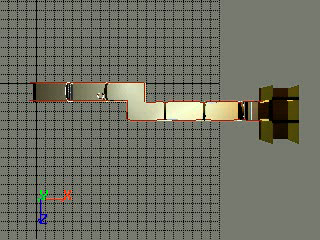
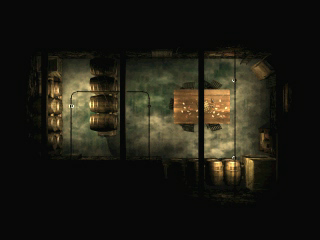
Room #34 (Cellar), Screen #1
File #104102
An overhead view of the entire room.
|

|
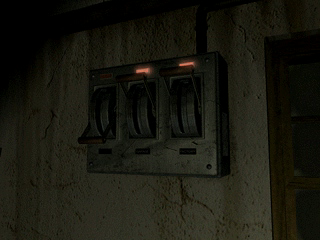
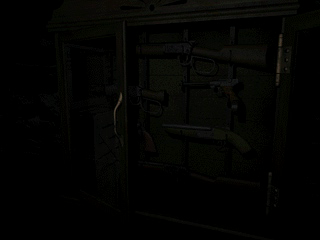
Room #34 (Cellar), Screen #6
File #104204
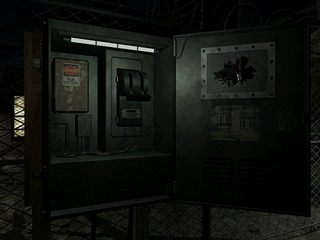
This view is not used. The cabinet can only be inspected while the lights are on.
|

|
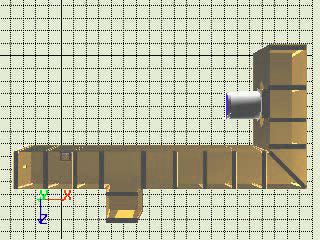
Room #38 (Underpass), Screen #1
File #104260
An overhead view of the entire room.
|
(Source: Orin(Images) & Kuro-chan(Research))
Notes
Room #'s 4, 10, 33, 35, 36 and 37 do not exist. Attempting to access them will crash the game.
